
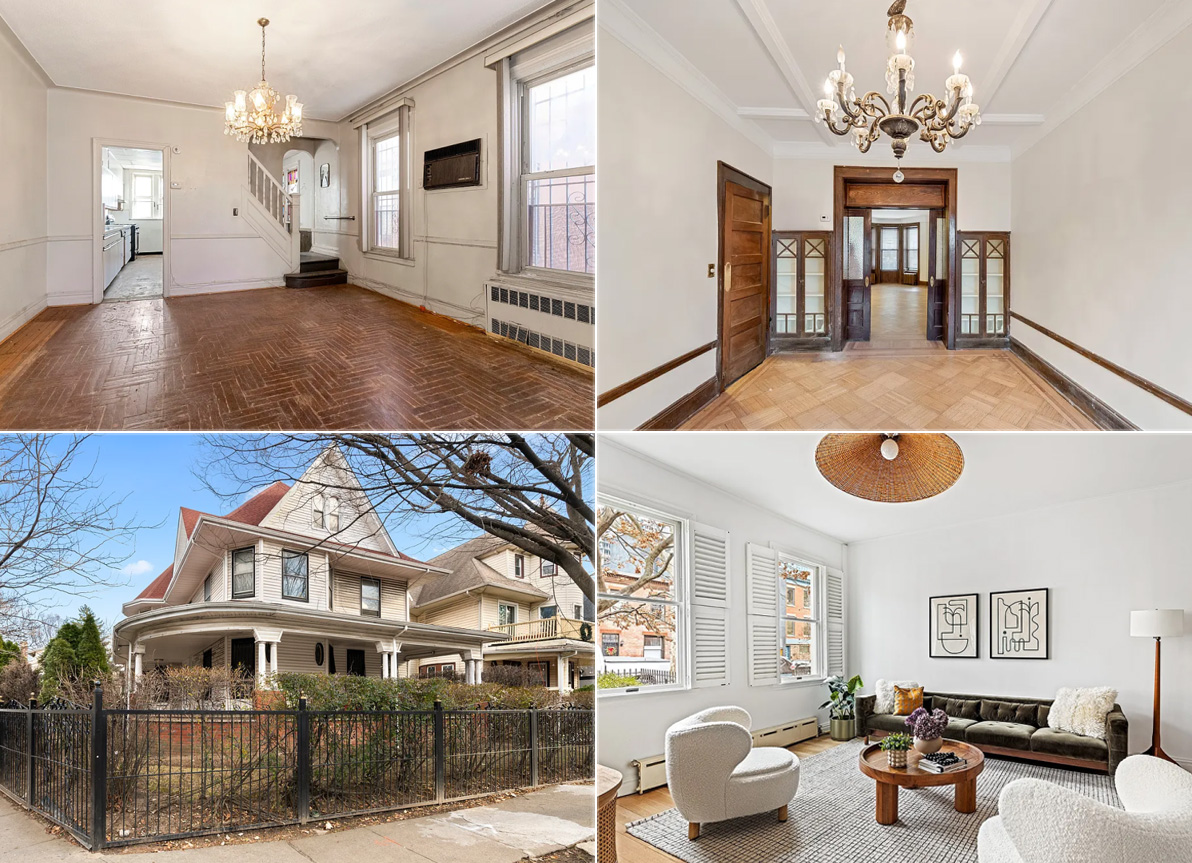
Brownstone Boys: No Plans For This! Making Some Final Decisions on Construction Surprises
Awkward city codes and uneven floors are just two of the challenges we’ve had to deal with quickly now that we’re in the home stretch.

The replacement slab going into our backyard. The deck will be installed within the next couple weeks
Editor’s note: Welcome to the 26th installment of Brownstone Boys Reno, a reader renovation diary about renovating a brownstone in Bed Stuy. See the first one here. They also blog at www.thebrownstoneboys.com.
For every big project, planning only gets you so far. There are some things that pop up and quick decisions need to be made. We just had a meeting with our contractor and went through a long list of items we needed to make a quick call on. We’re excited because it really marks one of the final stages of the project. We’re getting closer and closer to the end!
Problem 1
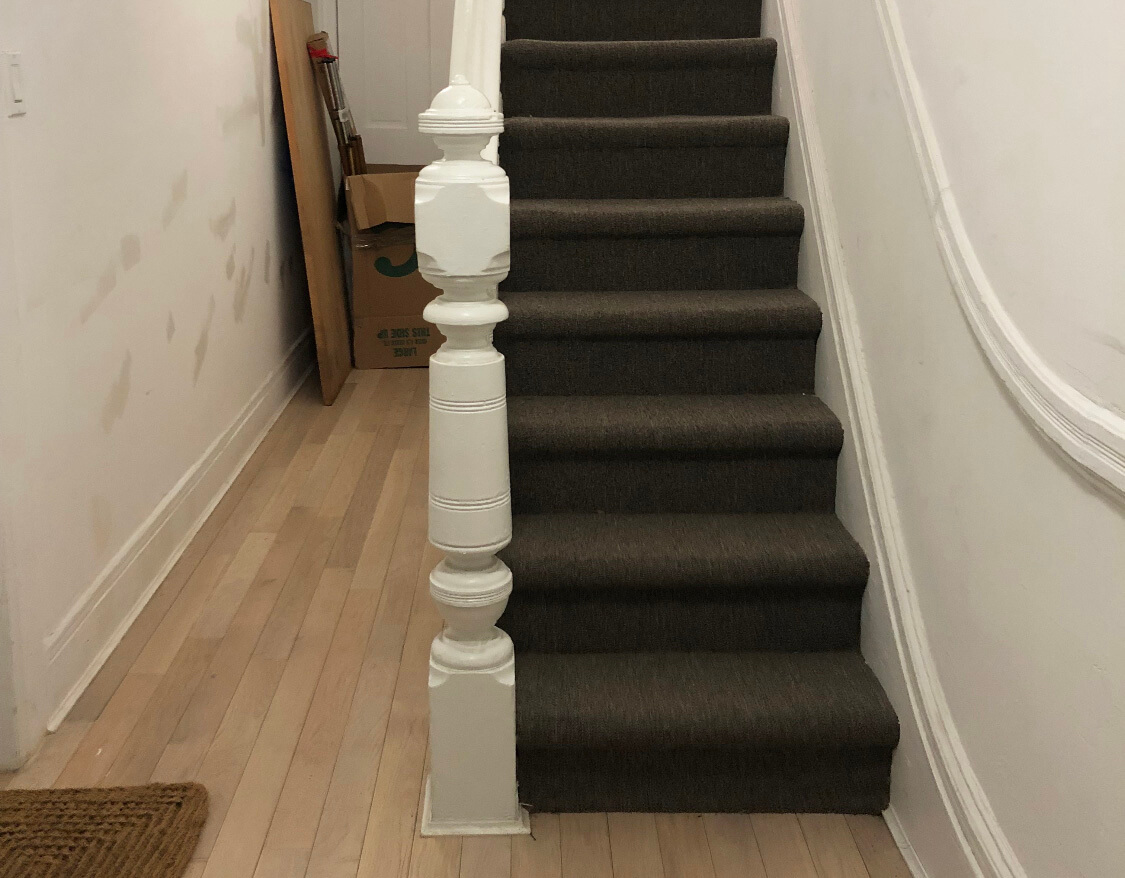
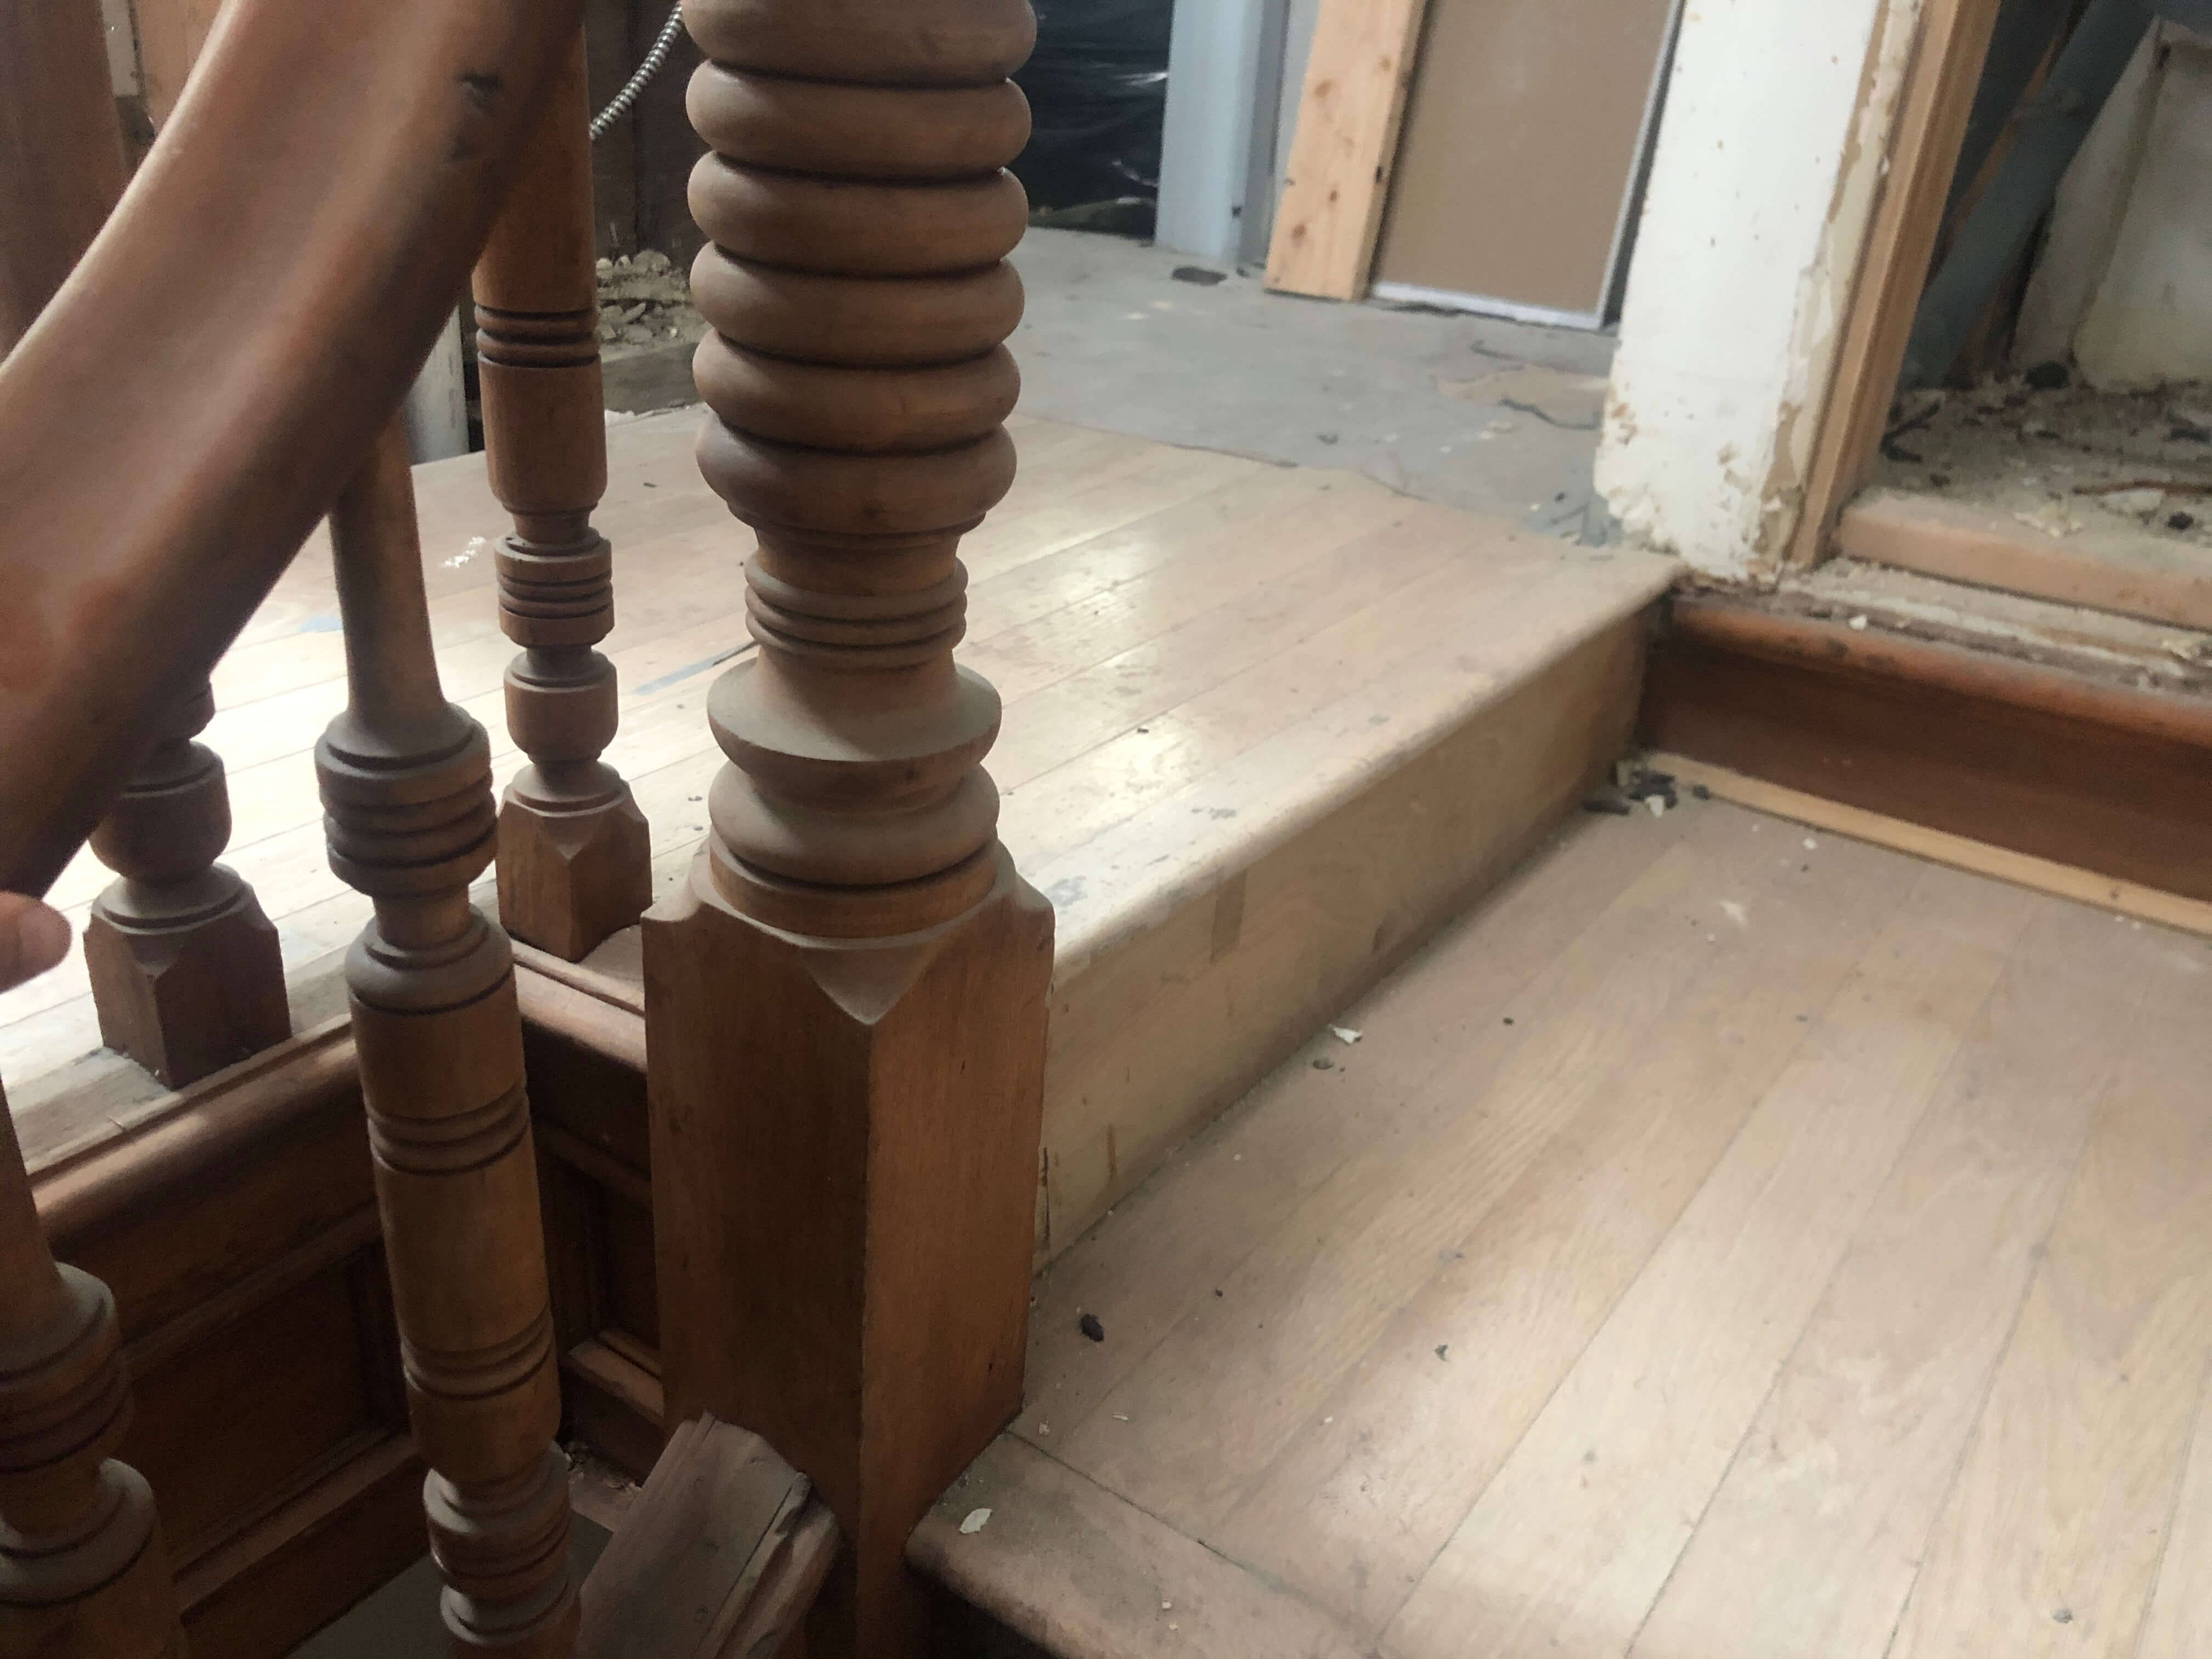
As you most likely know, our place is 130 years old. Let’s just say that pretty much nothing is straight, level or plum. It all adds to the charm of restoring original features, but there are some areas where it just wouldn’t look right if we didn’t correct it. We felt that way about our master bathroom ceiling. We’re building a new double shower and the tile is going to the ceiling. Since the shower is new the tile will be level. If it goes up to the crooked ceiling it would be very noticeable, especially with the odd shaped tile we are using. There will be a straight line of the tile right next to the slant of the ceiling. So we are constructing a new leveled ceiling in the master bathroom. The drawback is that it takes a few inches off the height of the ceiling, but we feel like it’s an acceptable trade-off for a bathroom.
Problem 2
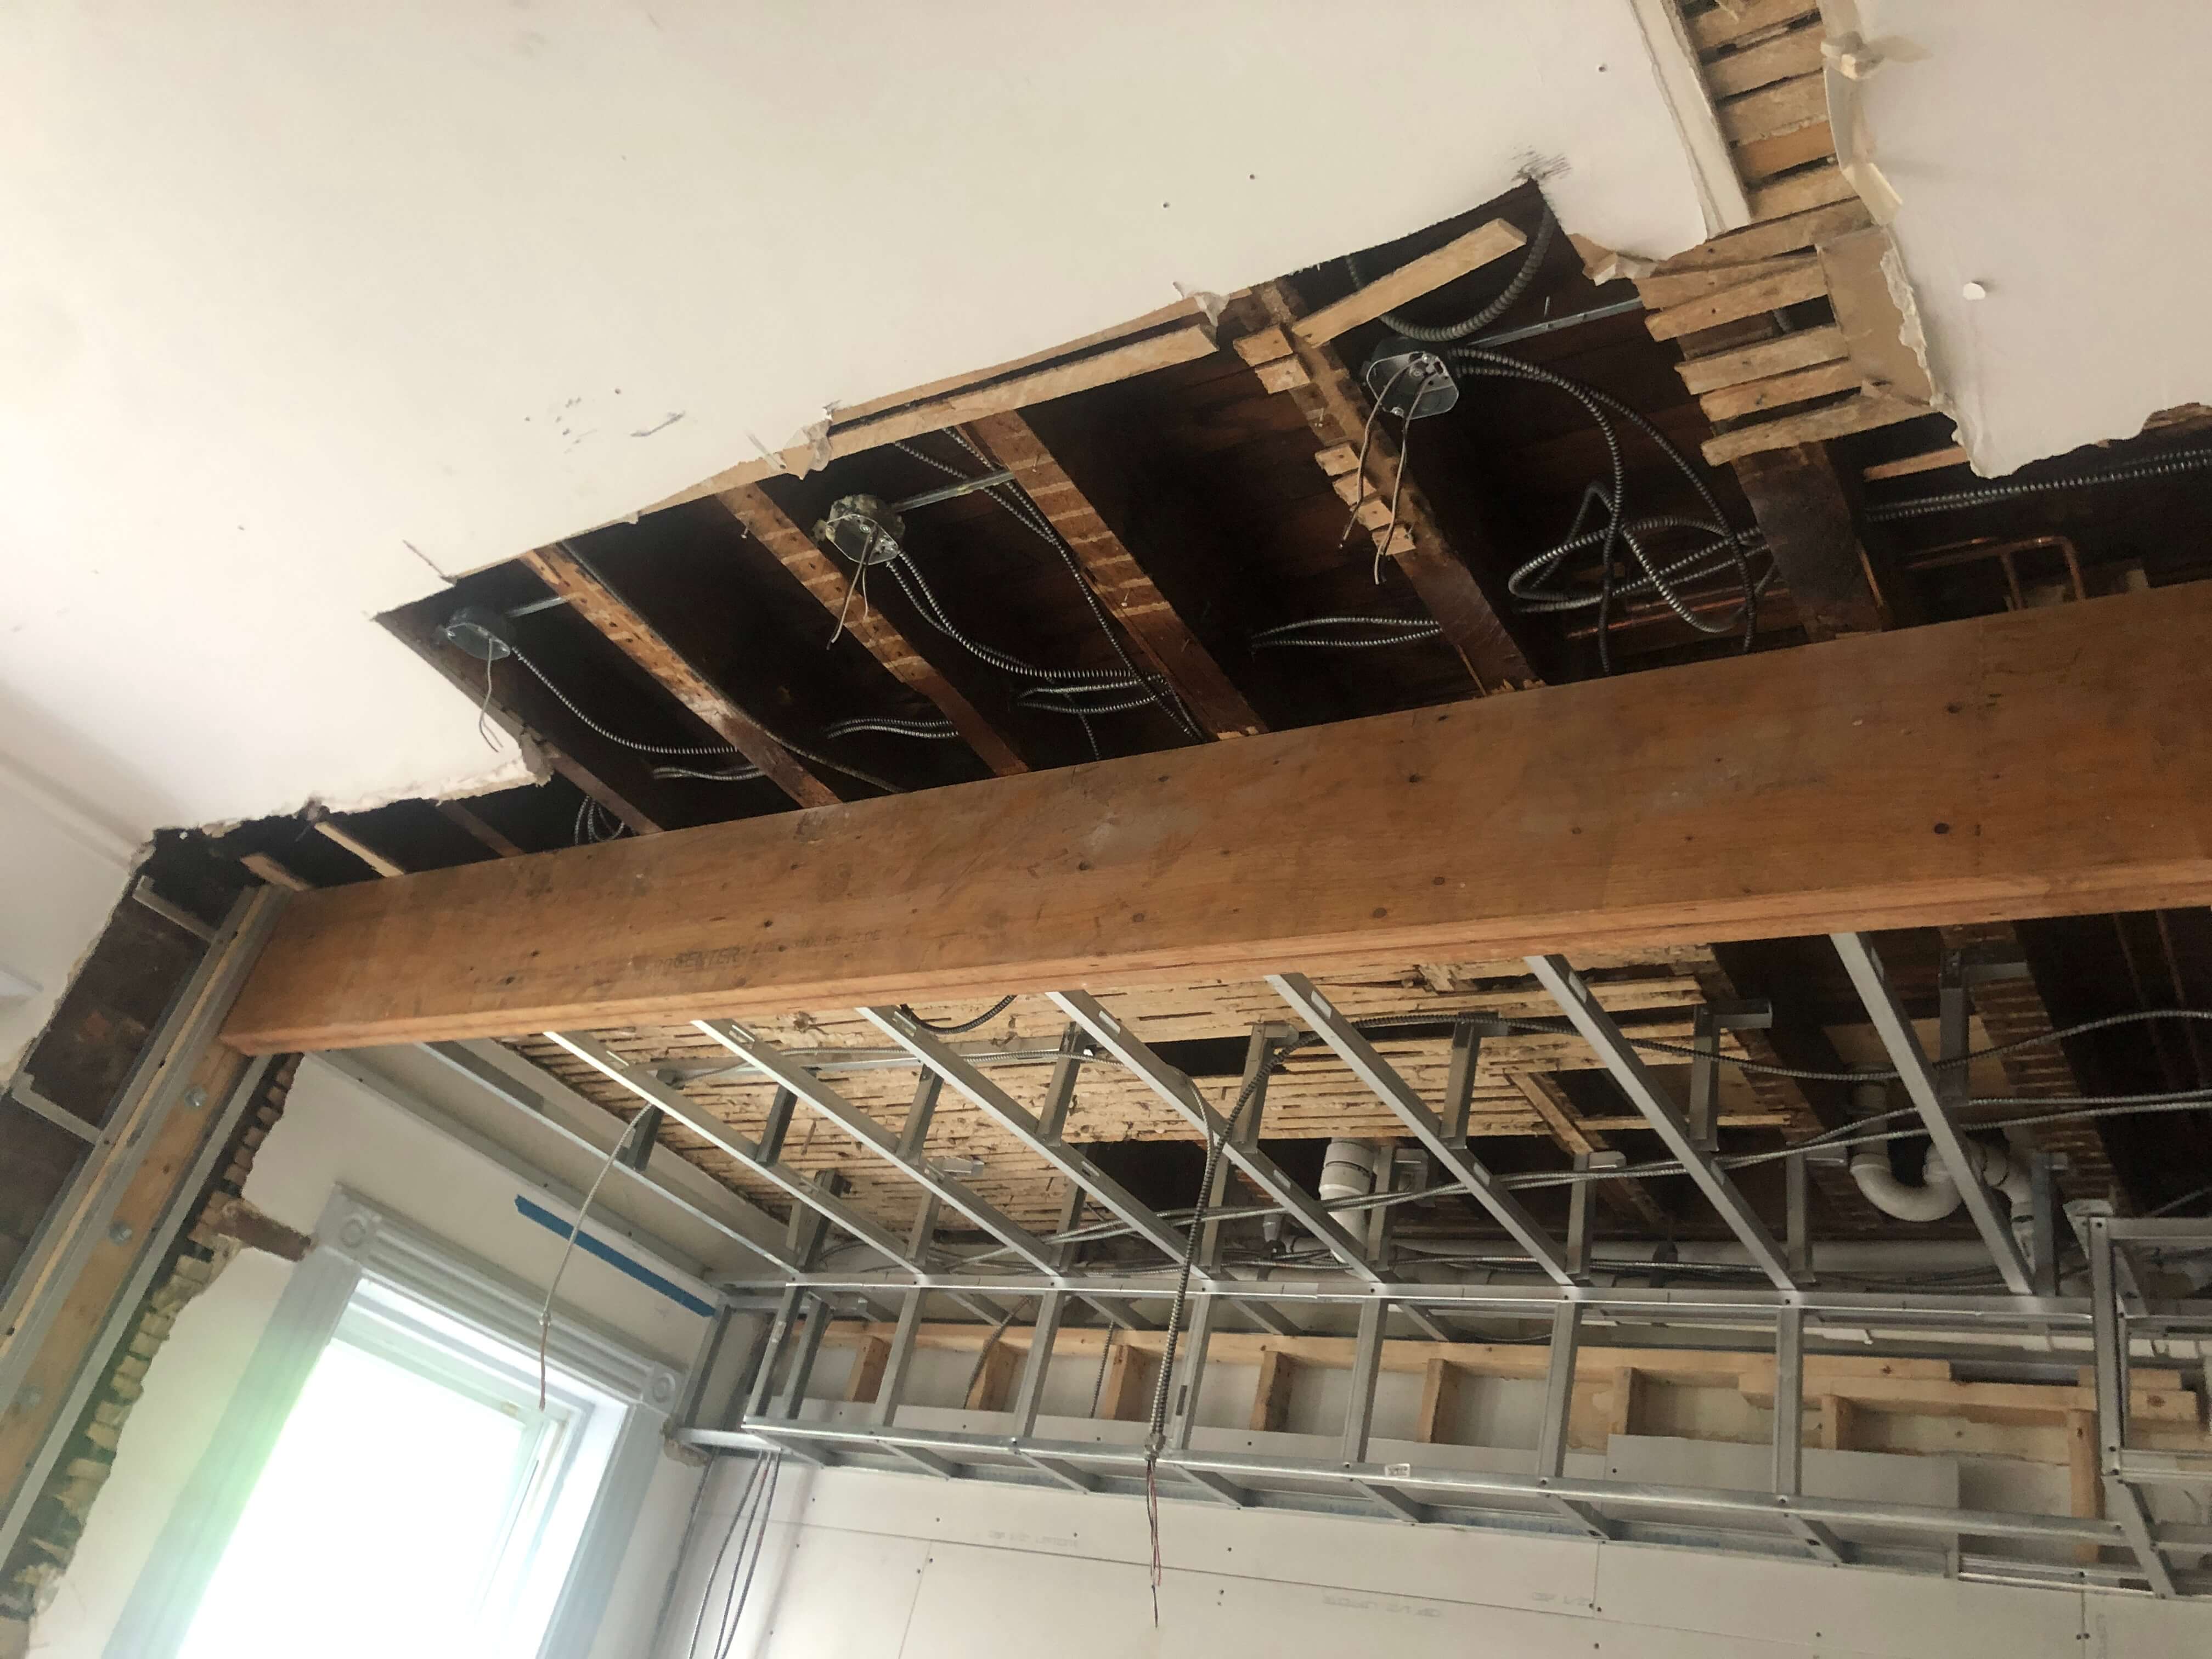
Since we’re doing an Alt 1 project with the city, we need to comply with a lot of codes that other brownstone owners just ignore. One area is the wall we are building to separate the upper duplex from the lower apartment. We’ve written about it in the past and a lot of readers contacted us with photos and even offers to visit to see theirs. Most people just enclose the lower stair case in a wall with the door at the very bottom of the stairs. This would be our preferred way of doing it, but unfortunately for us it’s not possible. City building code says there needs to be a 36-inch landing at the bottom of the stairs before the door. So that means we’ll need to build a landing and take that space out of the entry foyer to the lower garden apartment. It’s going to create a bit more of a cramped space, but we’ve looked at all of the options and we have not been able to find an acceptable alternative. So we made the call to move forward with the landing.
Problem 3
Where we tore down the mudroom extension on the back of the building we now have two slightly different height cement slabs. We don’t have the resources right now to completely excavate and redo the entire slab. We are going to put a reinforced thin layer over the lower section to match the height of the smaller section. We’ll need to grade it to drain naturally into the soil at the far end. It’s not a perfect solution but it will give us one surface that will drain away from the house.
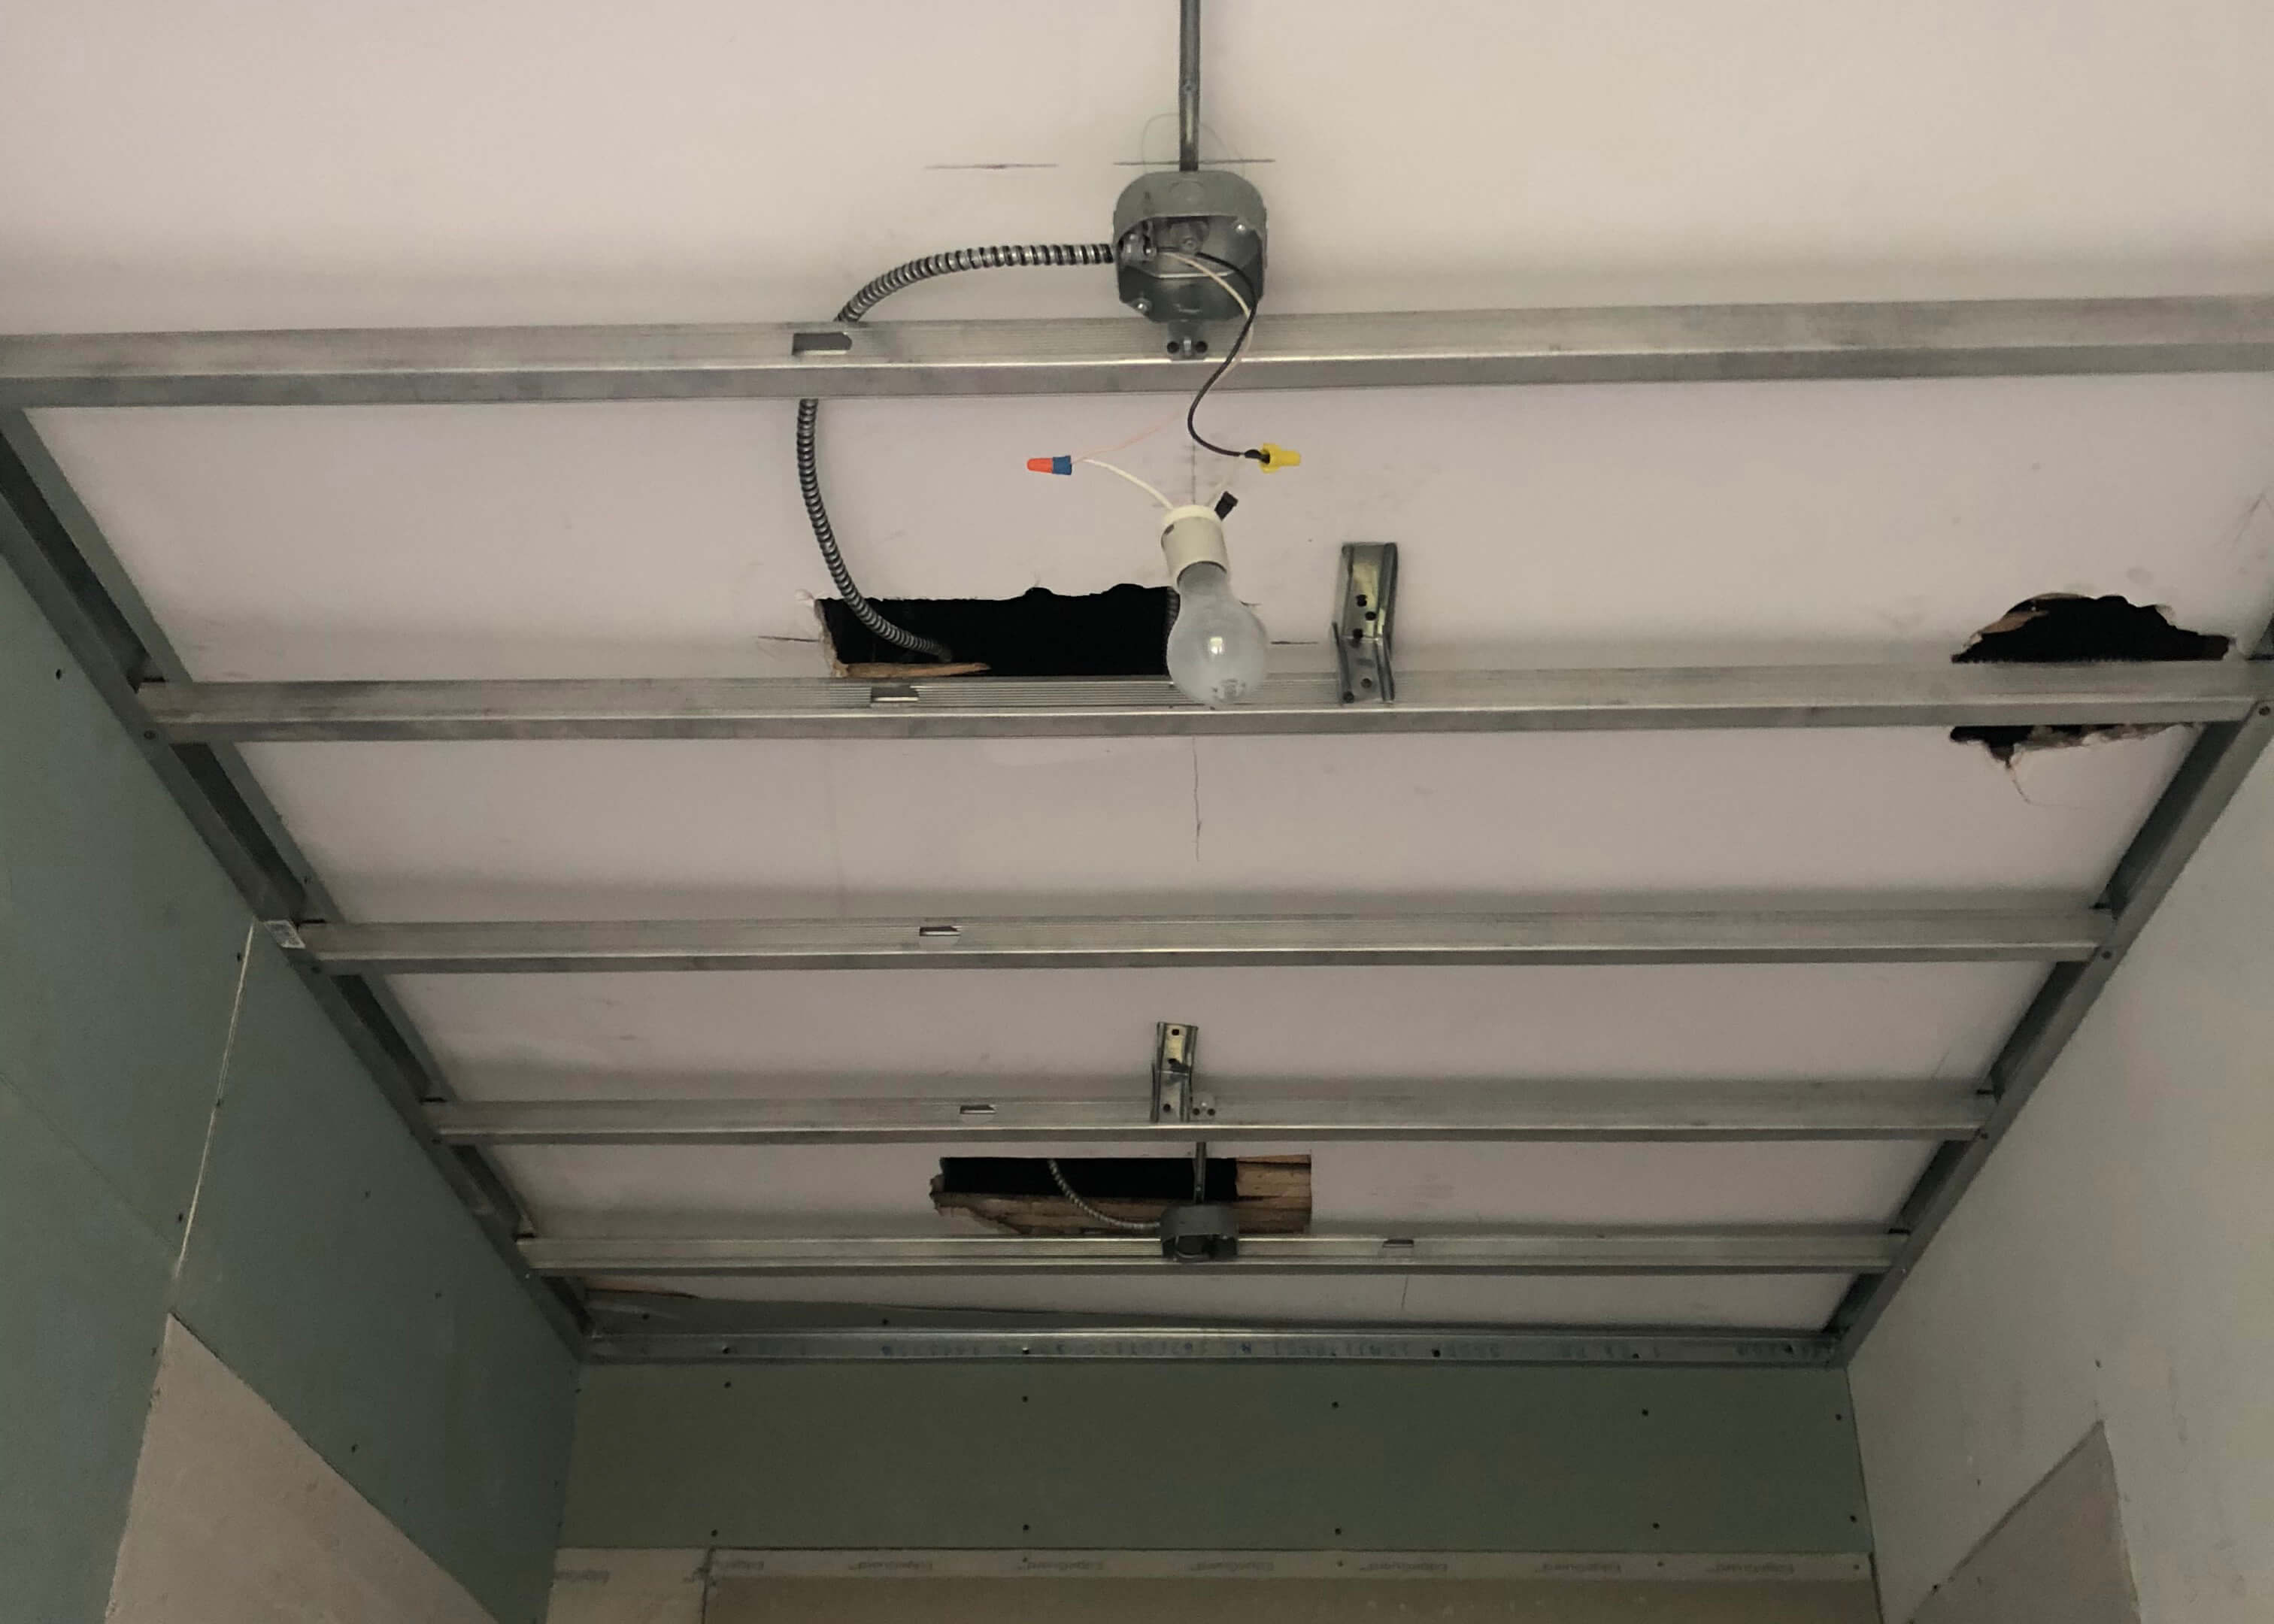
Problem 4
Our electrician followed the drawings for lights, switches, and outlets accurately. Which is great, except the drawings that were done before construction started don’t reflect every detail of the conditions on the ground, now that we are well into the project. Kitchen pendants had to be moved slightly, other lights needed adjusting, switches needed rerouting to avoid destroying plaster. They weren’t thrilled about all of the changes but it only took a half day to correct the problems. The last thing we want to look at every day once we are done is a slightly off-center light fixture! A half day of work is worth it.
Problem 5
This is one that we still aren’t exactly finished with yet, and we may not end up with a solution we are 100 percent happy with. Similar to the problem we had with the crooked ceiling, 100-plus-year-old buildings will inevitably have grades on the floors. They all sort of sink from the rigid outside masonry walls to the more giving wooden joists in the middle. We’re fortunate that our floors aren’t too bad. We’ve learned that a 1-inch difference isn’t that noticeable and can even be found in new construction. Most of our floors are within the 1-inch acceptable difference, but there are a few areas that are a bit more. We’ve discussed options with our contractor and unfortunately there aren’t any great ones for us. There is of course the very expensive and thorough option of removing all of the flooring and subfloor, sistering joists to one level and having one flat surface to install all brand new flooring. You might remember that we’re on a pretty tight budget for the scale
of this project so this might be the best option but at $25,000 to $30,000, it’s just not going to work for us. Frankly, even the cost of the debris removal for this option isn’t in the budget for us! So since our floors aren’t that bad, we are mostly likely going to opt to spot fix a few areas with some creative subfloor tricks and enjoy the charm of having some grades in the floor in certain areas. We’ll just look at it as our way of paying homage to the 130 years of footsteps that creaked around the place.
We’re in the home stretch! Our contractor estimates two more months until we’re at a “good finishing point.” Lol. Honestly, we’re moving fast so it won’t be too far off; we’ll take it with a pinch or two of salt.
Related Stories
- Brownstone Boys: Finding a Place for All the Stuff (Or Making Room for Storage)
- Brownstone Boys: Searching for Wood Strippers to Restore Woodwork
- Brownstone Boys: Capturing Our Inner Designer
Email tips@brownstoner.com with further comments, questions or tips. Follow Brownstoner on Twitter and Instagram, and like us on Facebook.


What's Your Take? Leave a Comment