
Brownstone Boys: How We DIY Landscaped Our Backyard and Patio on a Budget
So far we’ve created a patio, lawn area and planter boxes by doing the work ourselves using a combination of found and new materials.

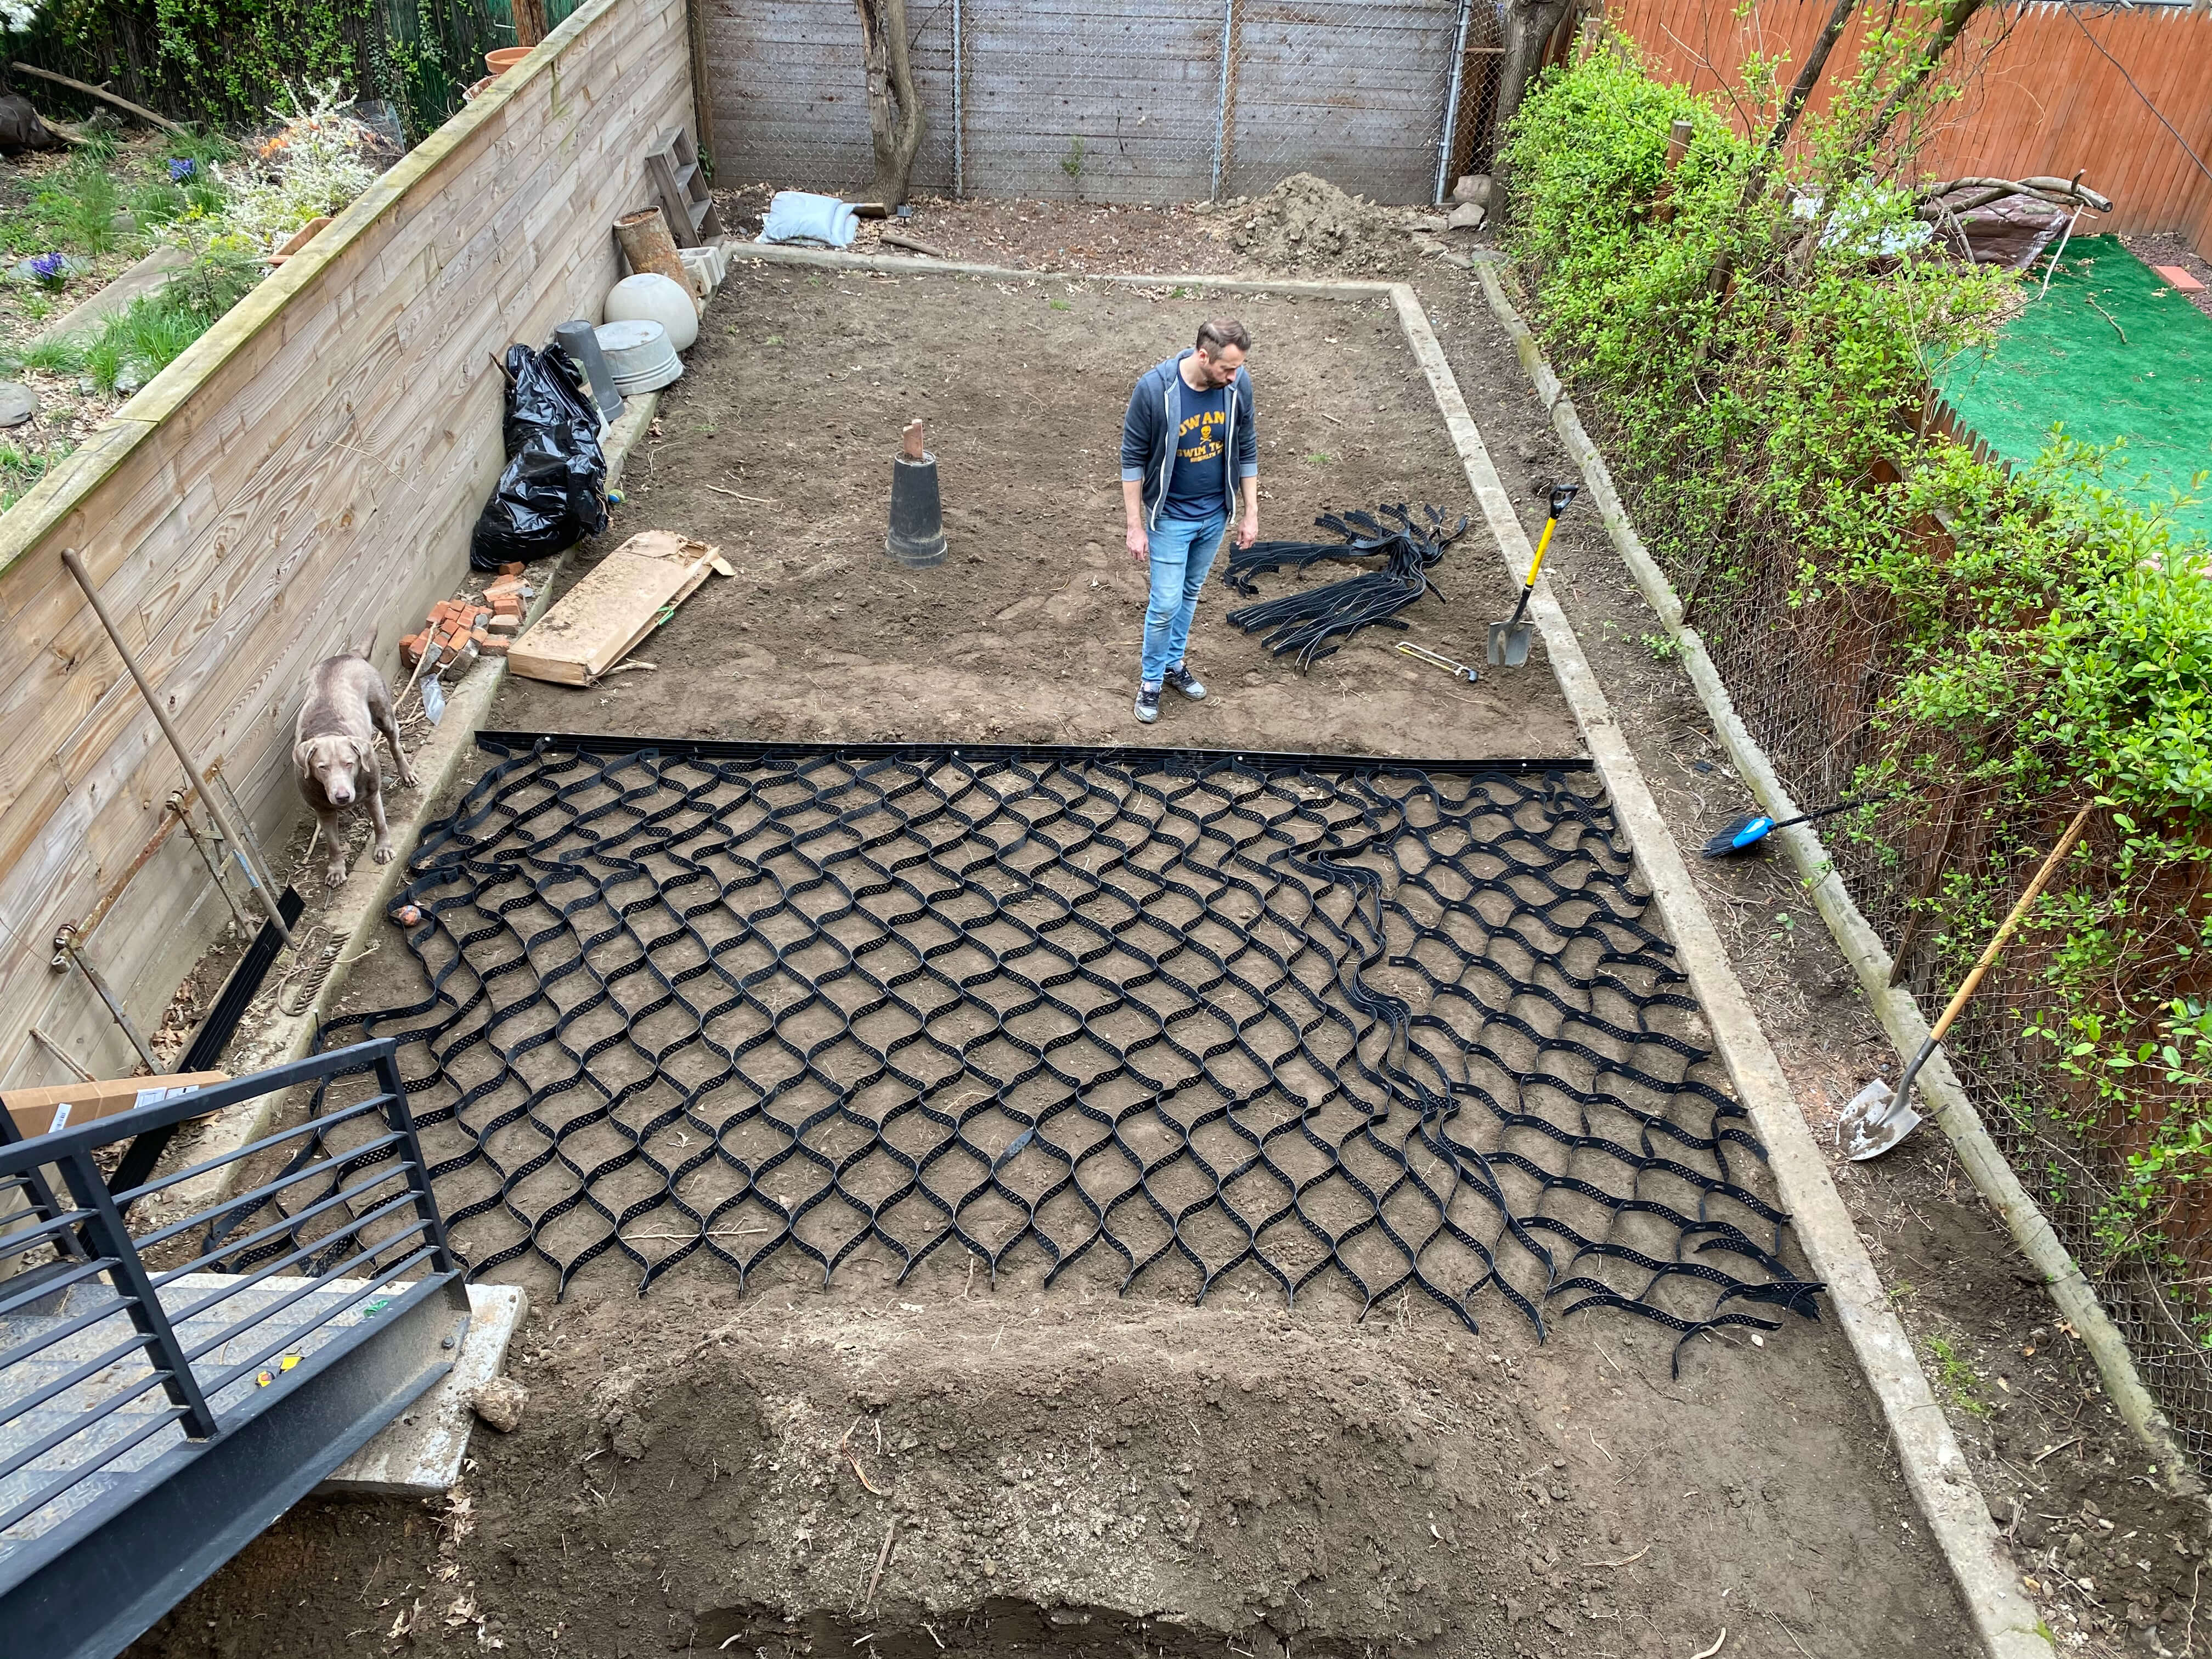
After we built the raised flower bed, we dug down and laid the ground grid
Editor’s note: Welcome to the 69th installment of Brownstone Boys Reno, a reader renovation diary about renovating a brownstone in Bed Stuy. See the first one here. They also blog at www.thebrownstoneboys.com.
We’ve been very excited about starting our backyard makeover for a year and half. It’s hard to believe it‘s here. It was always something we were going to get to once our main renovation was complete. During that process we were so deep into the project it just seemed like something we would never get to. While we still have lots of projects to keep us busy inside, we can now focus some attention to getting our backyard in shape for summer.
We’ve already thought about what our priorities are for the space. We’ve planned it out and we’re half way through the work. The design will feature a hardscape area for entertaining, a grassy area for relaxing, and lots of plantings.
Budget
…Or lack of! This is a post-renovation project that really never had an official budget. We are moving to it quite quickly after a major renovation that, of course, didn’t leave anything in the contingency fund. So we want to make our backyard as beautiful as we can on a slim budget to buy plants, some kind of hardscape solution, and maybe a couple of pieces of furniture. We are hoping to spend about $2,500 on the whole thing. It’s almost nothing compared to the tens of thousands we see some people spend. It should be interesting to see how far we could stretch it!
The Design
Our backyard had an interesting feature that we’ve learned was popular in Brooklyn in the 1950s and ’60s. A path with two cement curbs on the sides framed the yard. It created a narrow flower bed along the fence and a grassy rectangle in the middle. The path itself felt pretty useless to us and it had the effect of making the backyard seem smaller and narrower. Most of our initial designs kept that feature because we didn’t want to go through the trouble and expense of removing the cement then hauling it all away. It was feeling a bit restrictive in what we could do with the space so we ultimately decided to get rid of it. With a borrowed jackhammer and a mallet, we prepared for some sore muscles.
We discovered that lining the path all the way around was bluestone concealed under a thin layer of dirt. Have we found our solution to a budget-friendly hardscape surface? We pulled all of the stone up and there were some really large pieces. It wasn’t quite enough to build the patio we wanted, but it would save us a lot of money buying pavers and drastically cut down on the expense of hauling away debris. So we planned on working it into the design.
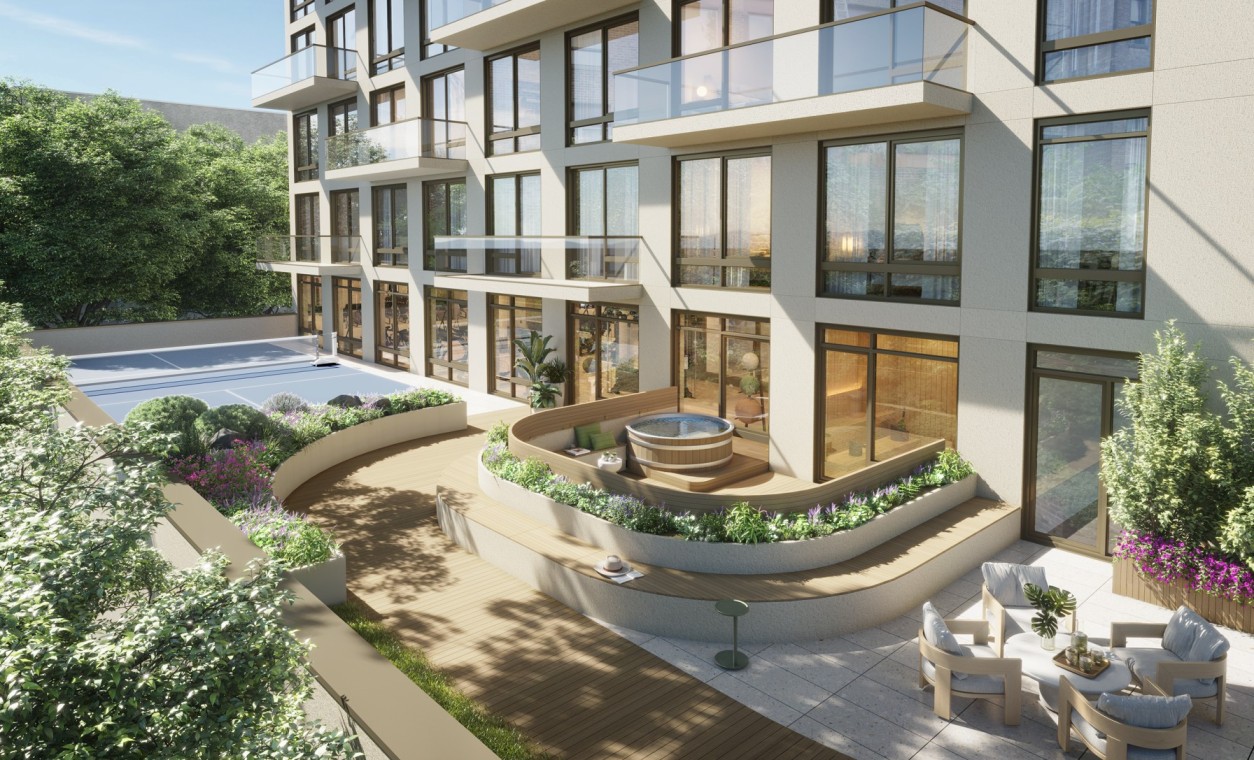
As with many of the spaces in our design, we found an inspiration picture, with help from our backyard enthusiast designer friend, Jeanette, that closely resembled what we wanted. In that picture pea gravel was used for the patio area. Although we know it’s not for everyone, we really like the Mediterranean vibe it gives the space. So Jeanette helped us come up with a plan to use our reclaimed bluestone along with pea gravel to create a patio area. It will be very budget friendly and reduce the amount of work required to remove debris and bring in materials.
The back half of the yard, which gets the most sun, will be a grassy lawn. We’re using a special mix of grass seed that is drought resistant (in case we forget to water it), dog friendly (for Zuko), and does well in partial sun. We plan to leave the outside cement curb that creates the flower beds along the perimeter to make room for plantings. The last feature will be an easy-to-build tall planter for flowers in the center of the patio to create some interest with different heights. It also will provide a separation of space so our tenant can have a semi-private patio as well.
The Patio
To make our bluestone and pea gravel patio we first needed to dig down to provide room for the base layer and gravel layer. To make the base layer more solid and reduce the depth of it, Jeanette suggested that we order a ground grid. It’s basically a 2-inch-deep plastic honeycomb that unfolds to create pockets that hold the base layer to create a solid foundation. We decided to do a 2-inch-high base layer of sand with 2 inches of gravel/flagstone on top. We ordered our materials (we’re currently staying home because of the pandemic) so that it would all arrive before we needed it.
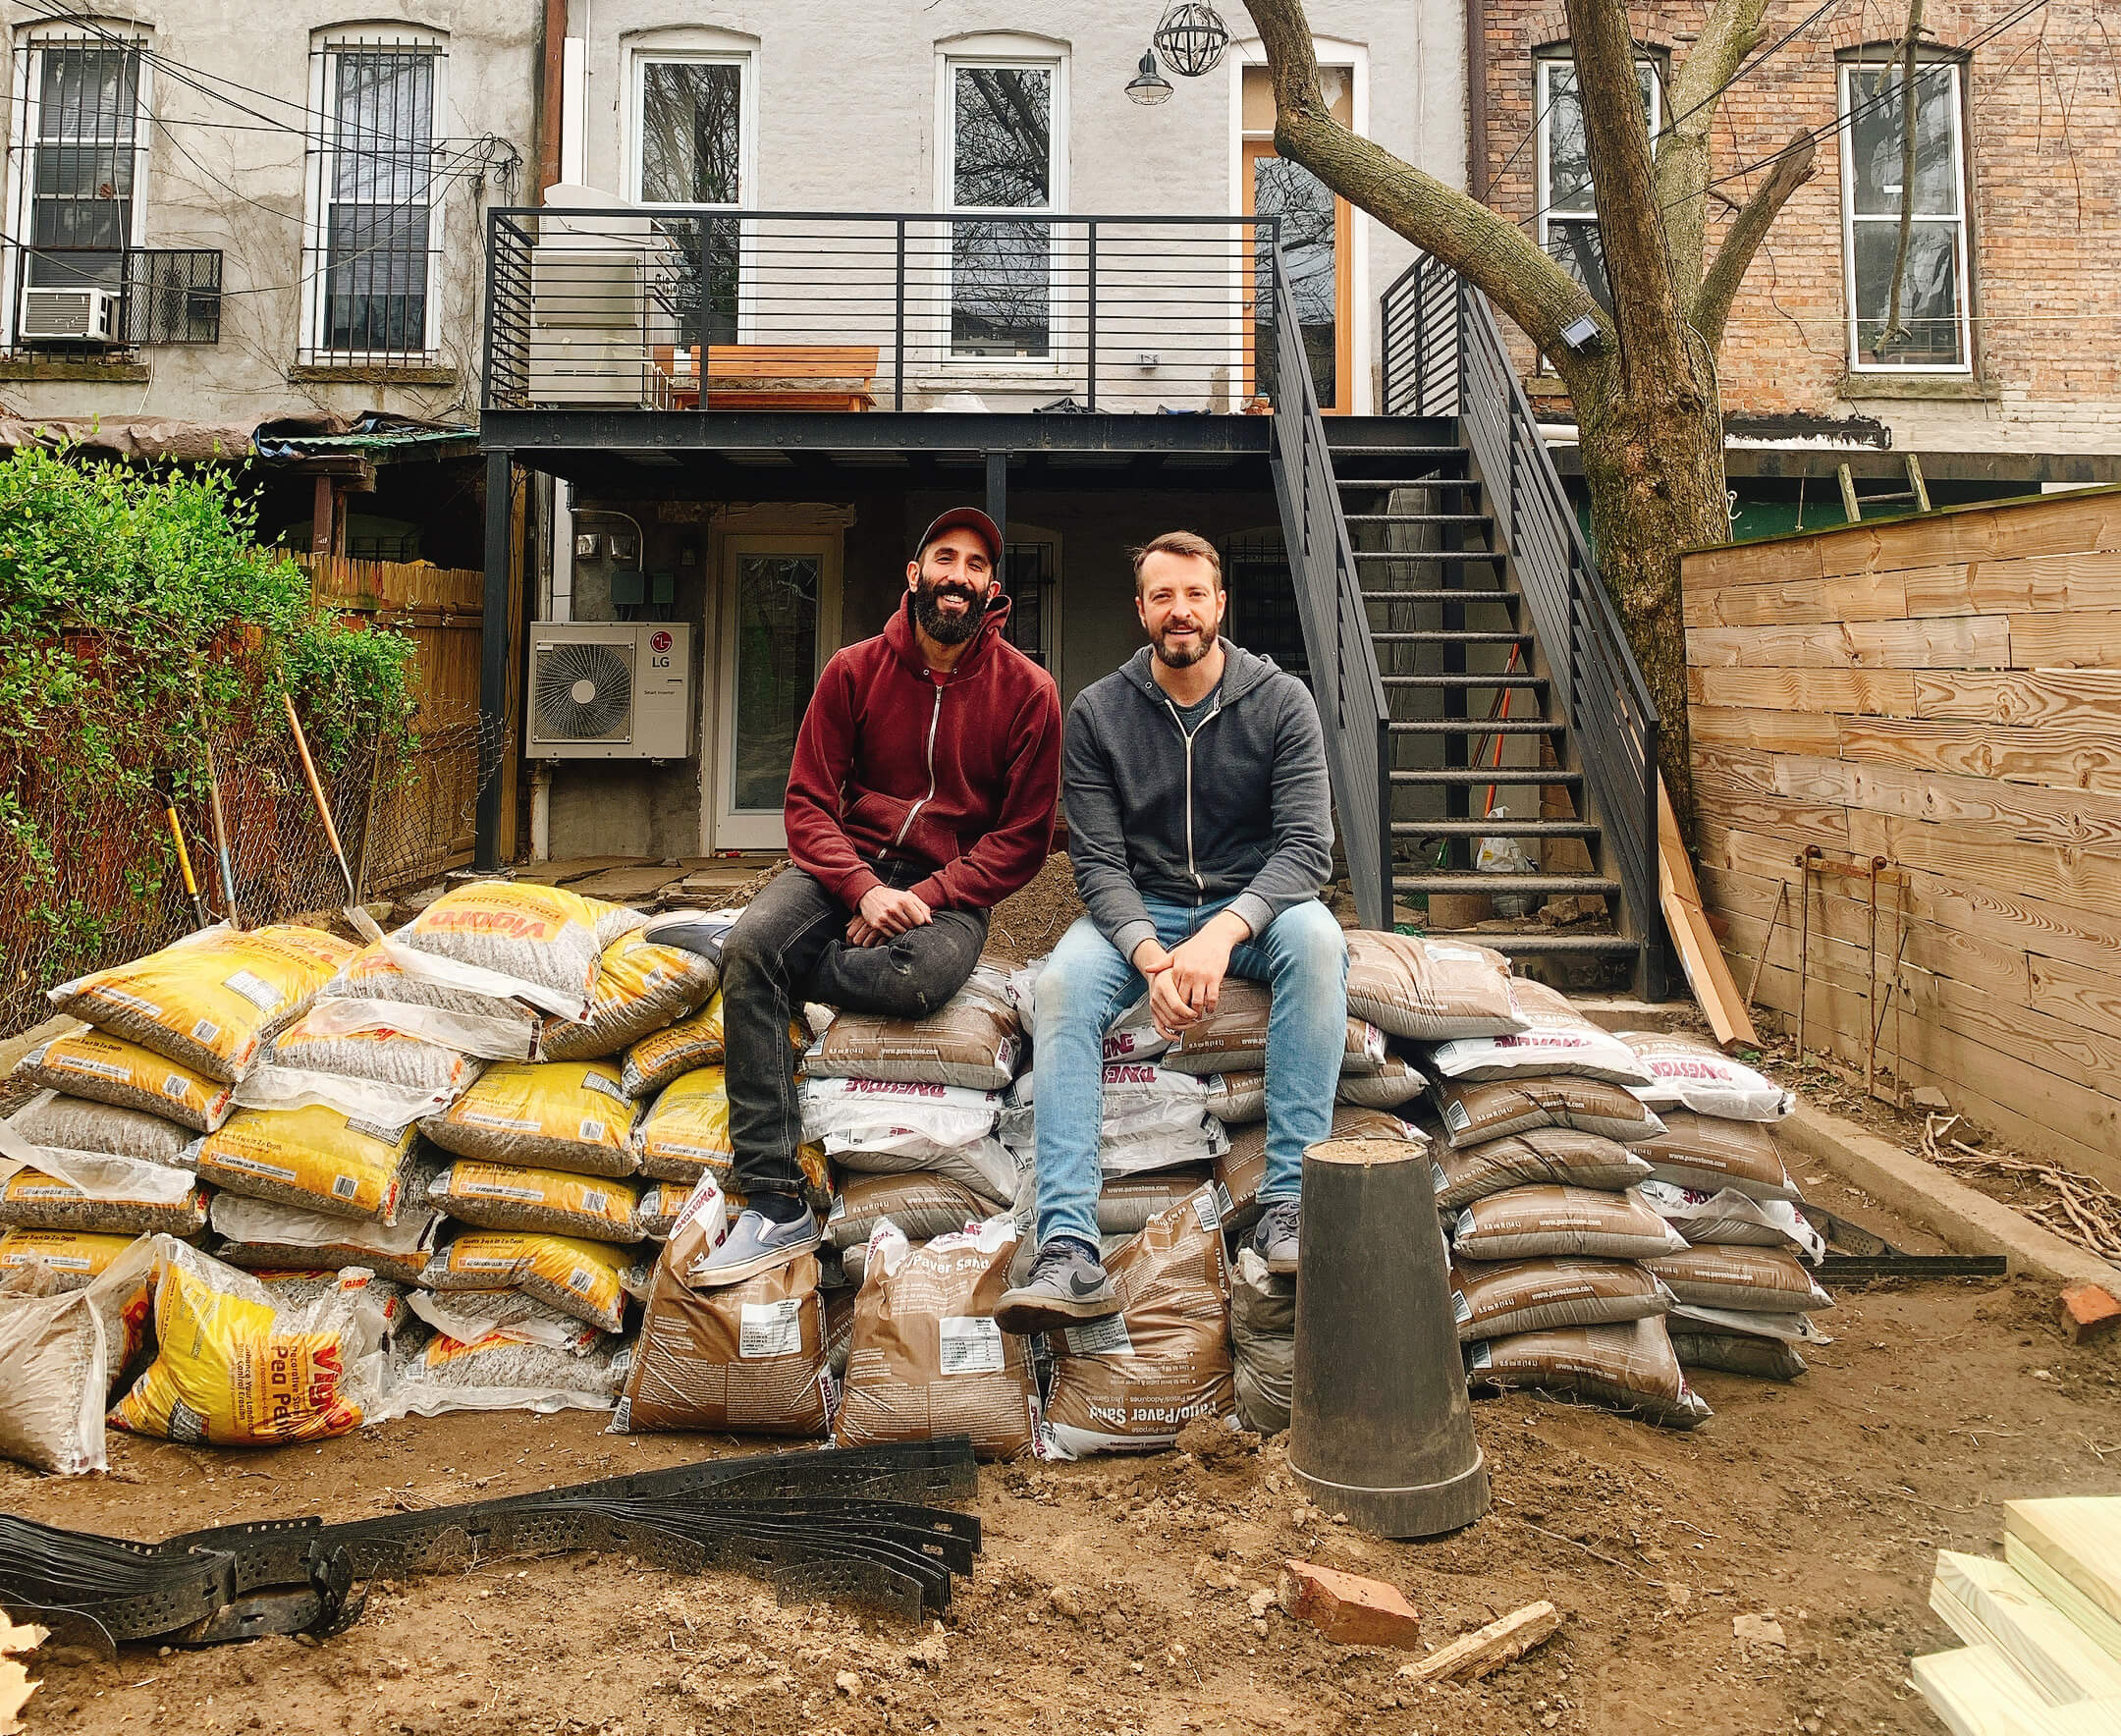
For the first phase, here are the materials we needed to order:
Ground grid $200
45 cubic feet of leveling sand $360
30 cubic feet of pea gravel (less than the sand because of the bluestone) $250
Metal landscape edging $45
Six 2X8X12 boards, three 2X8X8 boards, two 2X4X8 boards and one box of 3-inch deck screws $100
One bag of lawn seed $18
We dug down 4 inches, moving the extra dirt to the back of the yard, and leaving some where the planter box will go. We graded it slightly away from the house and did our best to level it off. The next step was to install the landscape edging. This is important to keep the gravel and sand from migrating over into the lawn area. It came in 5-foot lengths that slid together to create the needed size. Metal stakes were included to anchor it into place.
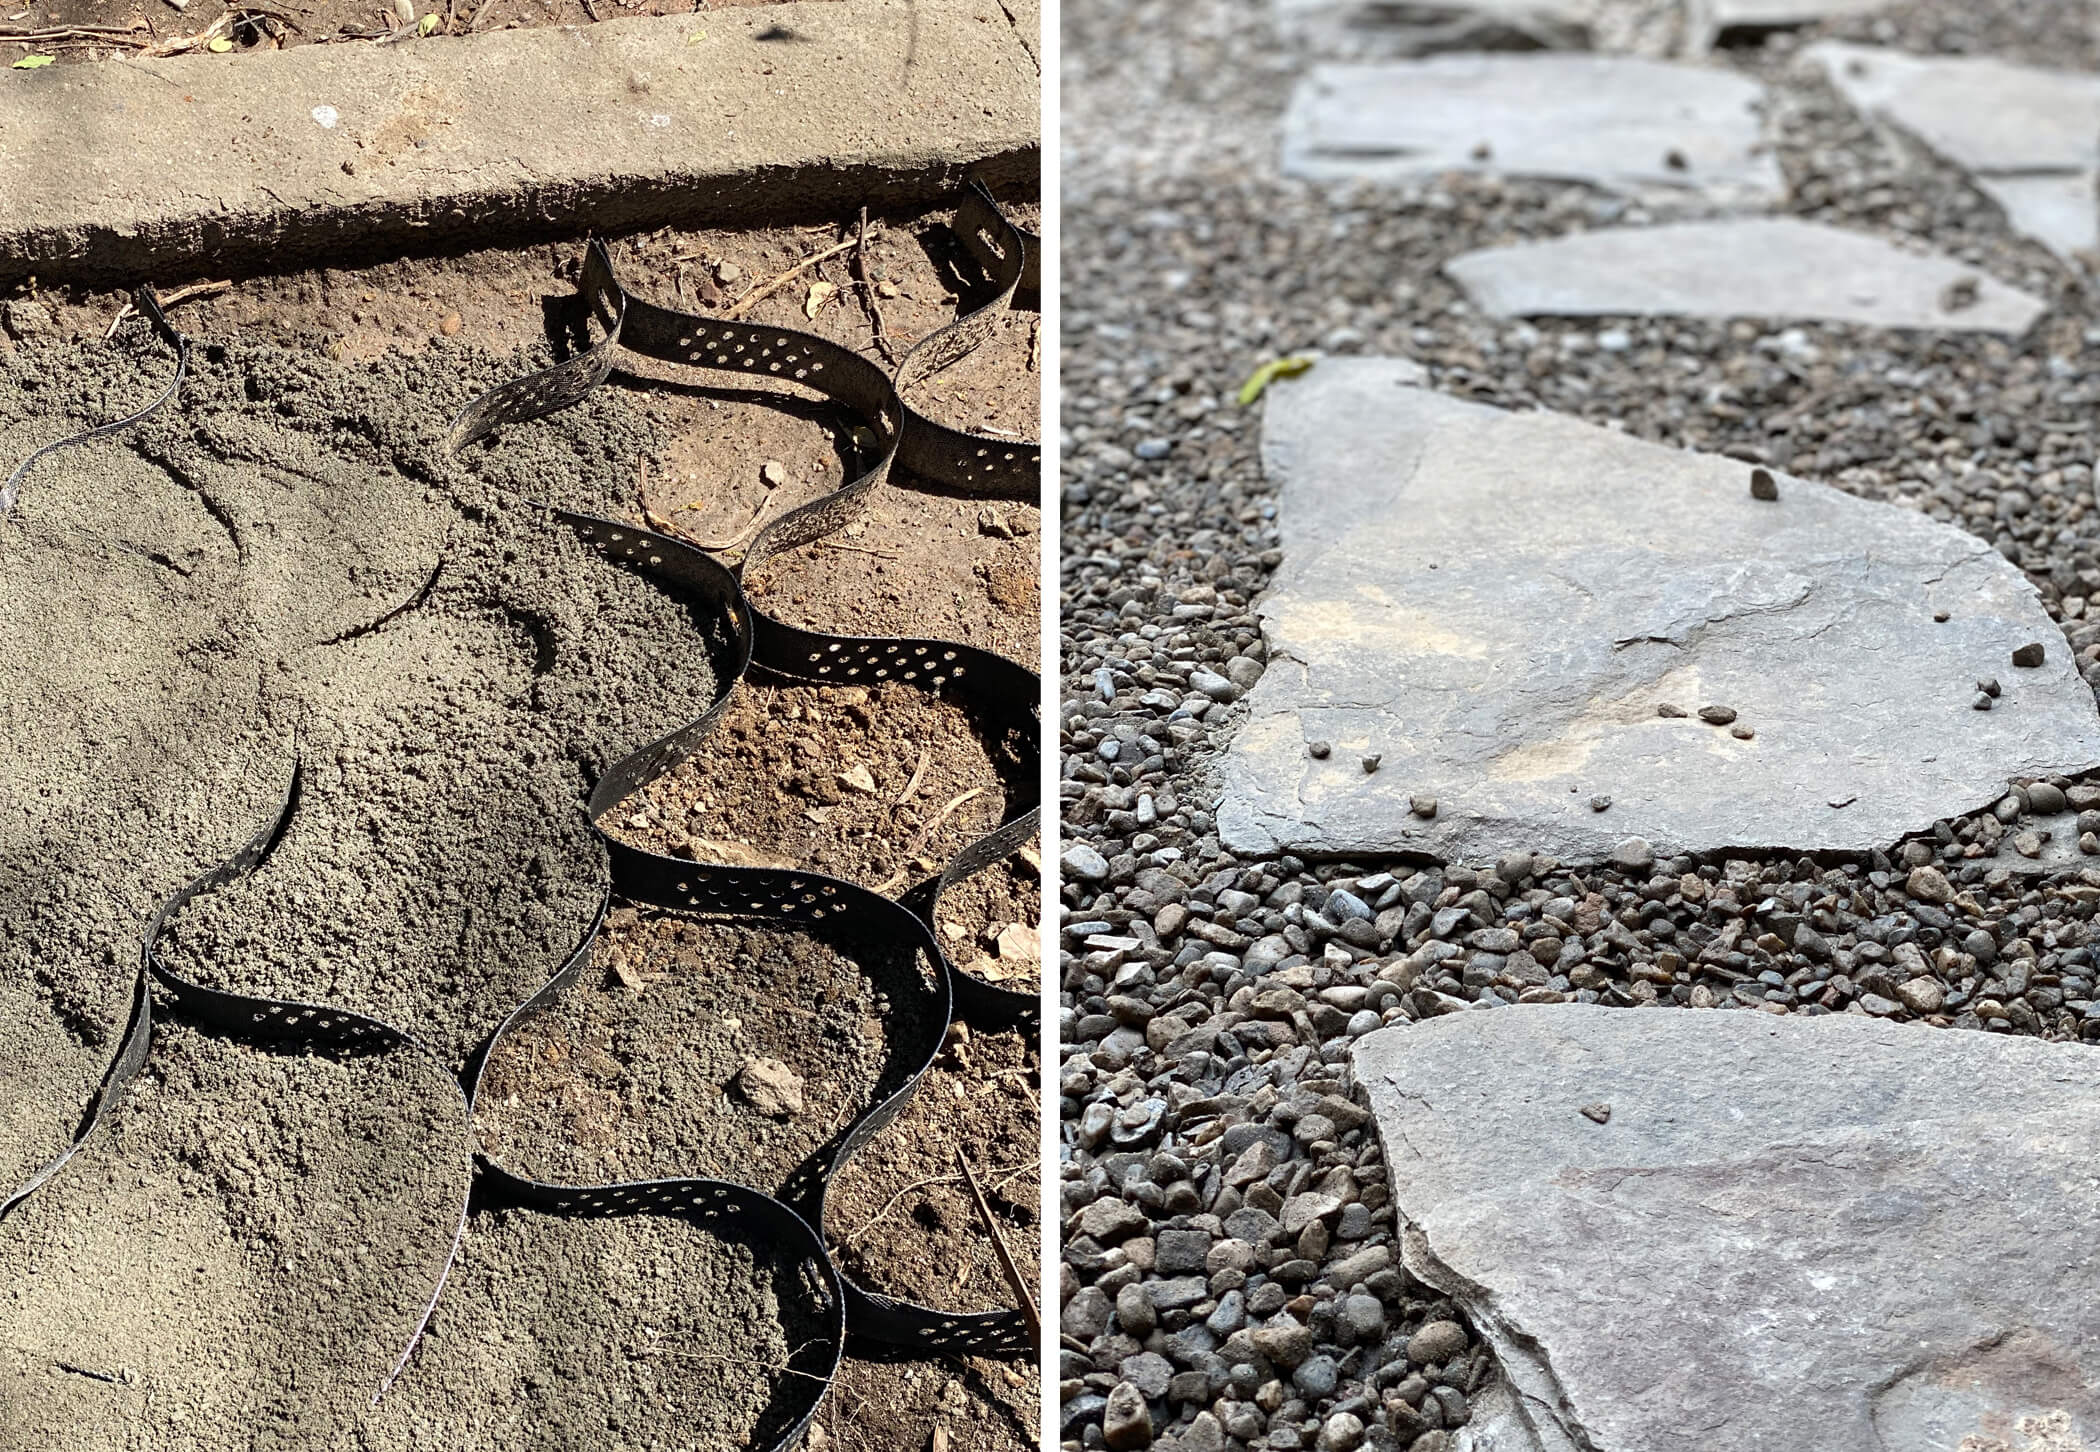
Installing the ground grid was super easy. It is shipped in a relatively small box and unfolds like an accordion to create the honeycomb. It was as simple as stretching it out into place.
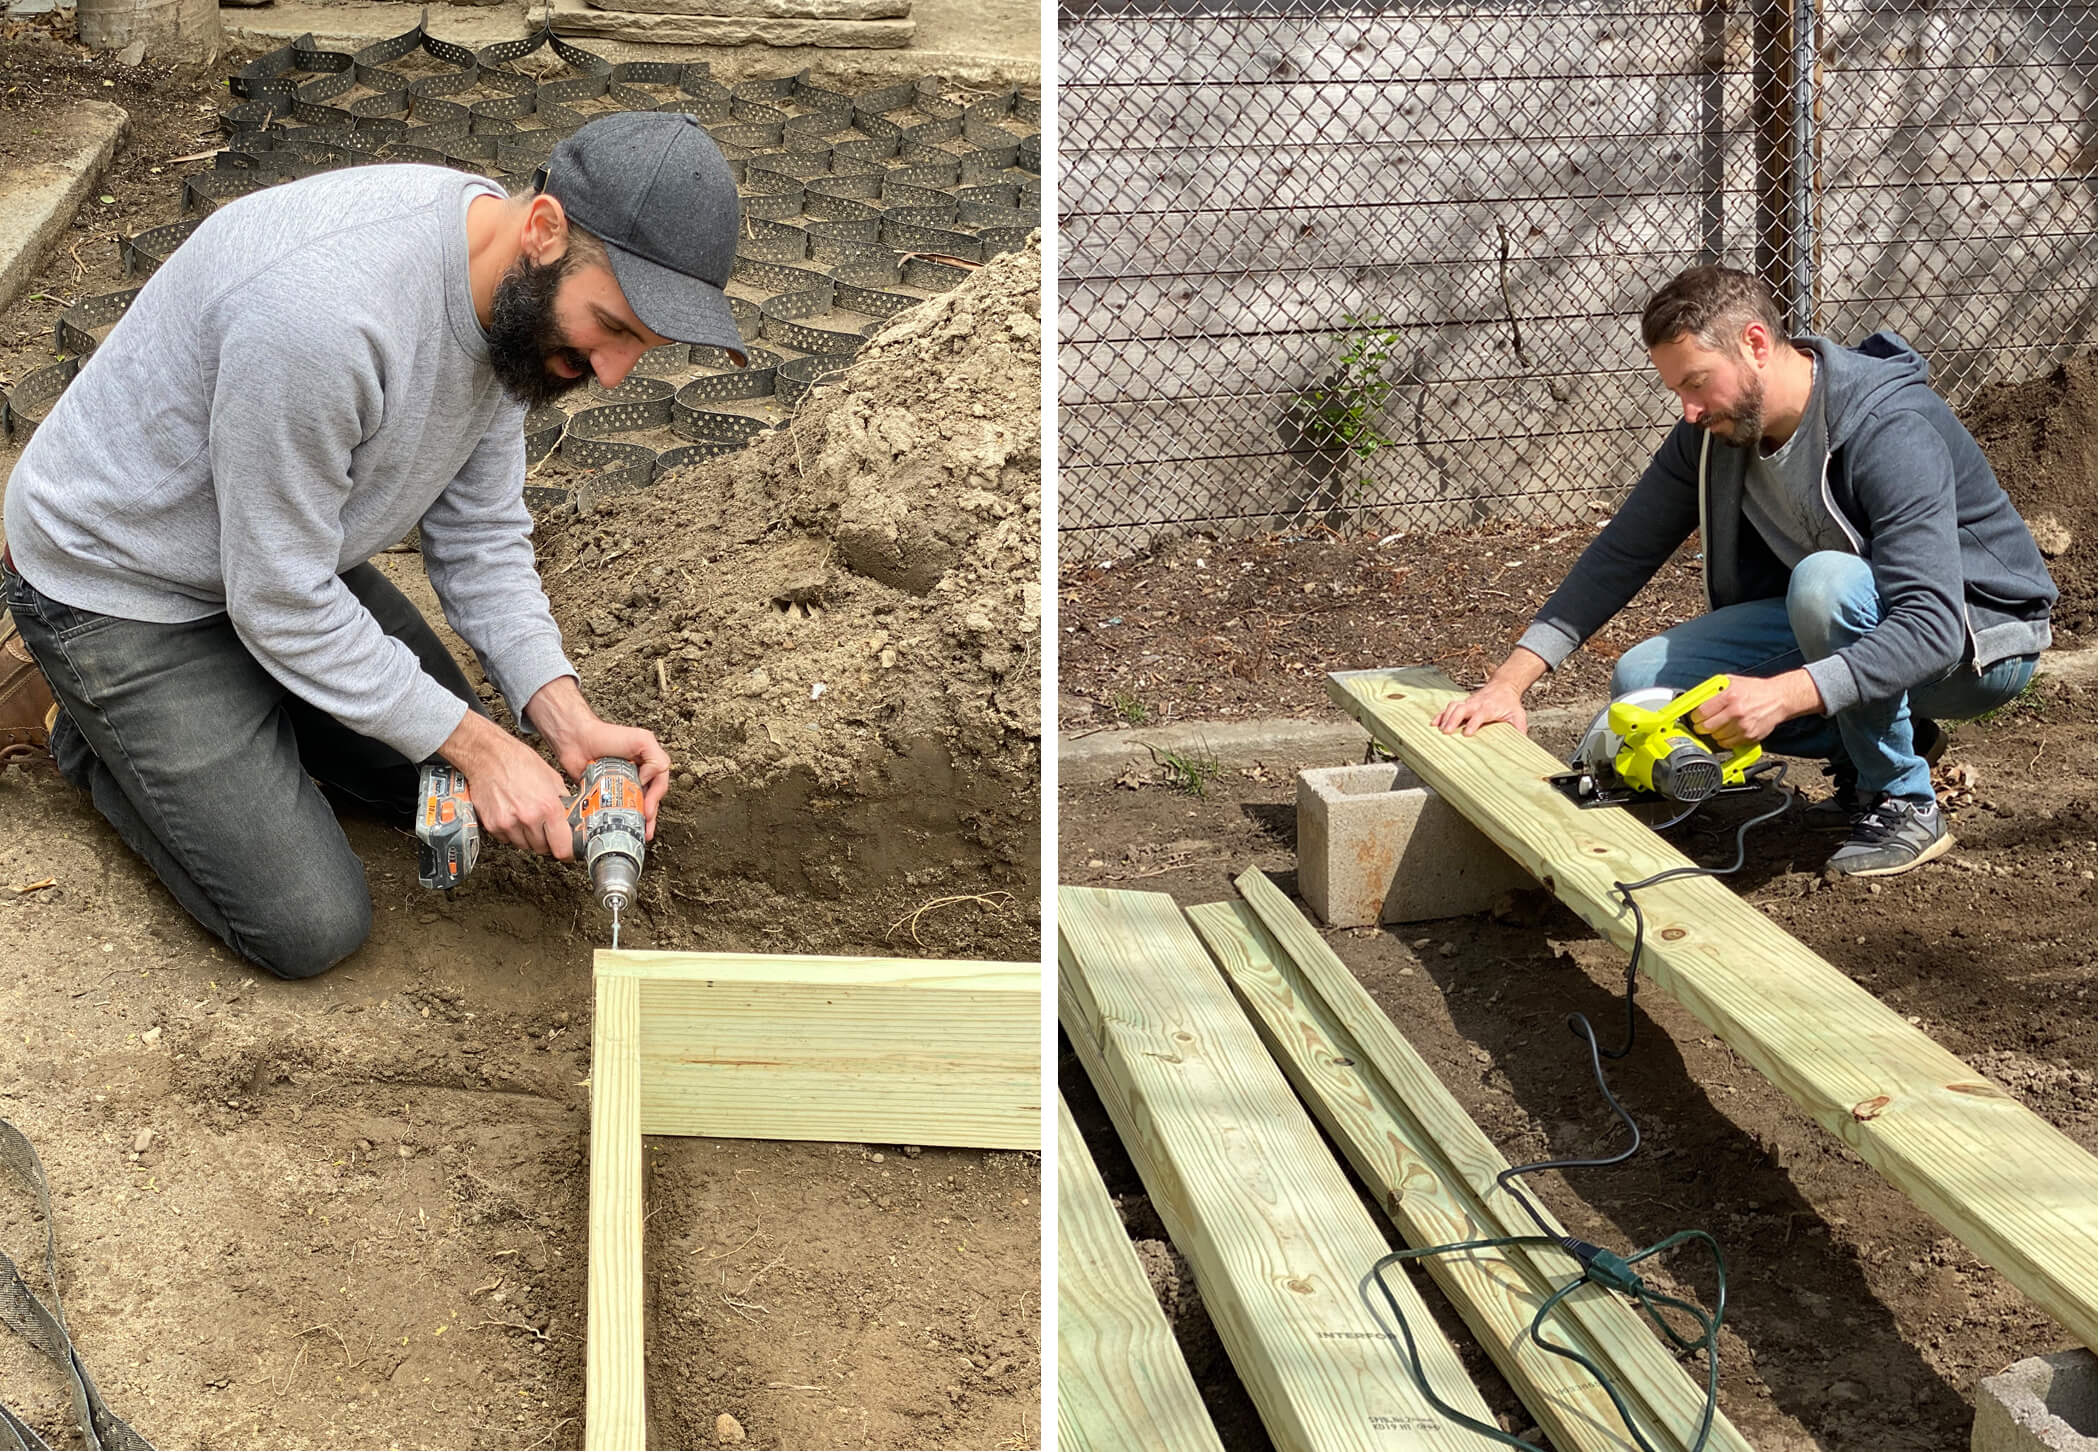
The next step was to build the tall planter box. It was going to act as edging for the sand and gravel so we wanted to get it built first. It’s an easy project any novice with a skill saw and drill can do. Our design is three stacked 2×8 boards all the way around with 2x4s in the corners to provide strength and anchor it into the ground. Here is what we did:
Measure the area and plan the length of all of your boards.
Cut all boards to length using a skill saw.
Screw the base ring of 2x8s together with the longer side overlapping the edge of the smaller side.
Screw the 2x4s into the corners with about 3 inches sticking out of the bottom to anchor it in place (this is a good time to make sure the base ring is square).
Put the base in place and hammer down the 2×4 anchors.
Go around and screw in the remaining boards.
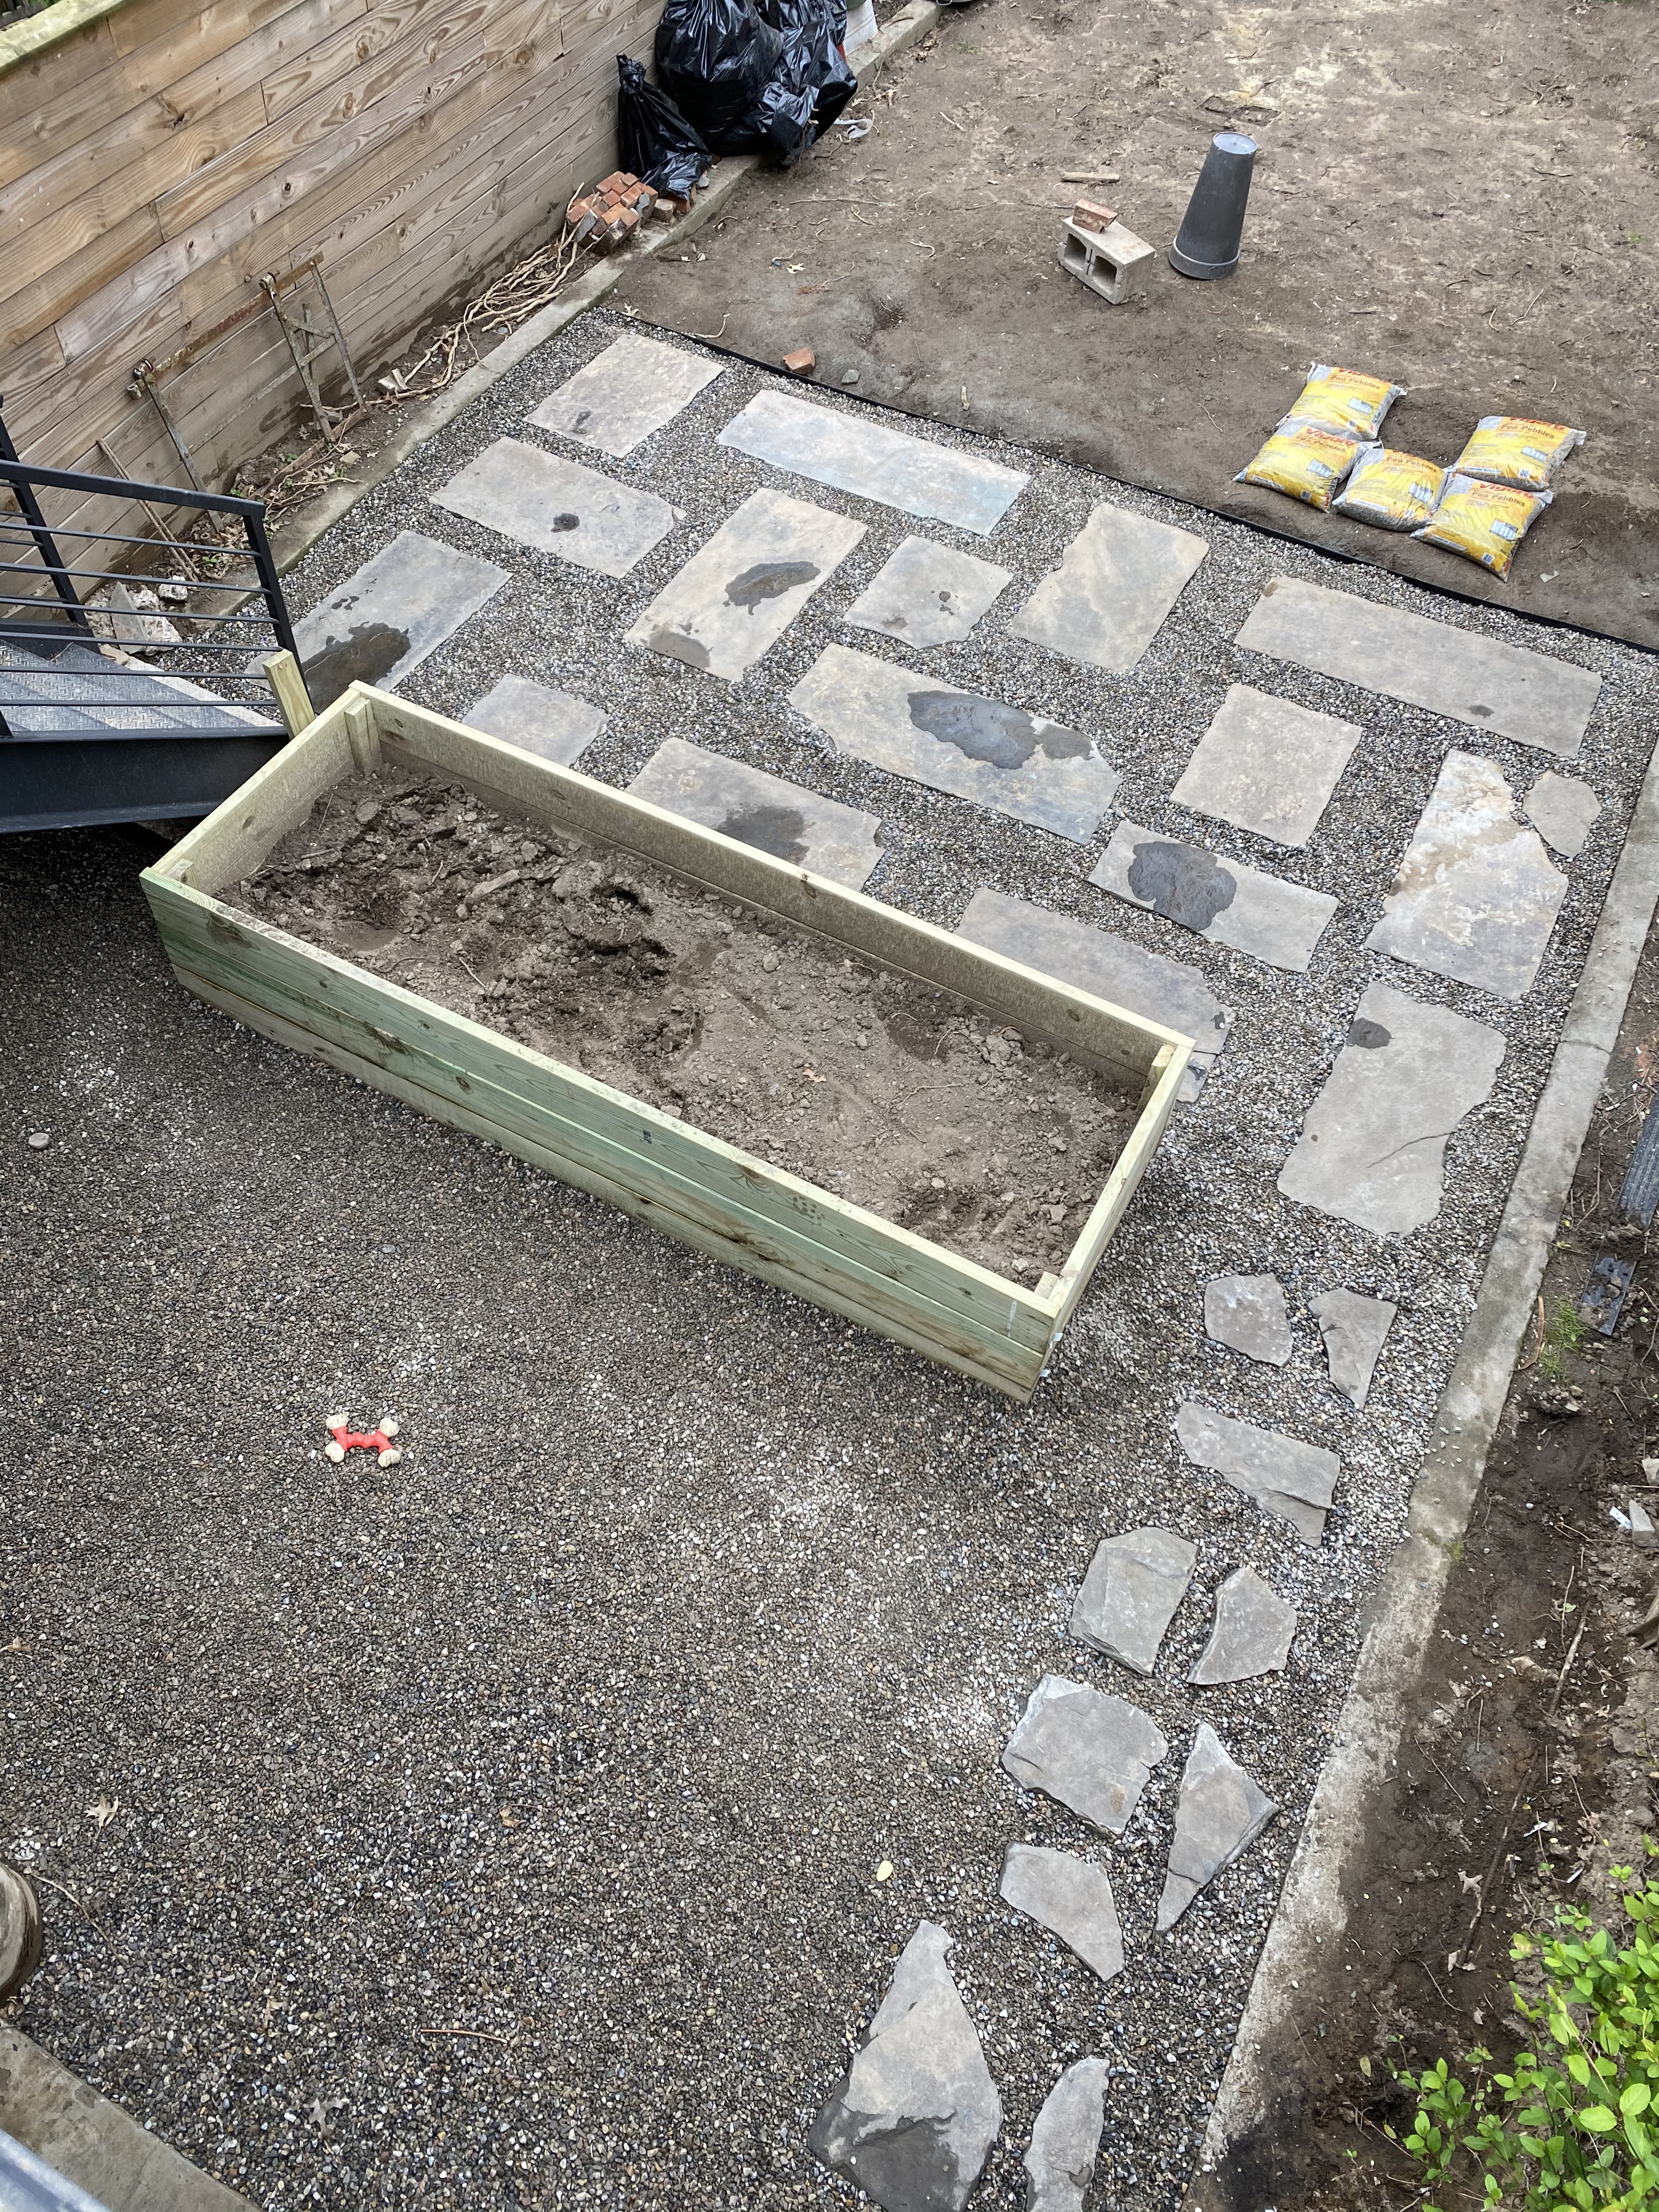
Now that the planter box is in, the space is prepped for the sand and gravel installation. This went very fast! We had all of the bags of sand poured out in about 30 or 40 minutes.
Next we laid out the pattern for the bluestone. We leveled all the pieces using the sand, carefully raising or lowering each one (they are all different heights which made them tough to work with) by adding or removing sand underneath.
Once the stone was all in place and leveled we just needed to pour out the bags of gravel. Thirty minutes later we had a complete patio space! We really love the way it came out. We like the clean look the gravel gives the space. It’s comfortable to walk on and it was easy to install. Best yet we have only spent $950 so far, so that gives us a nice budget for plants.
That’s where we are. Our next backyard post will happen once the space is finished, so stay tuned.
[Photos by Brownstone Boys unless noted otherwise]
Related Stories
- Brownstone Boys: Soundproofing During a Renovation
- Brownstone Boys: Our Top 5 Ideas for DIY Projects While We #StayHome
- Brownstone Boys: Extra Time on Your Hands at Home? Planning a Renovation or Home Makeover
Sign up for amNY’s COVID-19 newsletter to stay up to date on the latest coronavirus news throughout New York City. Email tips@brownstoner.com with further comments, questions or tips. Follow Brownstoner on Twitter and Instagram, and like us on Facebook.

What's Your Take? Leave a Comment