
Brownstone Boys: Tiles, Counters, and Hardwood...Oh My!
We are finally working on the tiling, hardwood flooring and plaster.

The guest bathroom will be classic with a vintage touch
Editor’s note: Welcome to the 30th installment of Brownstone Boys Reno, a reader renovation diary. We’re excited to publish their tale of buying and renovating a brownstone in Bed Stuy. See the first one here. They also blog at www.thebrownstoneboys.com.
In the past five months a lot of demo and building has been going on, but the next few weeks are going to show the biggest transformation so far. That’s because we are now working on the stuff that you’re going to be able to see when we’re done! Work is finally happening for the tiling, hardwood flooring, and plaster.
It’s crunch time to make decisions about the surfaces and we’re on it! The last thing we want is a delay in the project if we can’t make up our mind, so here goes.
Hardwood Flooring
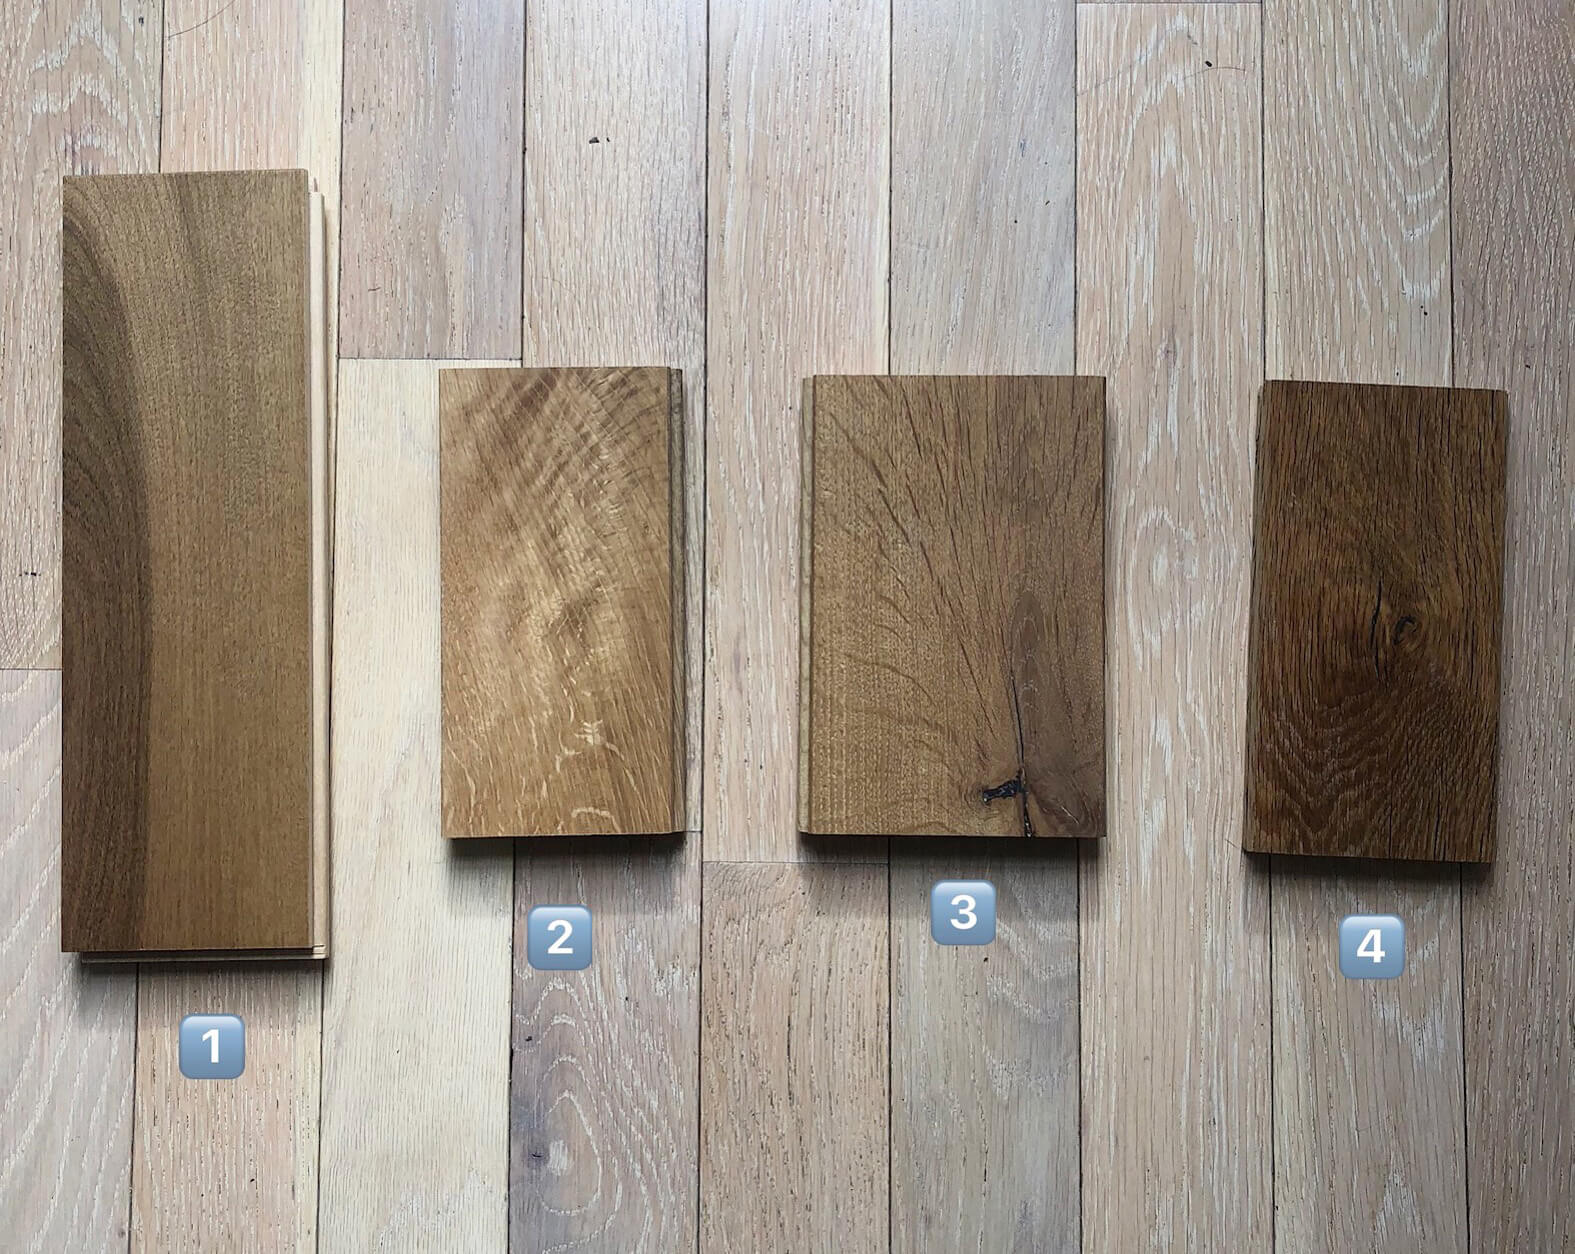
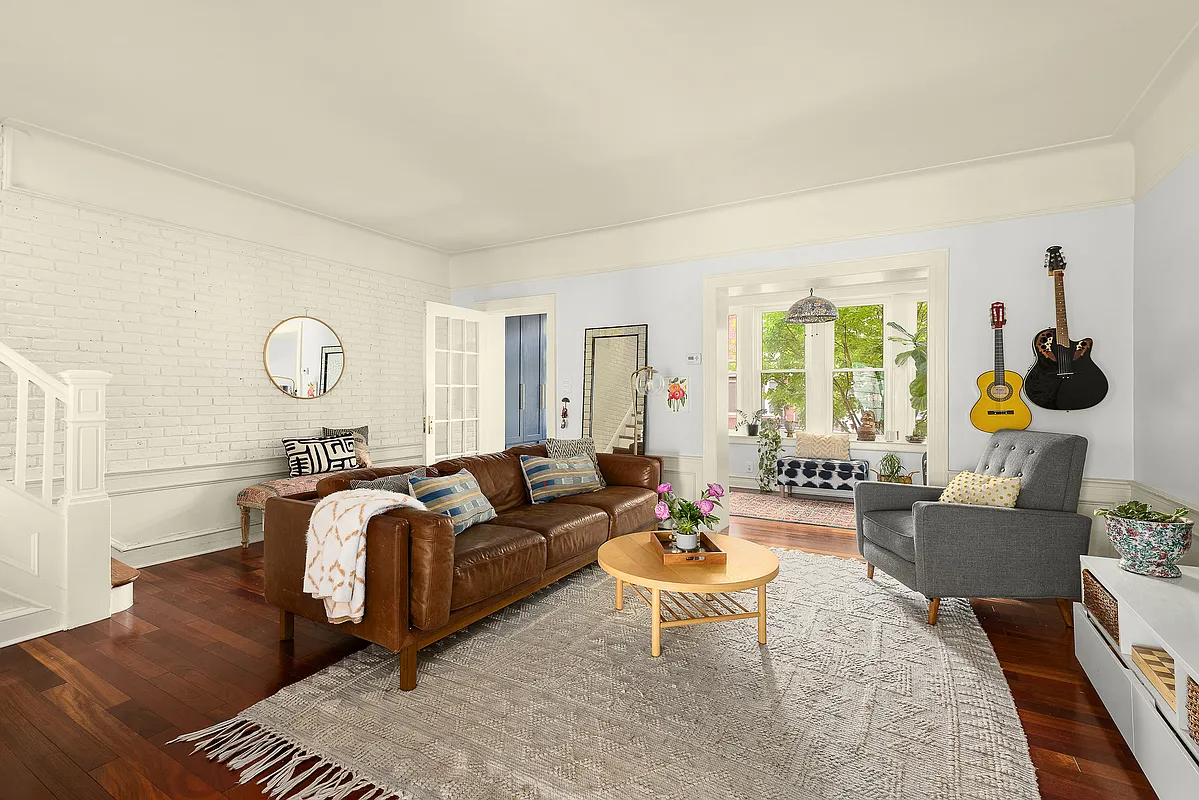
We bought the place with 3 and 1/4 inch solid white oak flooring with a white wash finish installed throughout. It certainly wouldn’t have been our first (second, third or fourth) choice. We thought about taking it all out and getting something new, but it’s solid wood floors that are in decent shape. We decided to just fill in areas with the same floor (it’s a fraction of the price of any of the others we were considering), sand, and refinish them. We already sanded one of the boards that was removed with demo and once the awful white wash finish is off it’s beautiful white oak wood. We’re planning on just putting a matte natural finish on it to bring out the tone and make the place light and airy. Does anyone recommend a stain they prefer or love?
Kitchen Counters
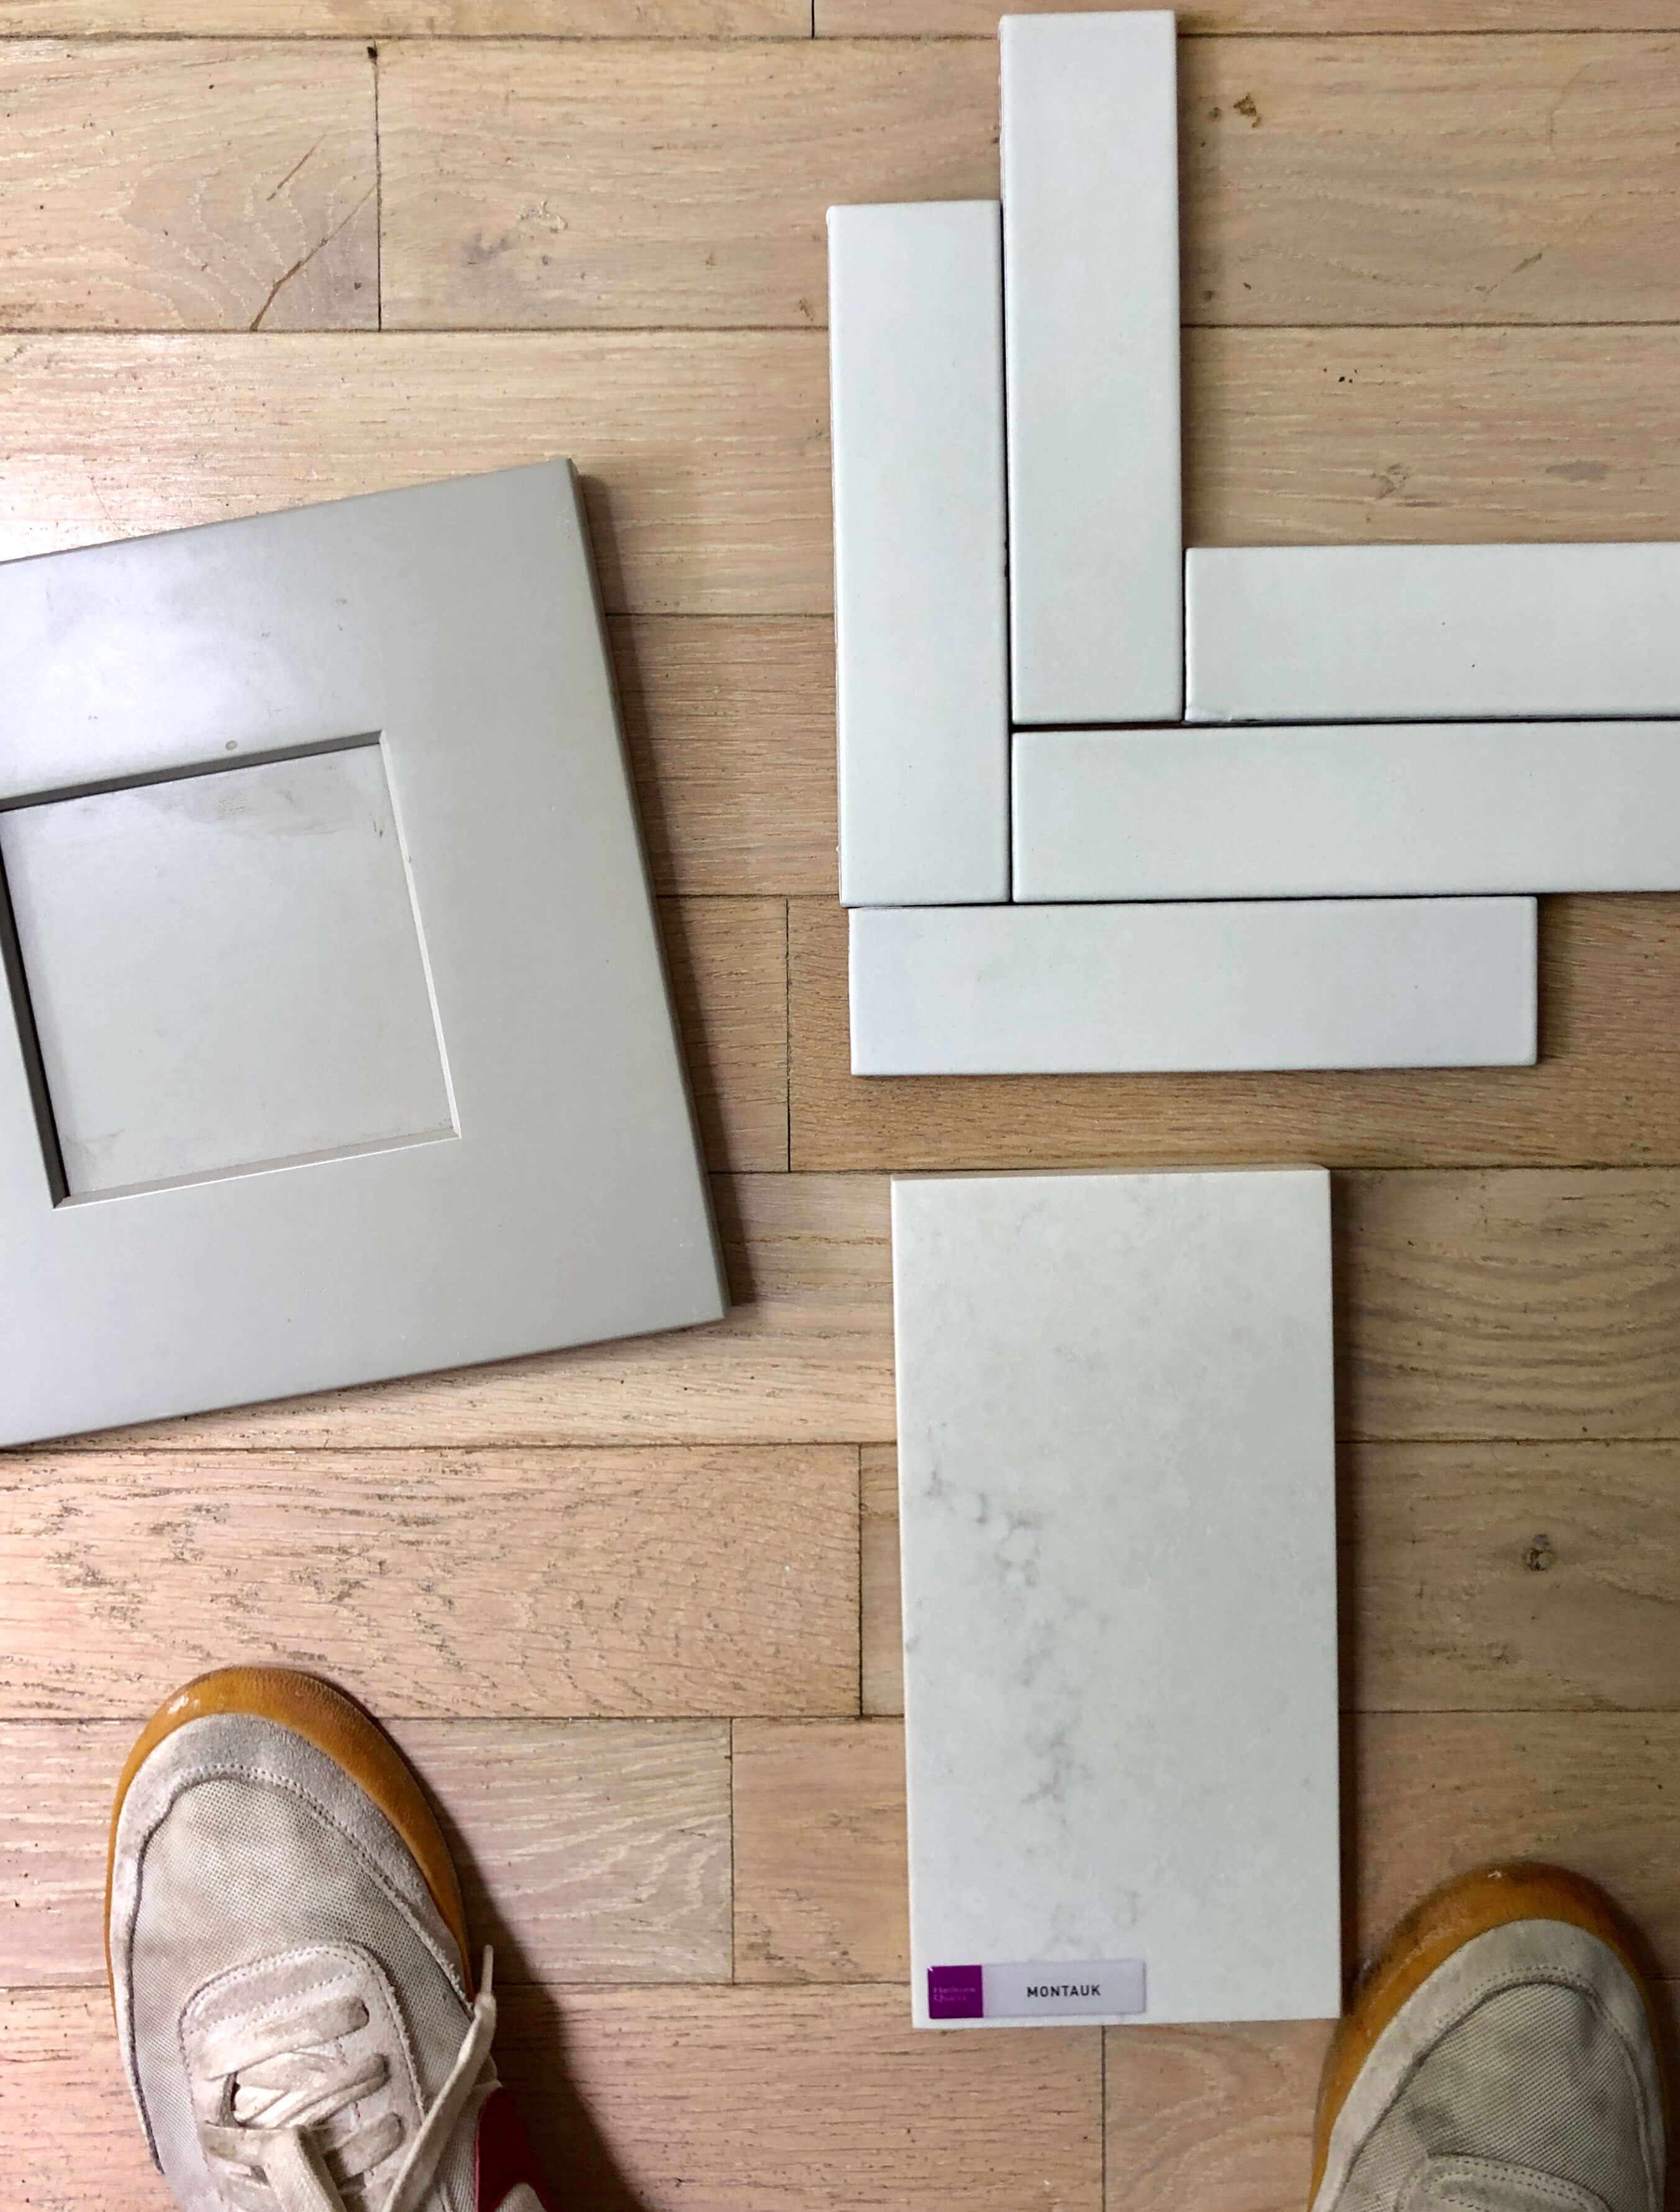
We’ve already ordered our kitchen cabinets. The cabinets were one of the first items we ordered from the RTA Cabinet store. They have been sitting in their storage unit and are ready for delivery. The cabinets are a simple grey Shaker style. Picking out the kitchen counters was something that could wait, but we planned on a white quartz to contrast with the grey cabinets, similar to our kitchen inspiration picture from Branca & Co.
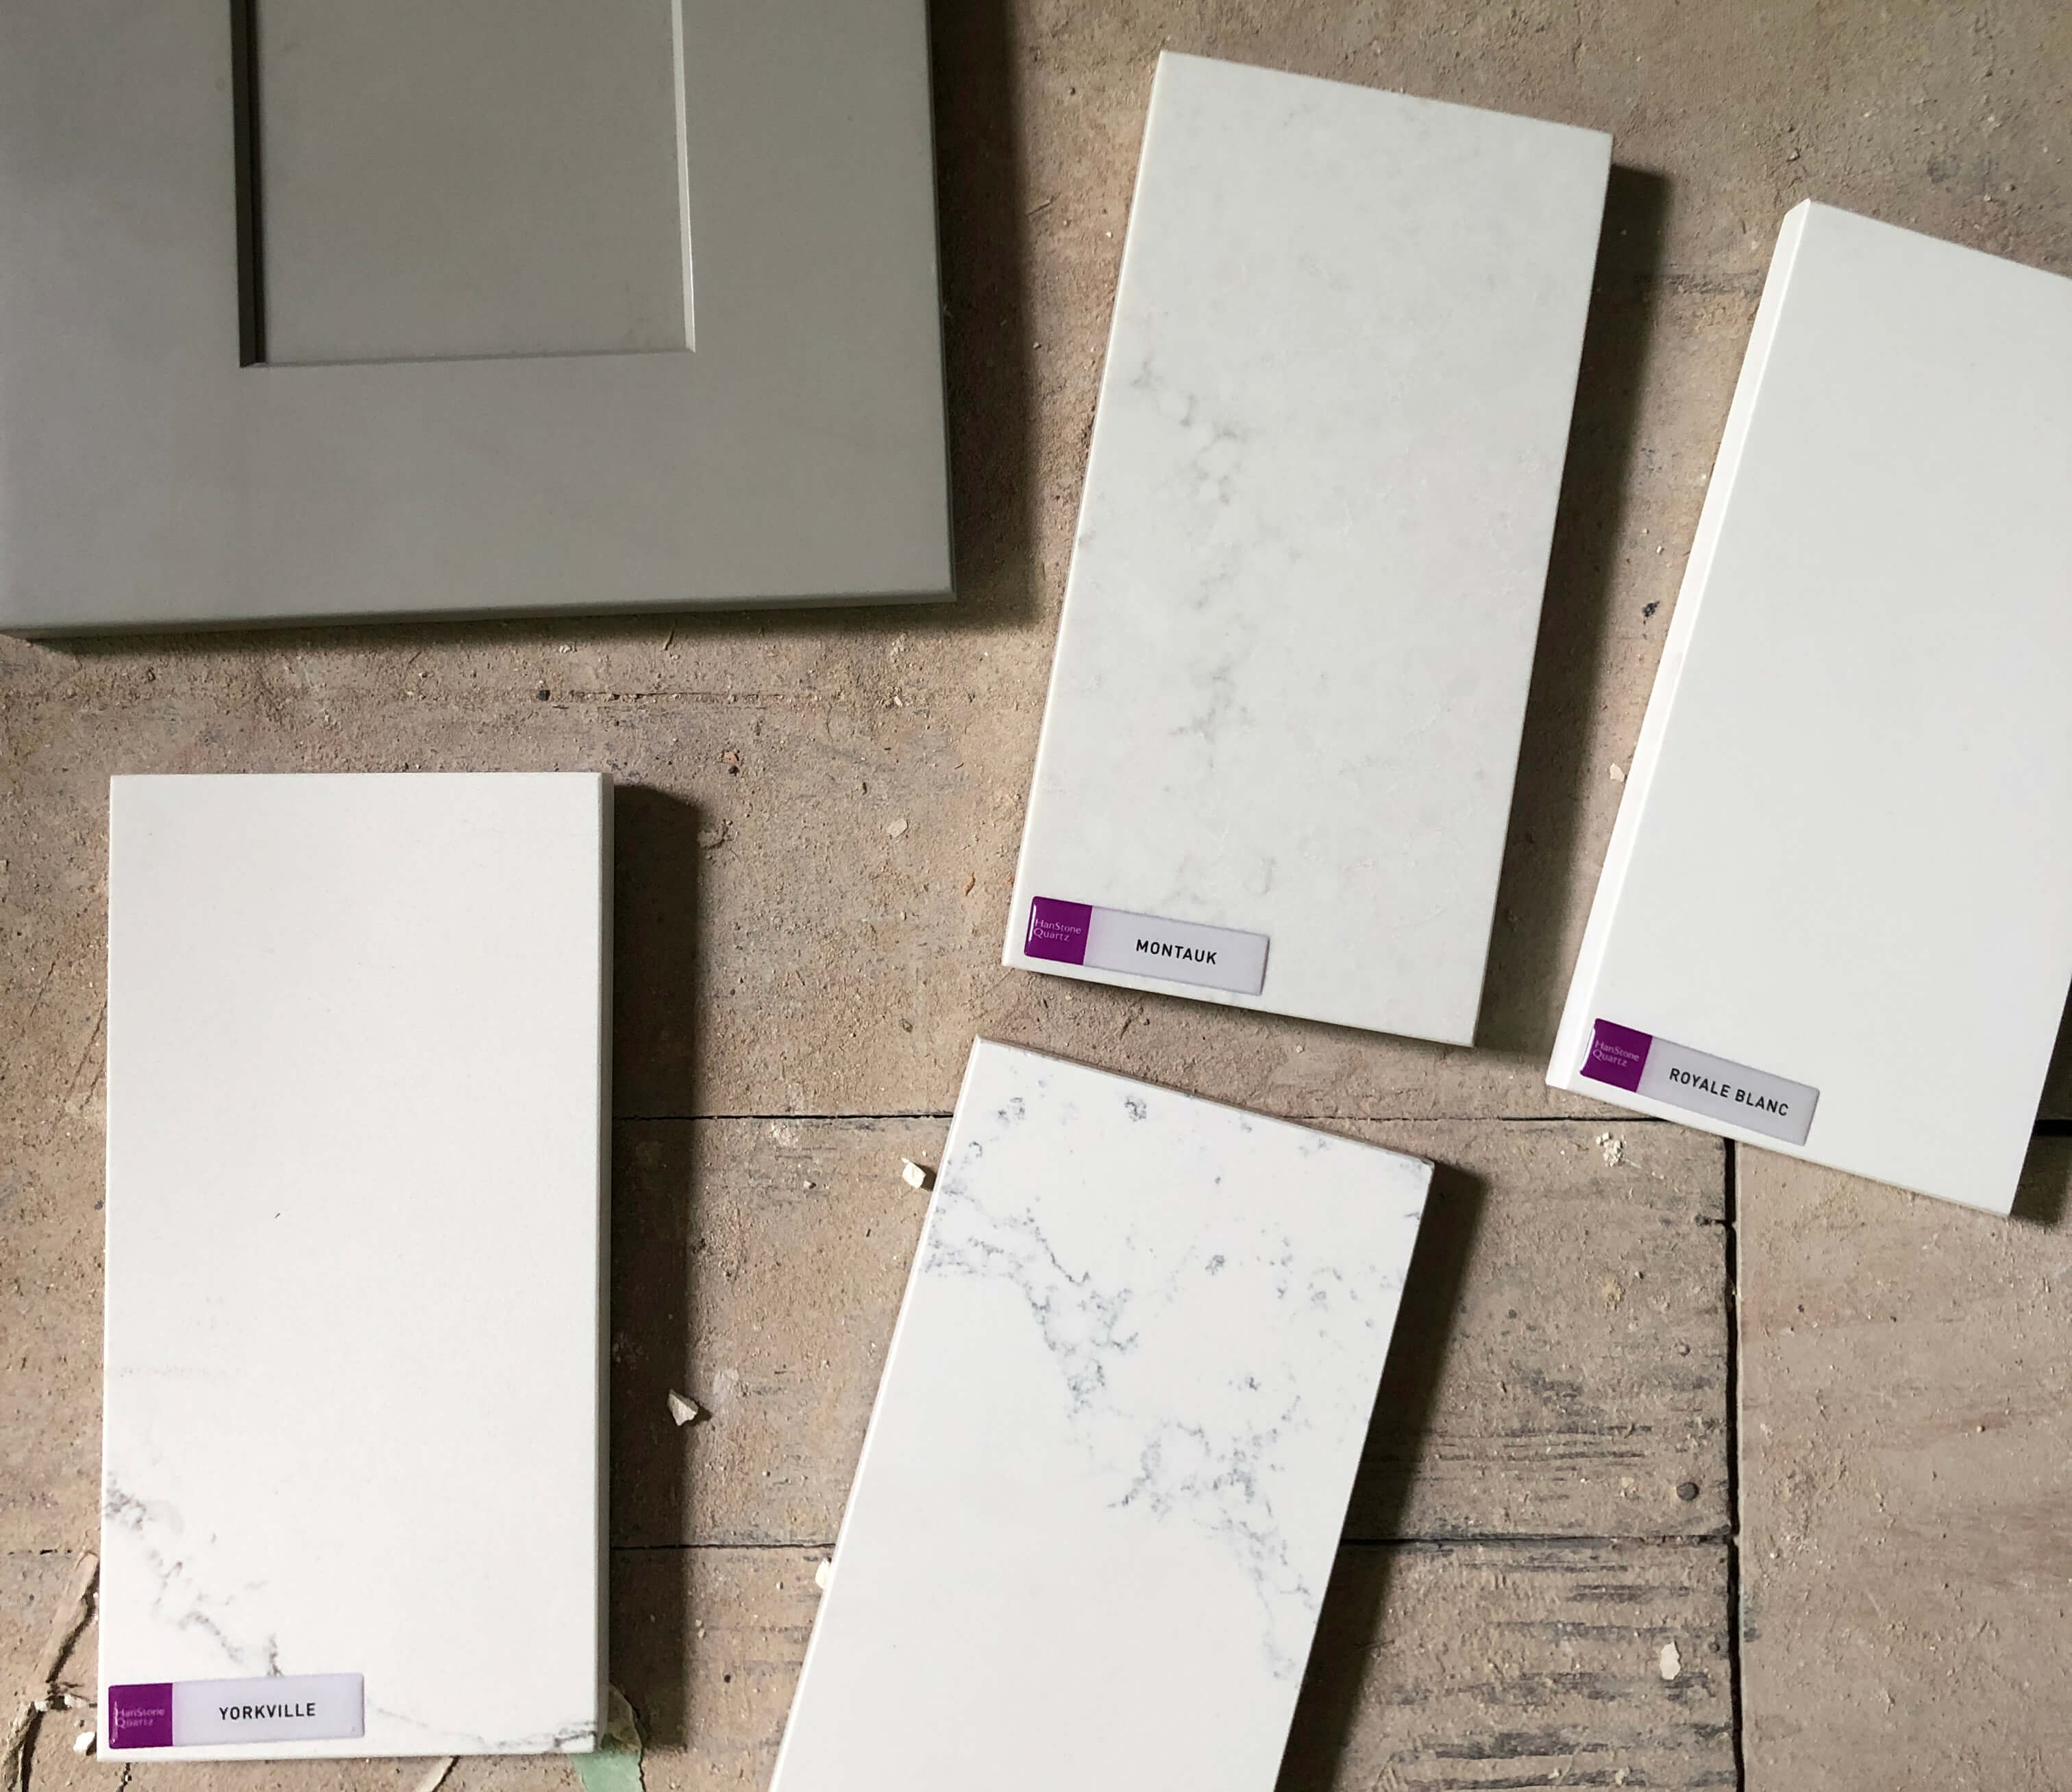
We found HanStone, the quartz company we wanted to work with, and noticed that their quartz with marbling is so beautiful. We’ve always been suckers for a Carrara marble countertop. So we ordered a few samples and feel that we can’t go wrong with any of them.
They are all in the white family but some have more marbling which gives them a slightly grey tone. We were worried that choosing one with too much marbling might make for a grey-on-grey effect with the cabinets…but one of them keeps standing out to us.
Even though our cabinets are grey, we really like the one that looks the most like Carrara marble. After a lot of consideration and asking many people their opinions, the one that we think we’re going to go with is the one with the most marbling with the Carrara look. We have decided on the Montauk finish.
Master Bath
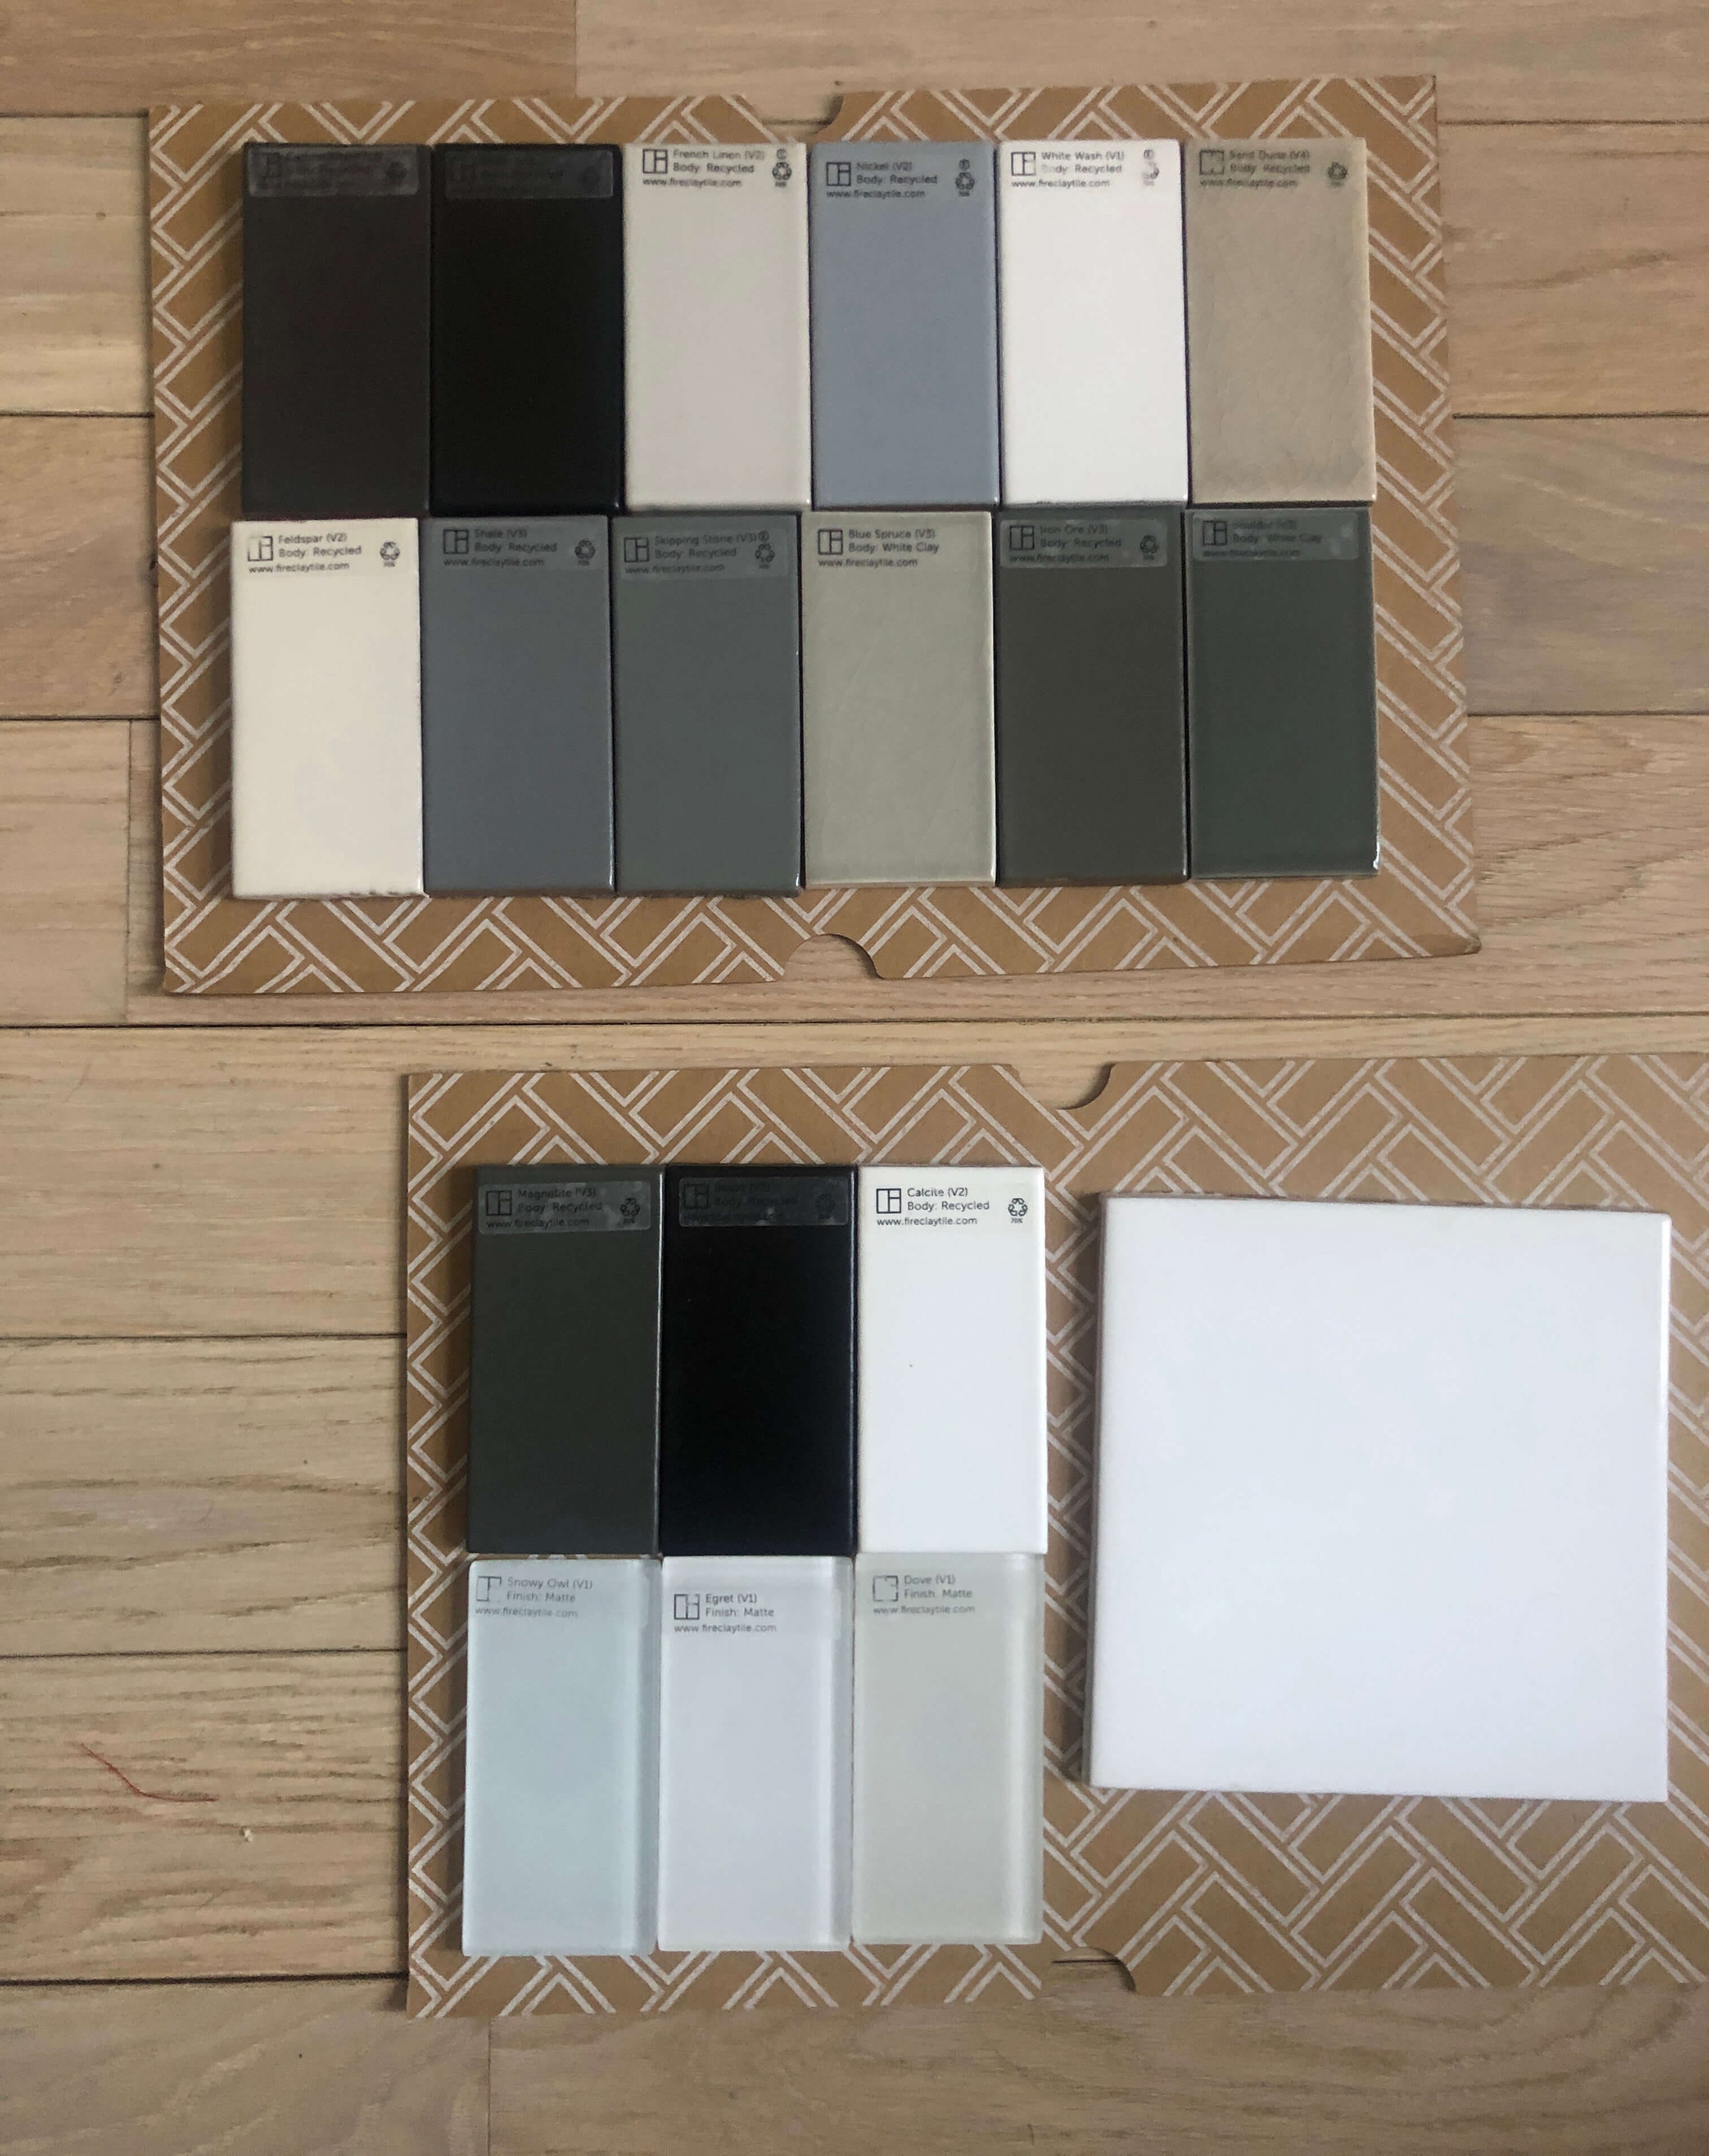
Our master bath inspiration photo sold us on this charcoal hex tile a while ago. Then we found Fireclay Tile. They have the most beautiful handmade tile. We knew we wanted to get our tile from them.
We received an amazing sample package with several options included. The packet included finishes, tile shapes and the perfect sample of colors. They had the matte hex tile we wanted for the floor and the far shower wall.
For the side walls, we wanted something white to contrast with darker tile. We also didn’t want something with too much of a pattern since the hex will be busy enough for the room. We decided to go with a simple 6×6 white tile laid in a brick pattern. We think it will go really well with our midcentury modern custom vanity. Especially with the contrasting grout color.
Guest Bath
Our guest bathroom is going to be brand new. There was not a bathroom at all where we’re building it. We really wanted to make sure it blended in with the rest of the house. Since our master bath has a bit of a modern look with the charcoal hex, we’re going classic in here. Maybe even a bit vintage. We’re doing matte hex florets on the floor with a matte 3 by 6 inch subway tile to chair rail height with a bull nose at the top. All from our friends at Brooklyn Tile & Design.
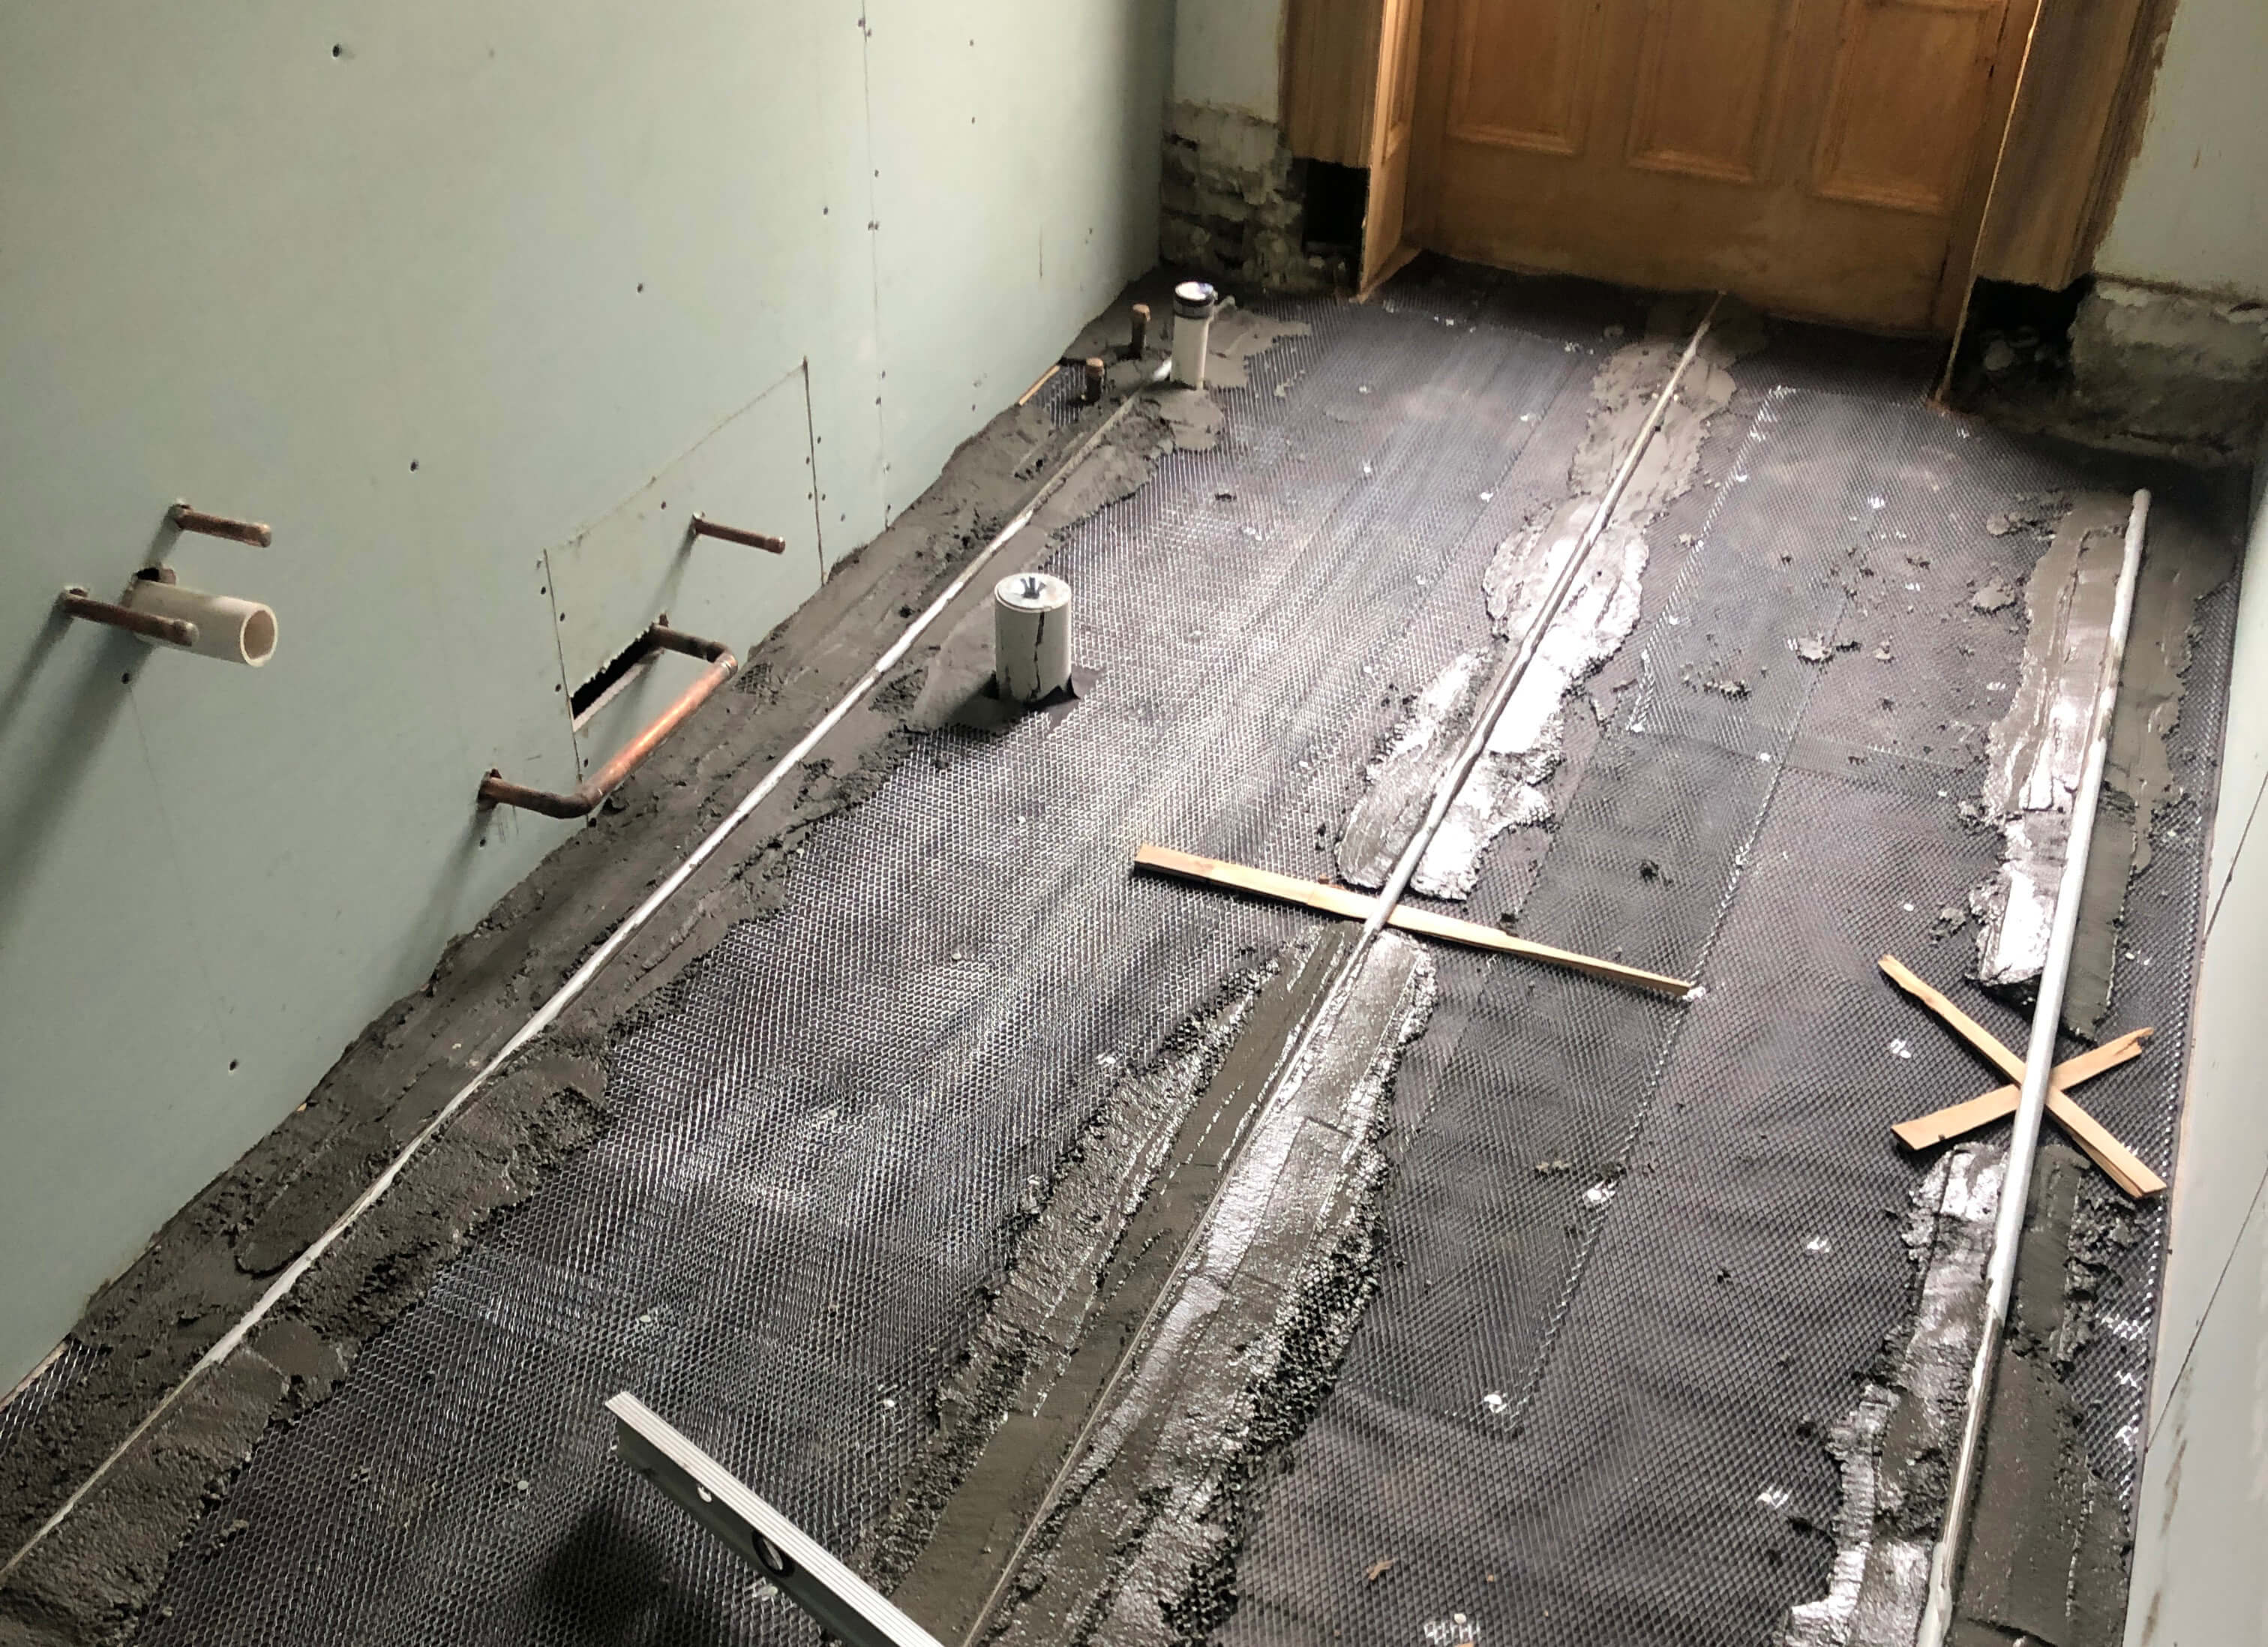
I’m not sure which one of these finishes we are the most excited to see go in! It’s all going to be so beautiful and we’re slowly getting packages by the day. We wish we had some after pictures to show you now. The first step of the tiling process (the mud layer) started just a couple of days ago, and hardwood flooring starts this week. We can see the finish line now and are finally seeing the finishes come to life. It’s going to be such a transformation.
Related Stories
- Brownstone Boys: Woodwork Plans and Dreams
- Brownstone Boys: Working Out Our Security Issues
- Brownstone Boys: We Design a Deck
Email tips@brownstoner.com with further comments, questions or tips. Follow Brownstoner on Twitter and Instagram, and like us on Facebook.
What's Your Take? Leave a Comment