
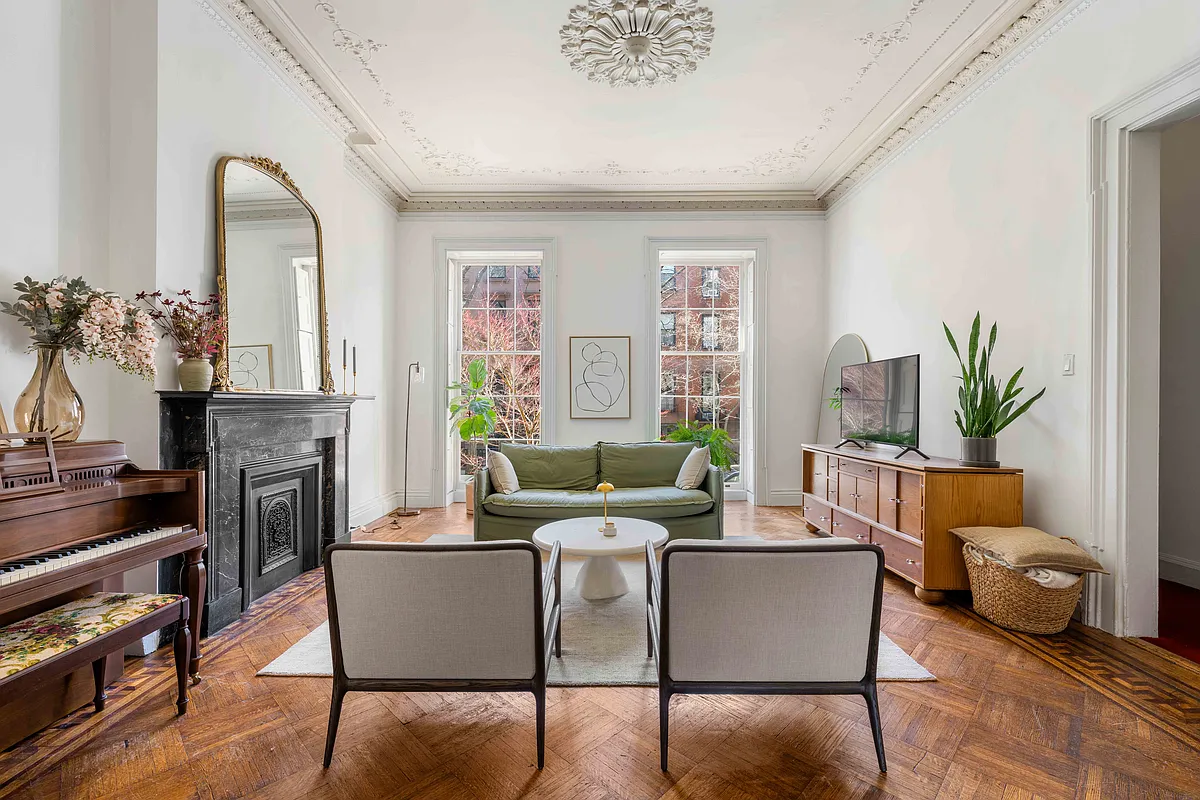
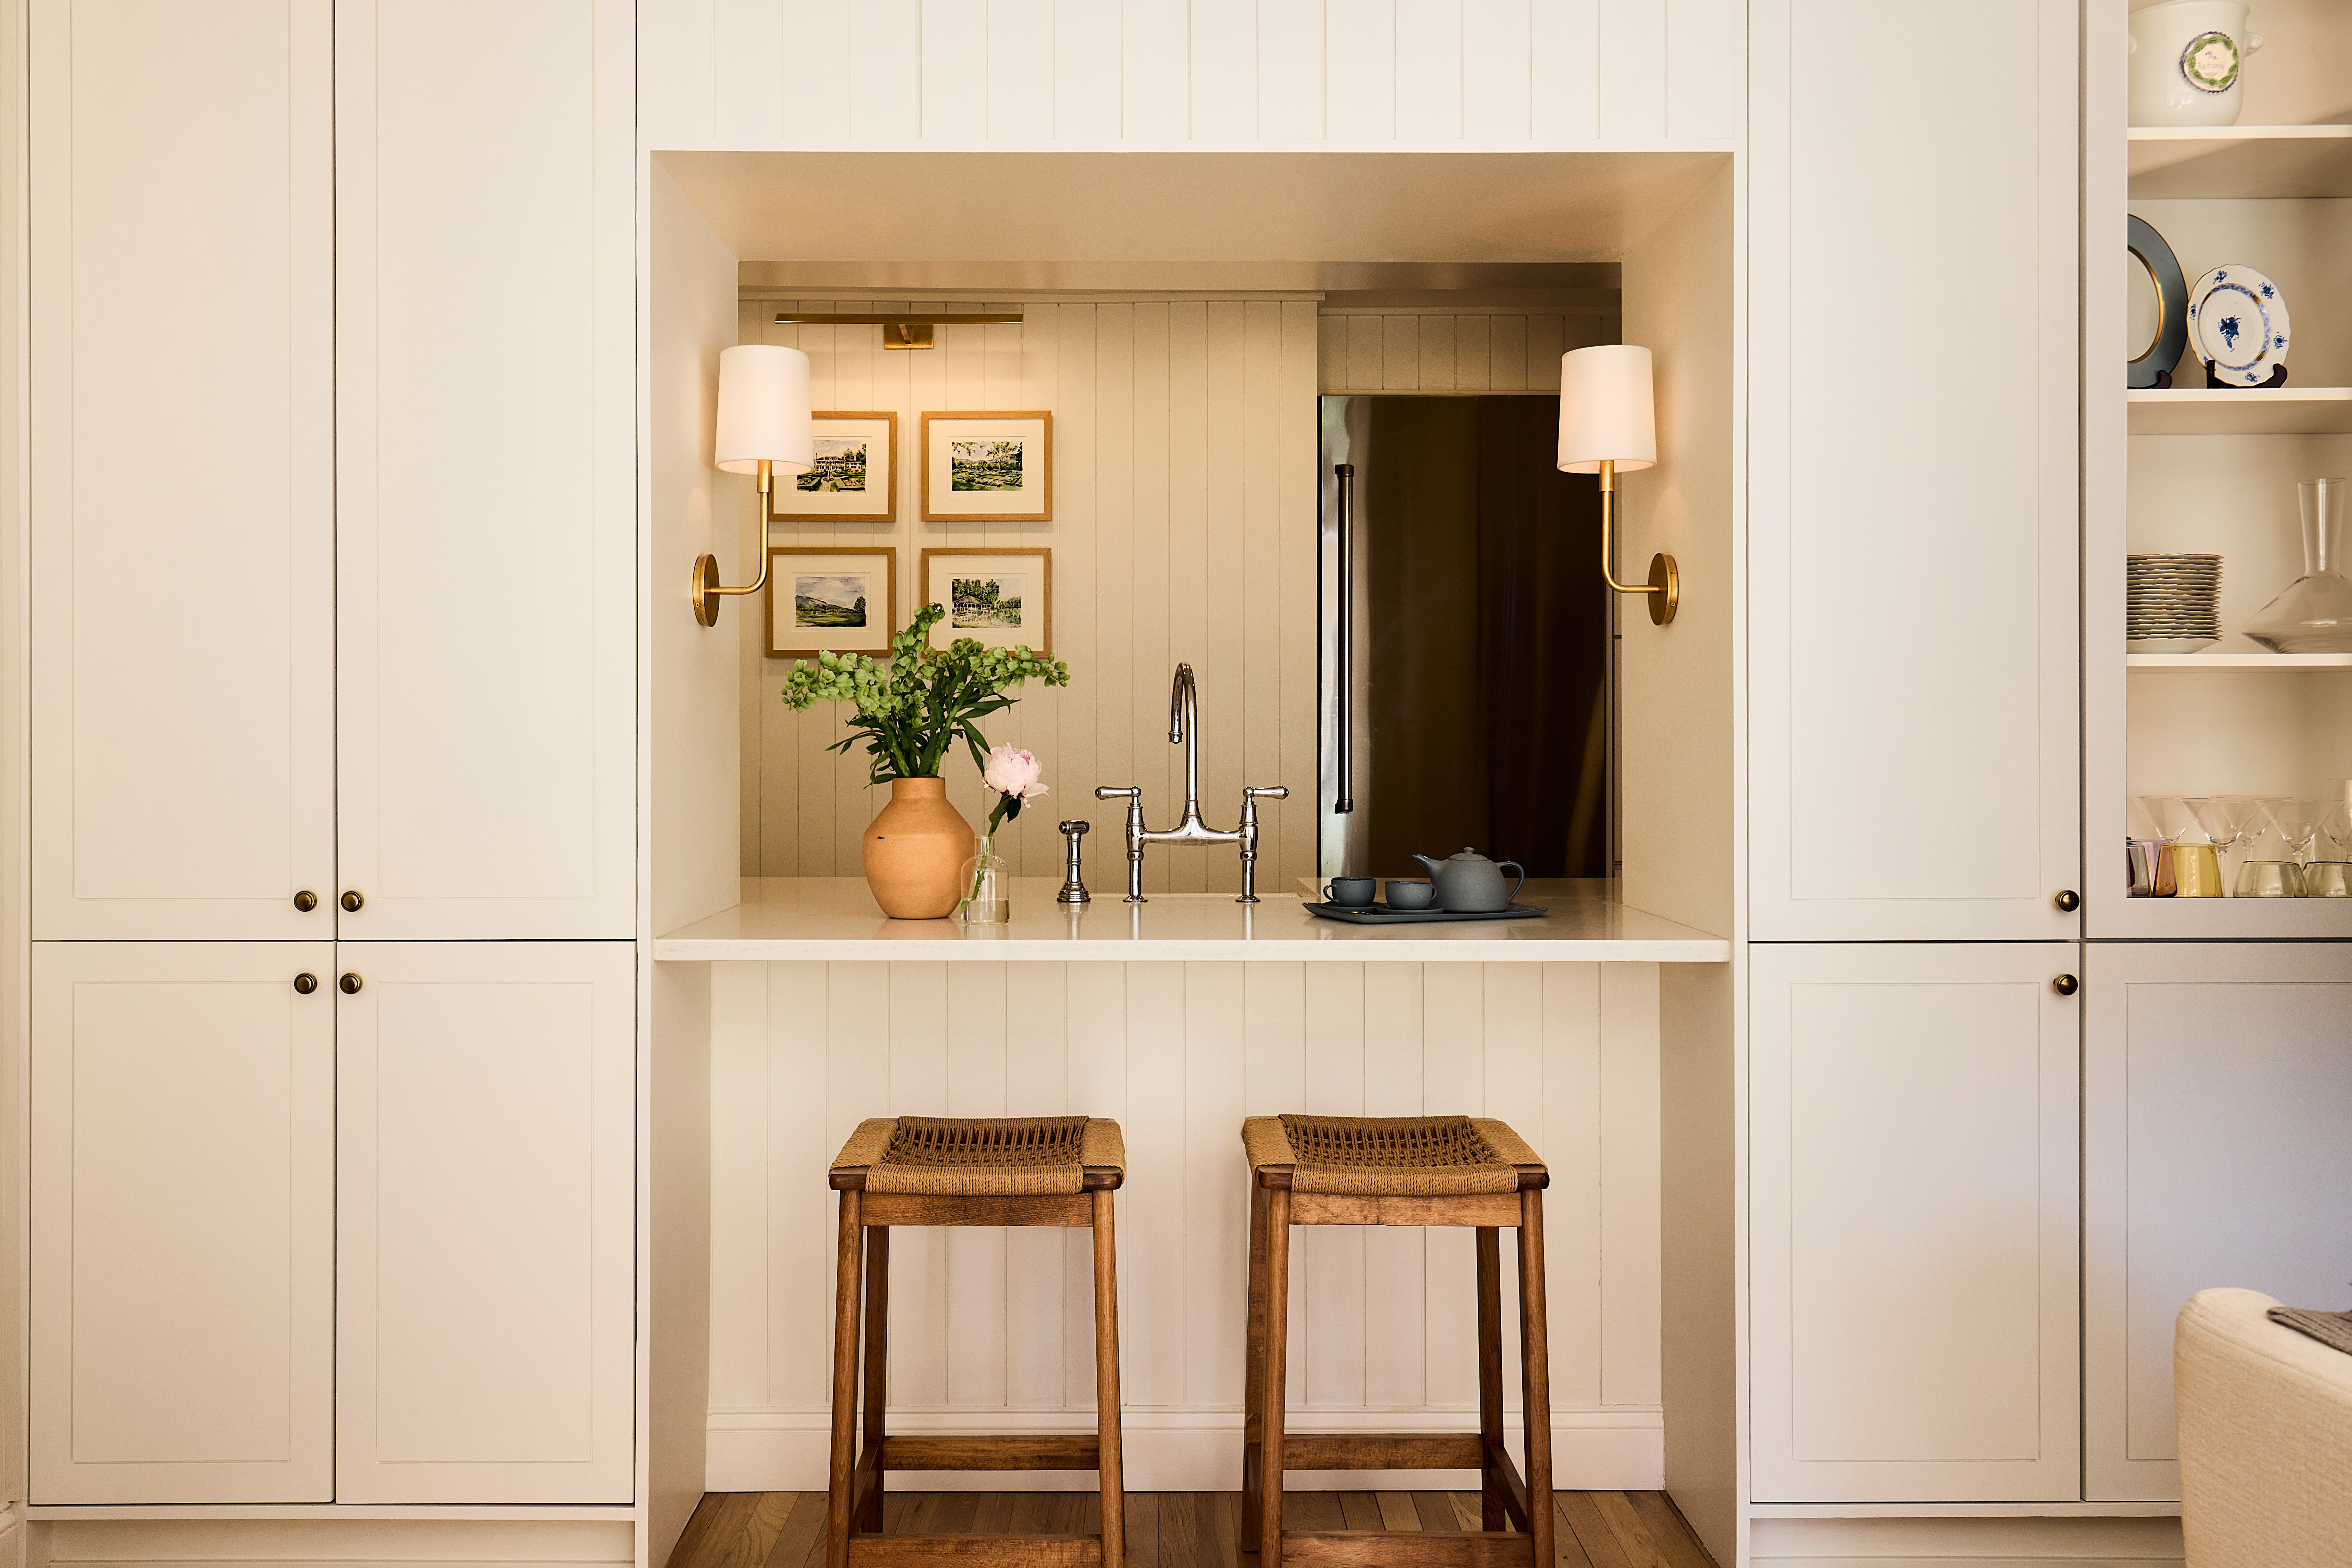
A Five-Year Bushwick Reno That Didn't Break the Bank
[nggallery id=56519 template=galleryview] The photos above come courtesy of Joseph Zvejnieks, and they document the renovation he and his wife did to the co-op they bought at 246 Cornelia Street in Bushwick. Zvejnieks wrote: “Over the last 5 years as we would save money, we would tackle one project. We rinse and repeated that cycle…
[nggallery id=56519 template=galleryview]
The photos above come courtesy of Joseph Zvejnieks, and they document the renovation he and his wife did to the co-op they bought at 246 Cornelia Street in Bushwick. Zvejnieks wrote: “Over the last 5 years as we would save money, we would tackle one project. We rinse and repeated that cycle more times then I thought I could stand but we have finished. It was hard, mostly because of our financial situation, but rewarding, which is my point of bringing this to you. I think people in my shoes, have a little money, but not much really can do this. A lot of the projects you guys feature are fantastic but out of reach for a lot of people. I think while it’s inspiring it can also be dejecting because you feel like there is no way you can do that. I thought that this story might be inspiring to people who are buying a place for 200k.” The first part of the $30,000 reno involved the kitchen…
As Zvejnieks tells it:
In 2006, when we moved in the first place we started pretty immediately was the kitchen because it was barely functional. There were three layers of linoleum over a plywood sub-floor. We didn’t know what was under the plywood but when we took it up we found there was a pine floor that was original to the apartment and had undergone very little damage. We ripped out the original built in cabinet so that we could use the kitchen as an eat-in kitchen. Side note, for the kitchen, I did all of the work myself with a couple afternoons of help from a few friends.
Our idea was to get all the appliances we wanted but still maximize the space. We decided to get an under-the-counter fridge and freezer in order to create a lot of counter space. For us, the trade-off of getting more counter space for the inconvenience of bending down a lot as most definitely paid off. For the stove and washer/dryer we opted for slightly smaller (24″ wide) models. We found a dishwasher that was only 18″ wide. This allowed us to get everything on one wall with minimal plumbing work. The microwave was really hard to find in a small width and so we purchased that a bit later.
So we only had appliances and crappy floor for a bit. We spent around around 3k for all the appliances and just lived with them for a bit. A few months later we bought the cabinets from Ikea at a cost of around 2k. For the next six months we just had plywood counter tops. We knew we wanted stone and after some searching settled on a stone called Positano in a honed finish. That cost around 1200 for the stone slab and another 1200 to have someone fabricate the pieces and install them.
The next major project was the bathroom (2009-2010). We used a contractor that some other people in our building used. It was a complete gut that we managed to do for around 13k. It was big job. All the walls were ripped out, the floor was broken up, the cast iron tub was broken into pieces and removed. A new concrete floor was laid, while all new walls and a ceiling were erected. The subway tiles were from Nemo as well as the rope trim pieces for around $1100. The floor tiles are marble mosaic tiles from Waterworks. We got them at a warehouse sale in Connecticut for $200.00. The vanity and medicine cabinet came from Restoration Hardware for about 900. The toilet is a Toto dual flush which was about 400.00 and I think the tub was about the same.
It’s a small bathroom and everything was pretty jammed in there. We wanted it to have a classic look but not fee; cluttered. We didn’t really change the placement of anything but we did opt for a smaller tub so that it wasn’t right up against the vanity.
The bedroom (2010-11) was next and not as expensive but labor intensive. The ceiling was textured, we decided to cover the ceiling with 3/8″ sheet rock to smooth it. I had to scrape all the textured wall off from the picture rail up. Once that was done, I skimmed coated the walls three times to get a smooth finish. We bought an Ikea closet system since there was no closet in the bedroom (1k), and we decided to carpet the floor with natural sisal from Arronson ($2400).
In 2011 we finally got to the living room where the ceiling had to be ripped out completely because it was sagging about 6″ lower in the center. The same contractor that I used in the bathroom came and did that for me as well and put in the recessed lights. I then took back over, scraped the textured wall off from the picture rail up and skim coated the walls.
The hall (2011) was the same story in terms of skim coating and the ceiling too. Once that was all done, we painted the apt. The last step was having all the floors refinished. I used a referral from a friend and the kitchen, hall and living room were done for $800. A good deal and they came out beautifully.
Overall, by our rough calculations, I think we put about 30k into the apartment not counting our labor and time (off and on for five years!!!).
A full set of photos of the reno can be seen here on Flickr.

What's Your Take? Leave a Comment