
This Ugly House: We Level Floors, Reinforce Brick Nogging in Bed Stuy Wood Frame
The most noticeable flaw of our recently purchased home were the sagging floors. Instead of walking, it was more like bouncing across the floor as you went from one area of the room to another.

This Ugly House
Editor’s note: Welcome to the second installment of This Ugly House, a reader renovation diary. We’re excited to publish this tale of a hands-on renovation of a wood-frame house in Bed Stuy. See the first one here. The author also blogs at www.thisuglyhousenyc.com.
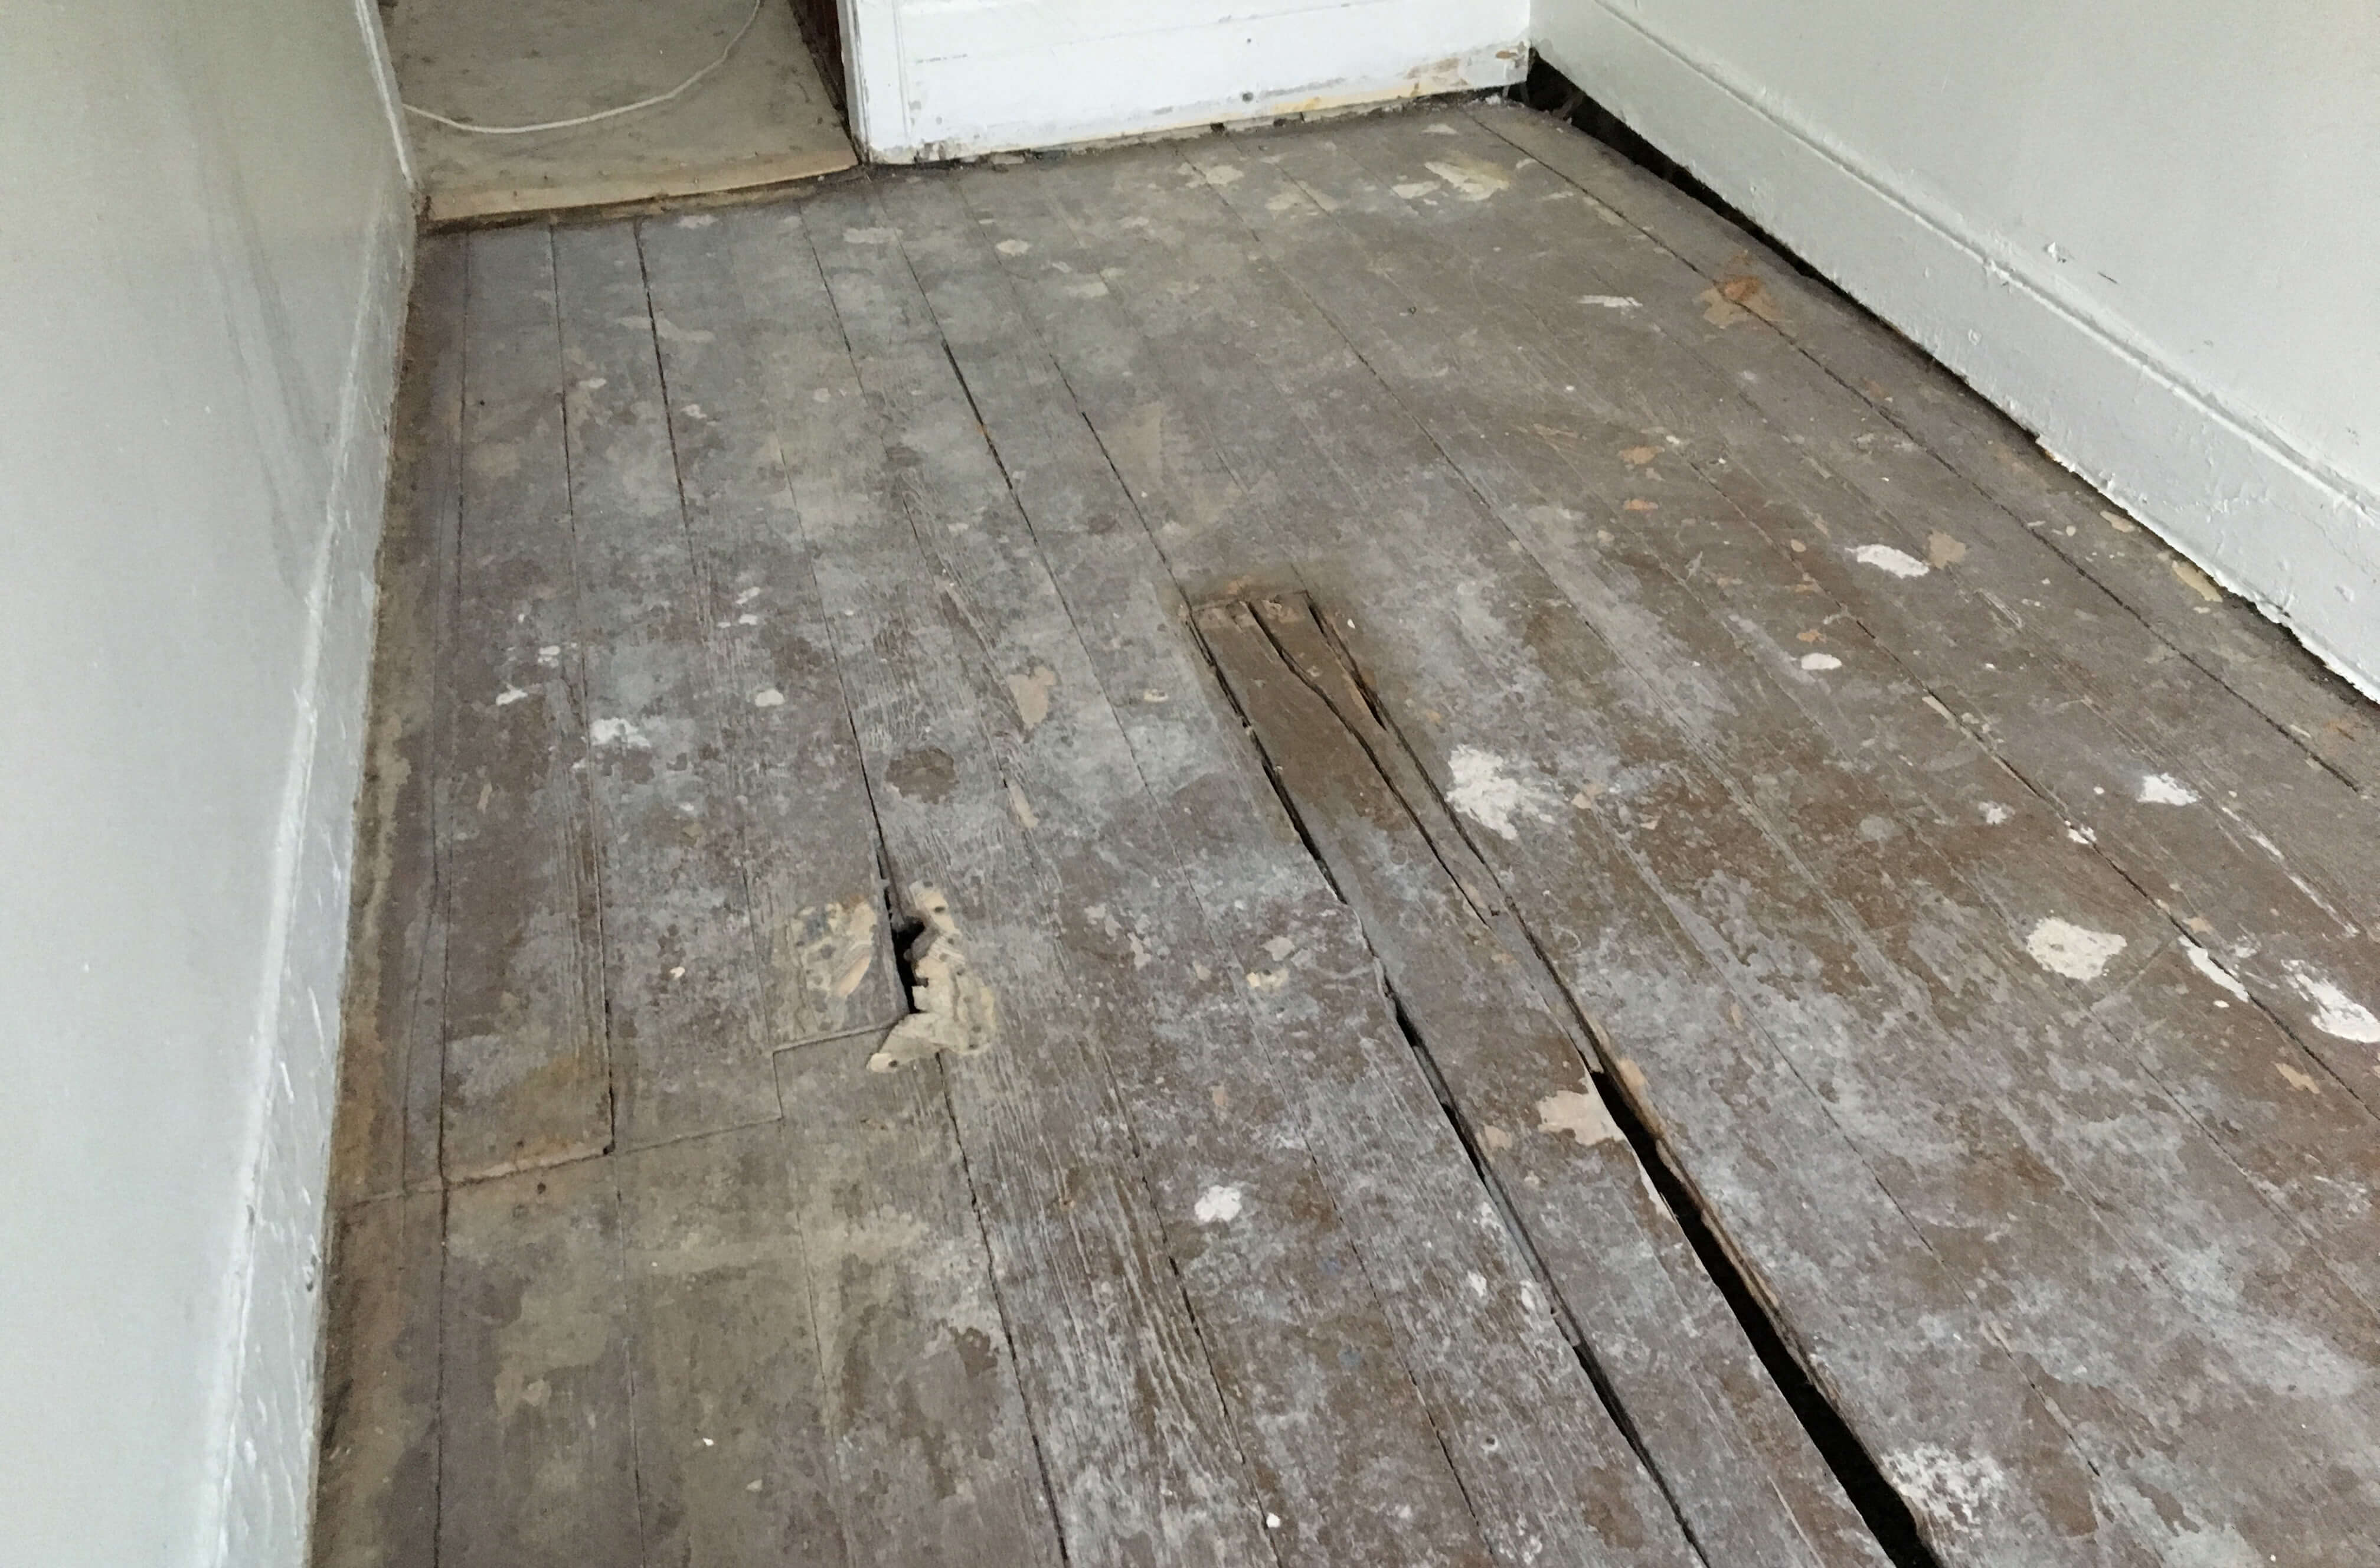
The most noticeable flaw of our recently purchased home were the sagging floors. Instead of walking, it was more like bouncing across the floor as you went from one area of the room to another. The floor deflection was so bad that we measured up to 5 inches out of level at the center of each floor. The basement flooring was finished with a new cheap engineered mystery. The first floor was covered in a newish, cheaper rolled linoleum with a wood grain pattern. The second (top) floor was wall to wall mildew saturated carpet. Unfortunately, none of the floors had any fantastic surprises hidden beneath. Just raw planks.
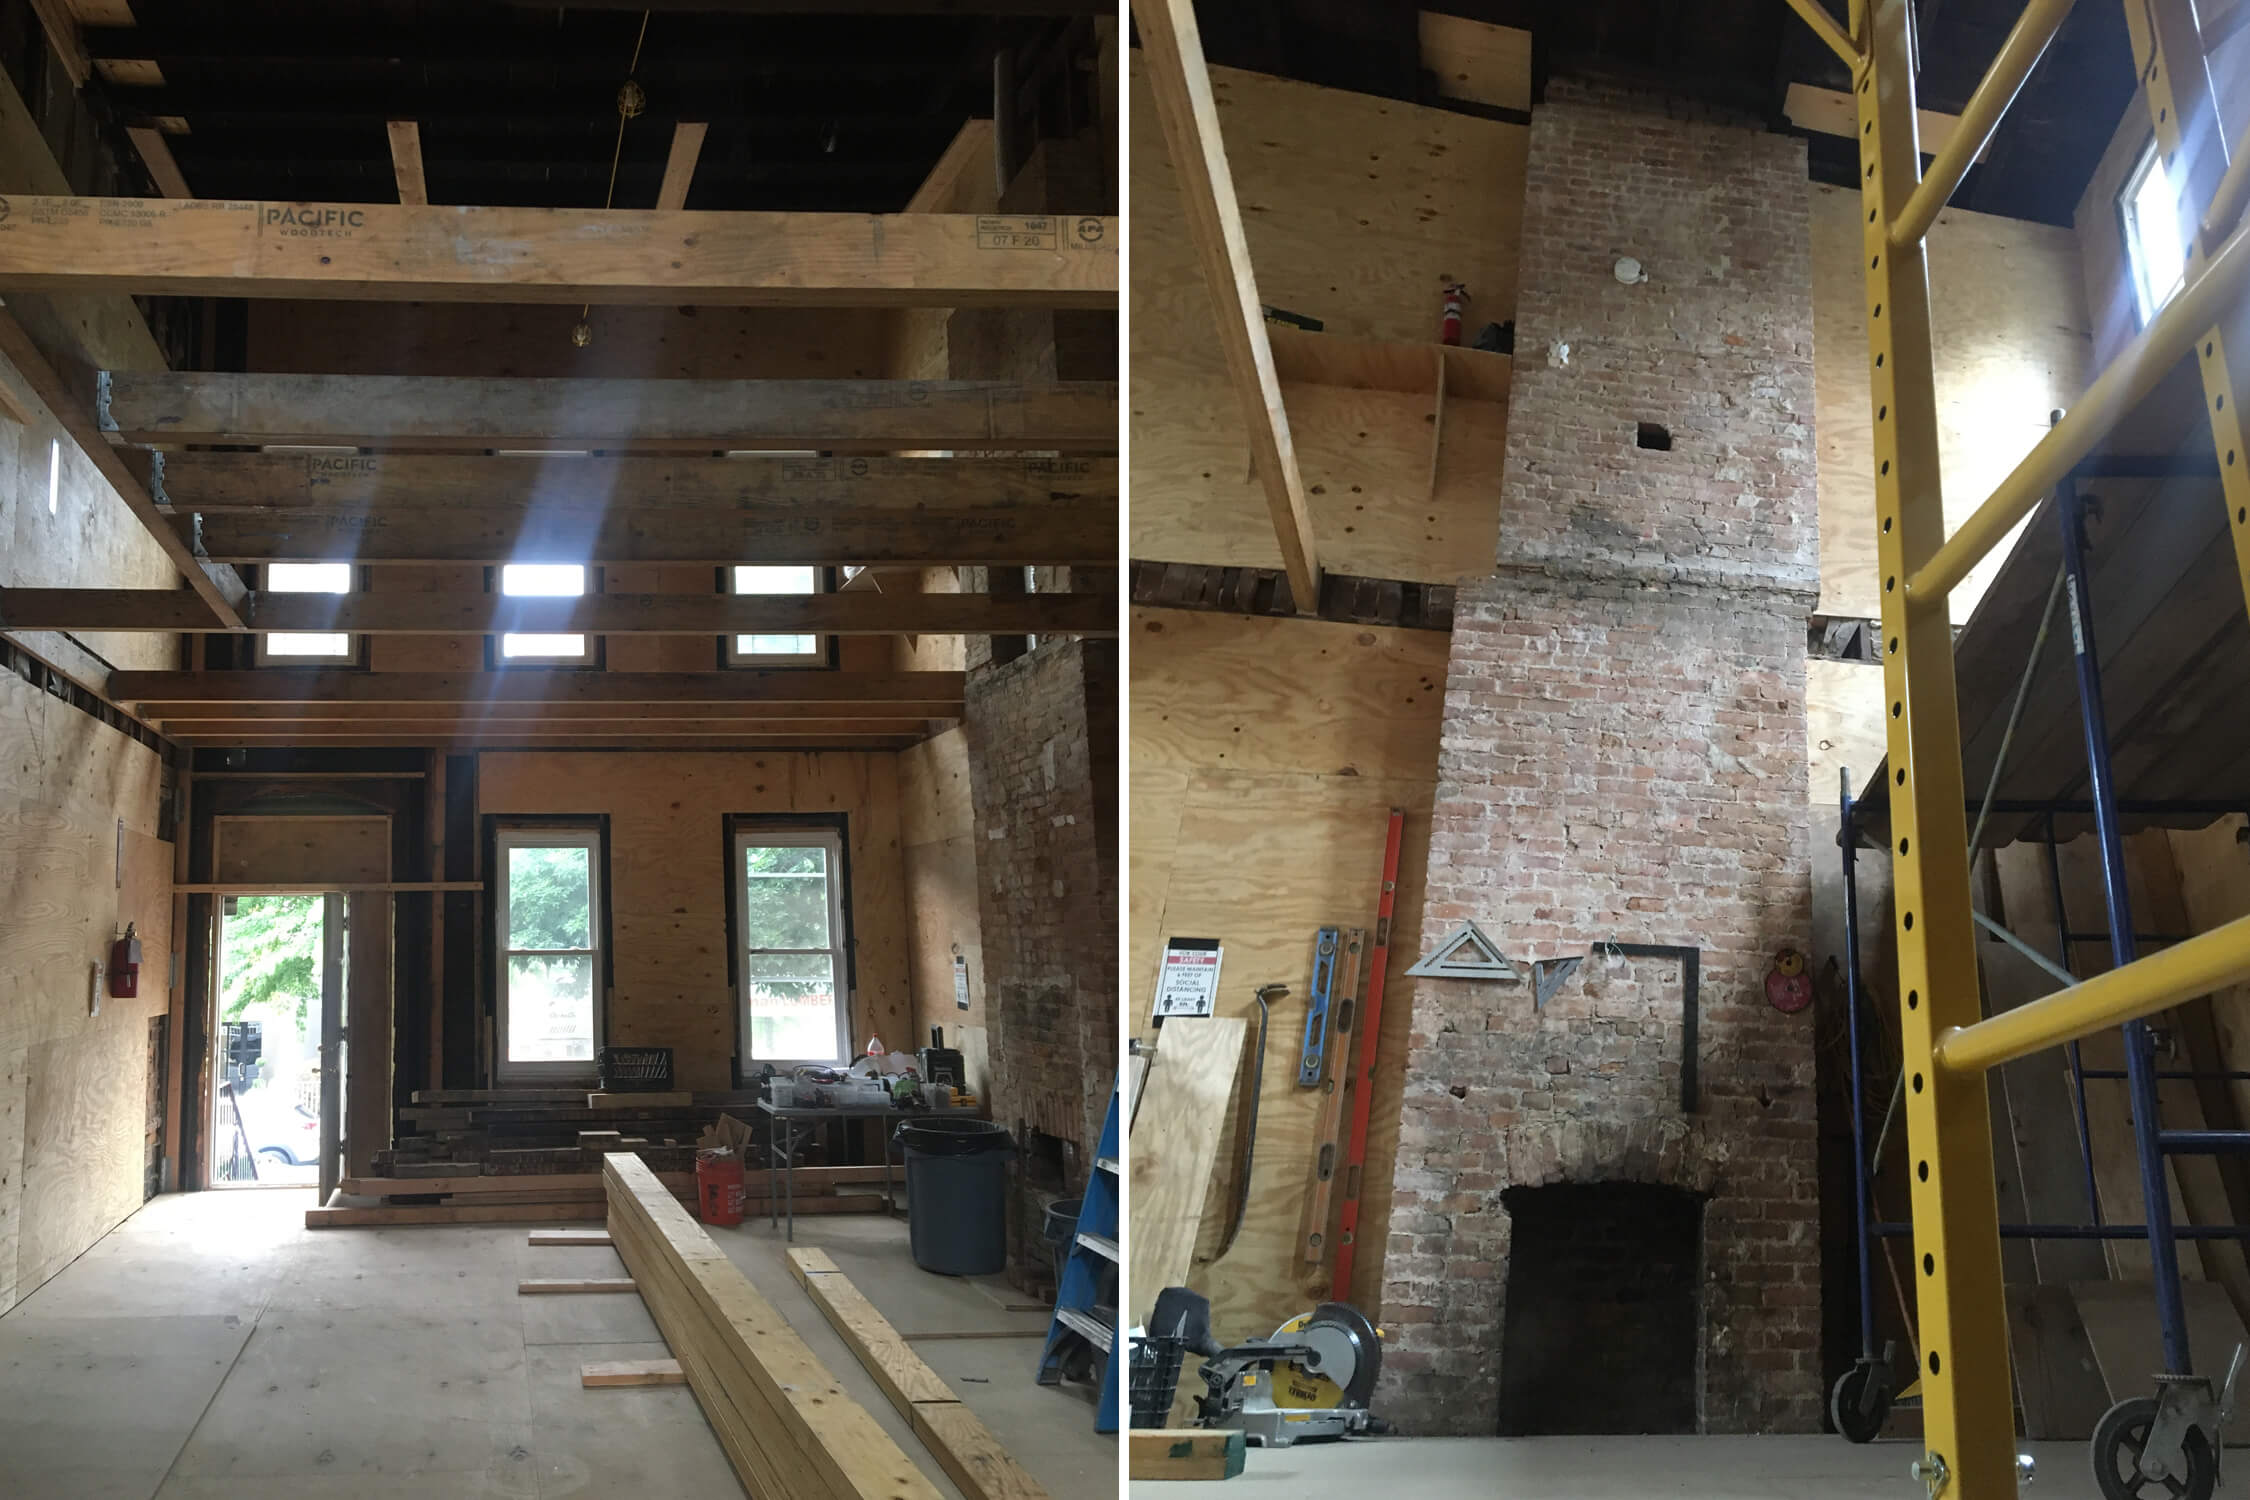
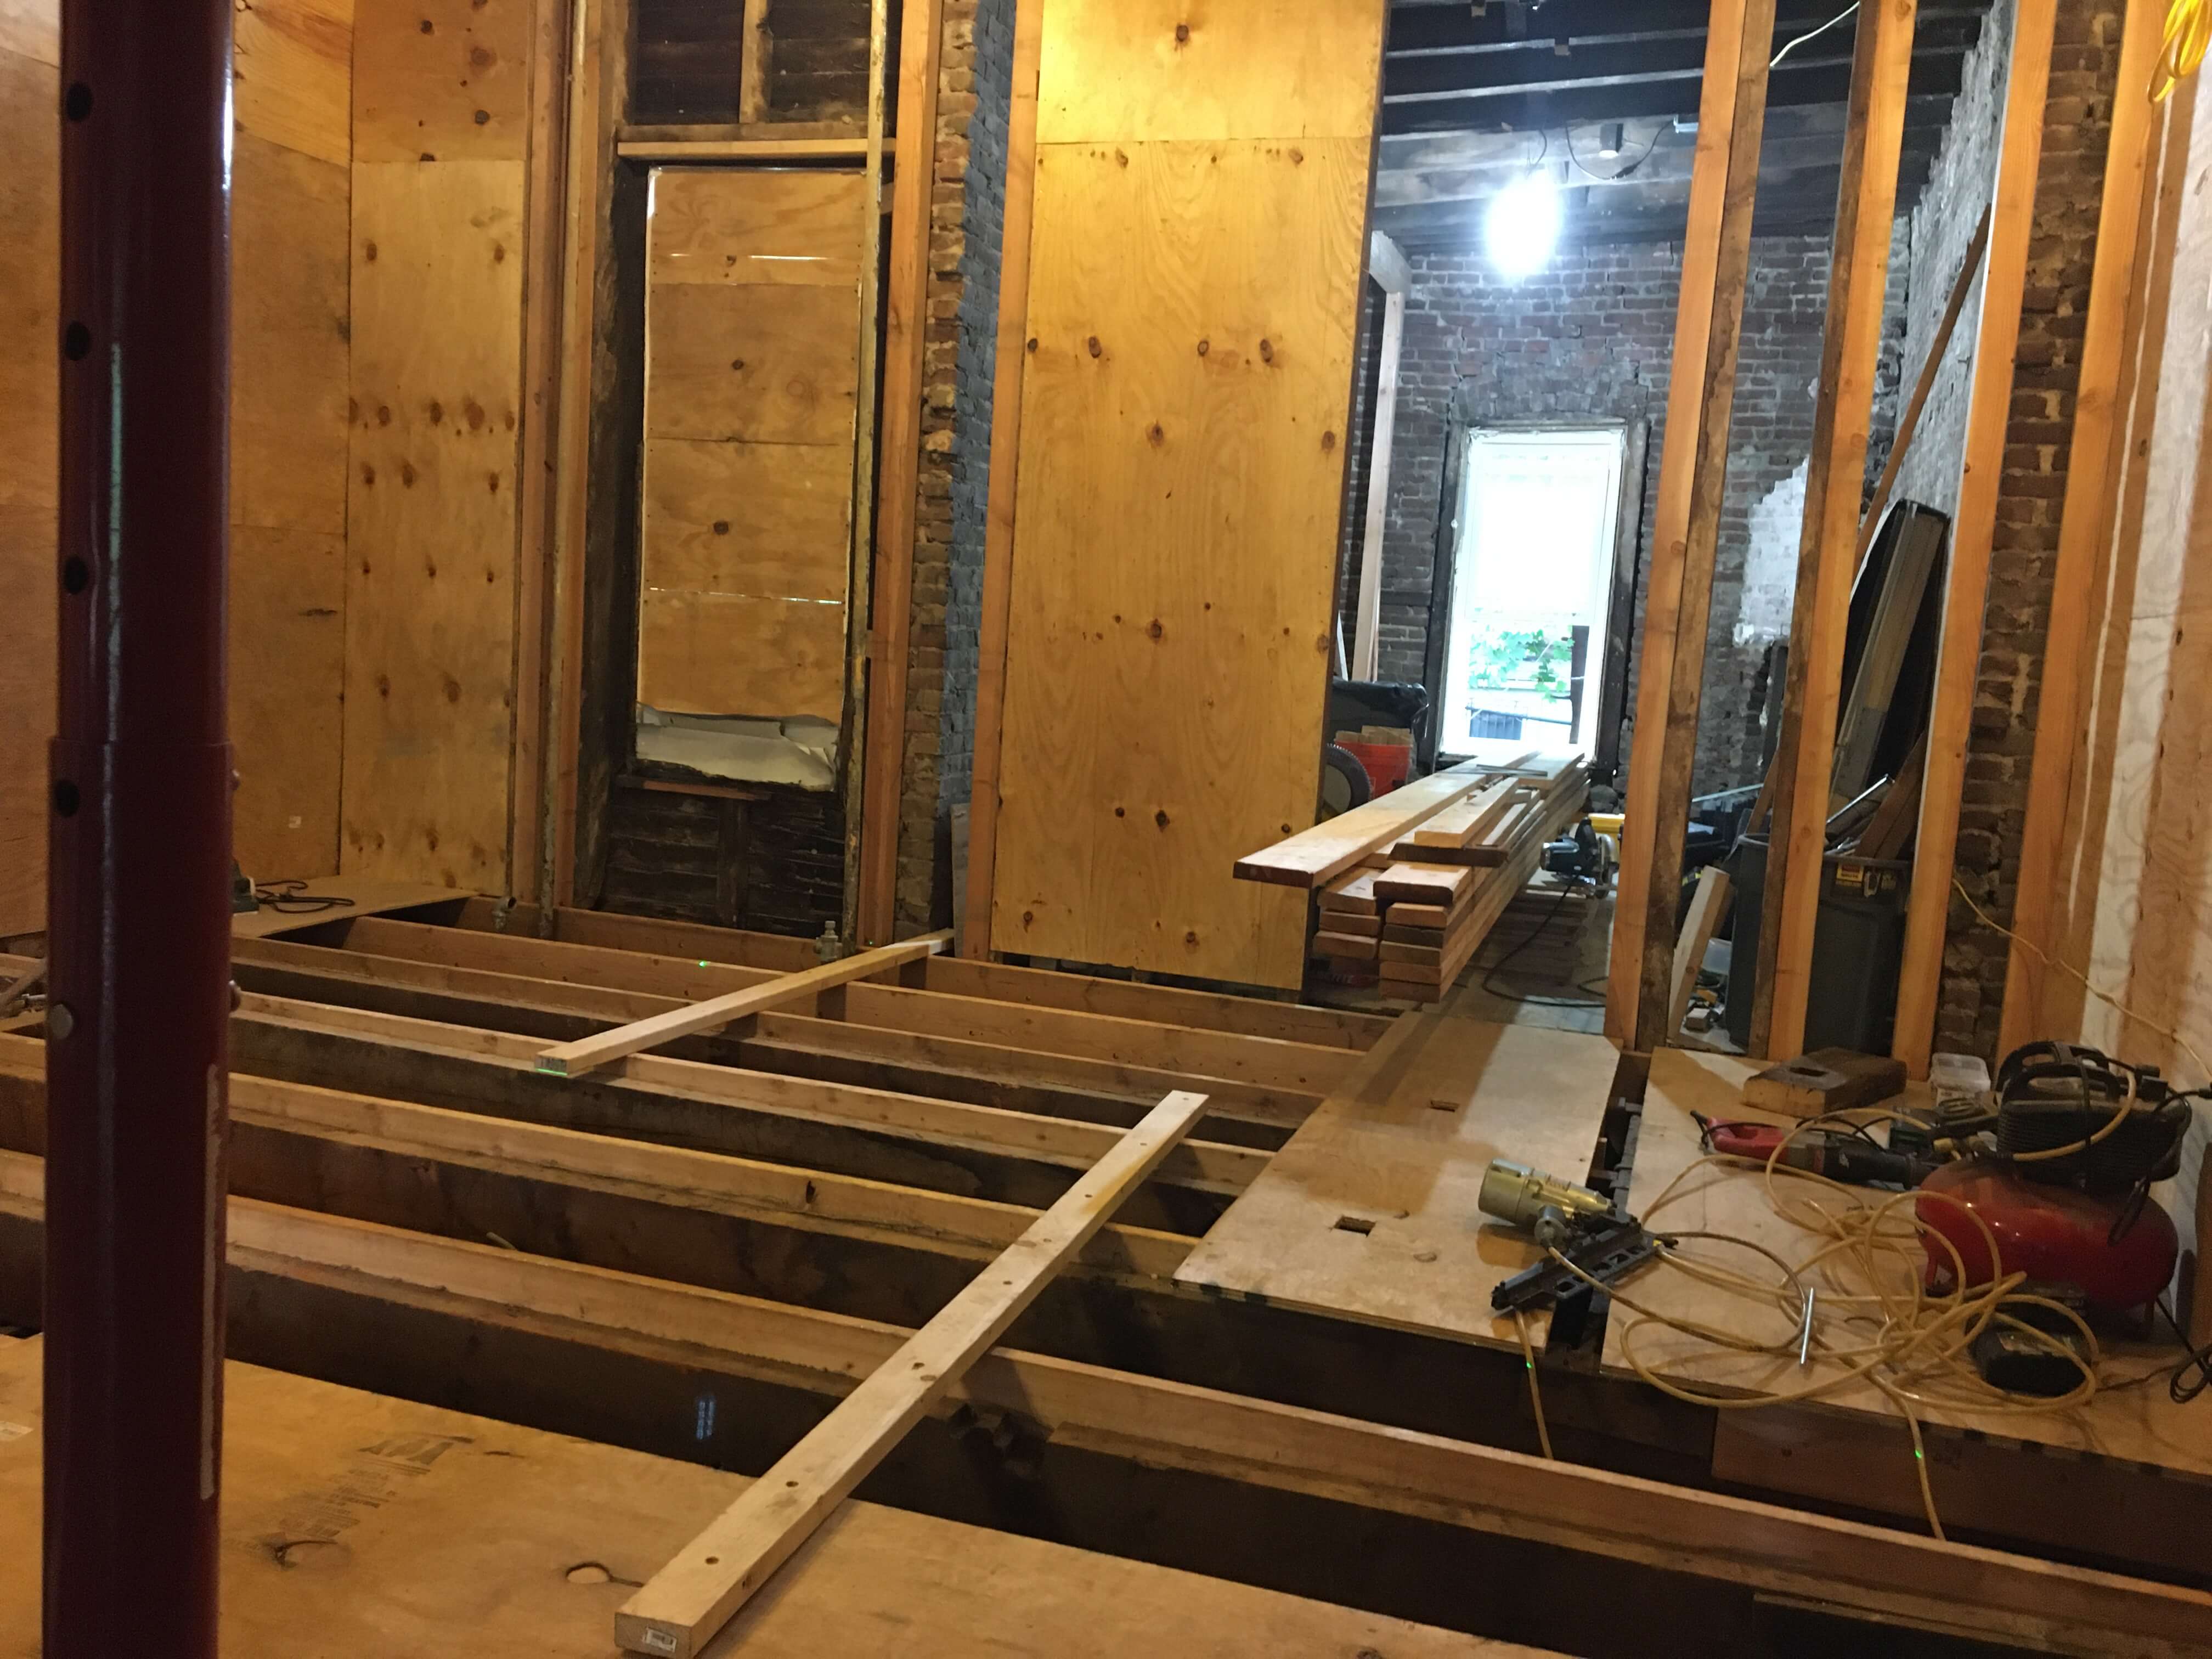
After the crew strategically removed all the walls and planks, it was time to reconstruct. Once the beams were exposed, we assessed each one to figure out if we could just sister them level. “Sistering” means installing a new beam right up against an existing one to reinforce the structure or create a level top edge on which to lay the subfloor. Since we were working from the top story down, the second floor was the first one we focused on.
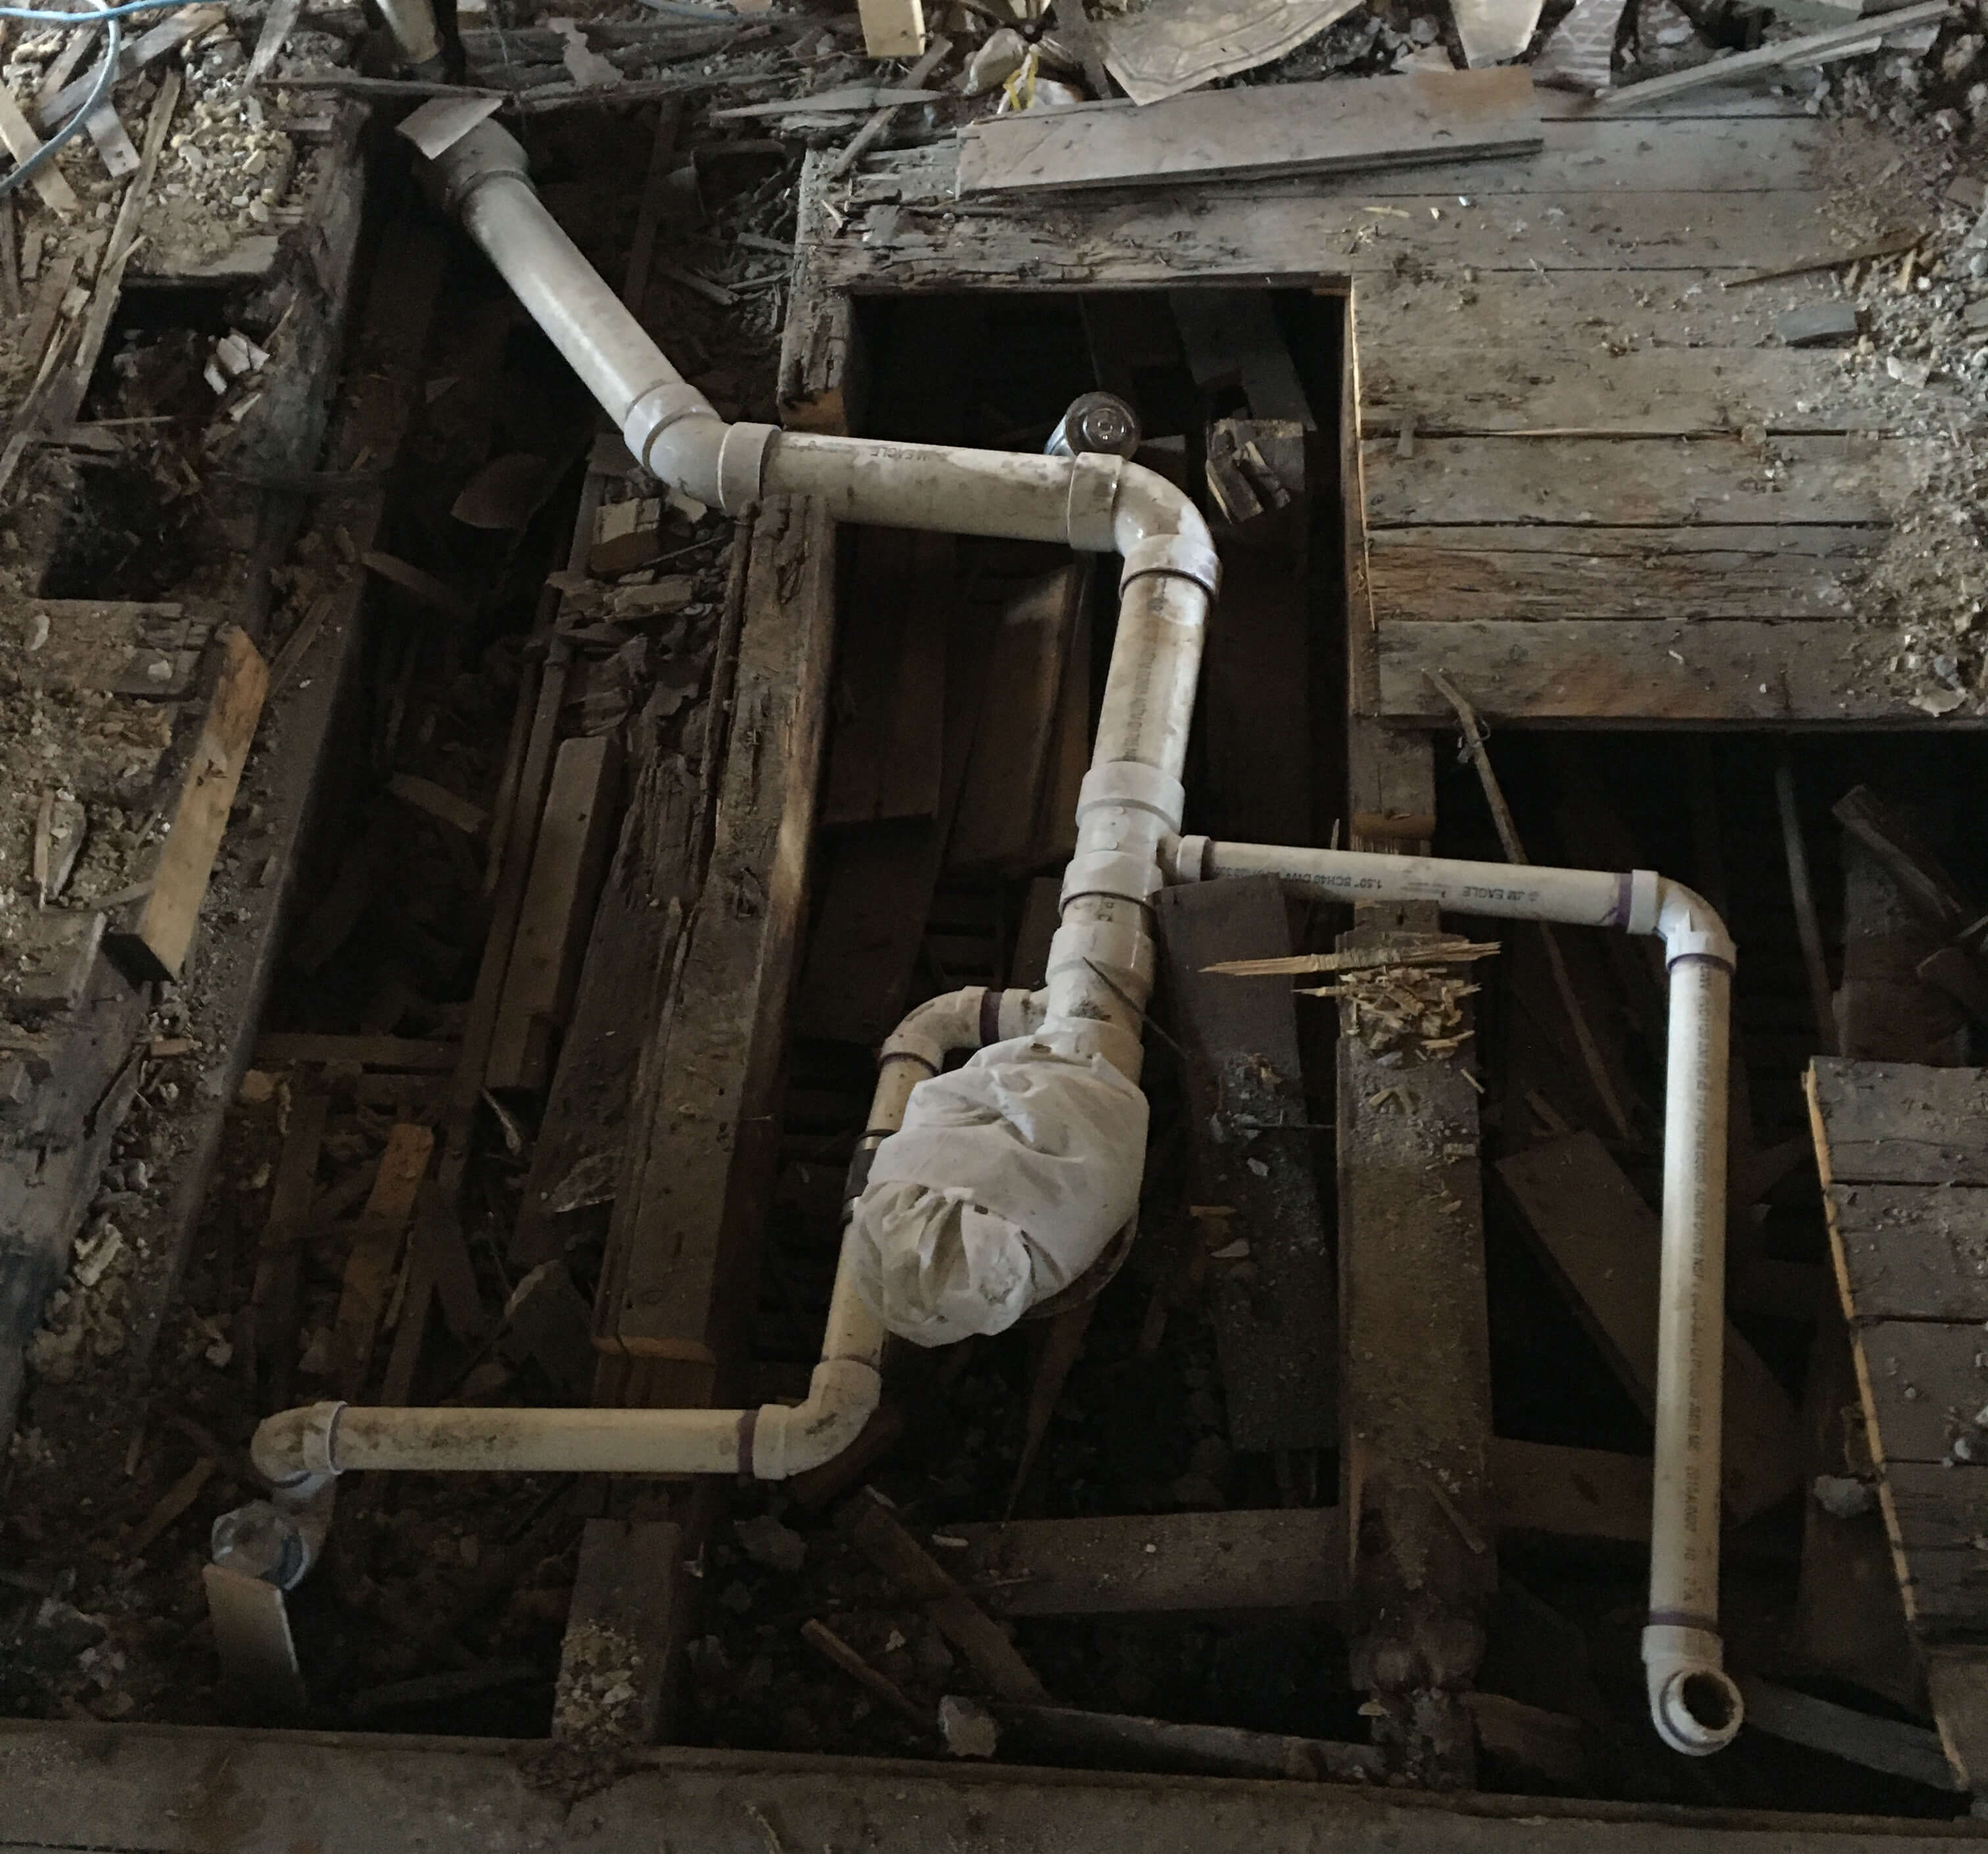
There was a bathroom located in the center of the top floor that had a 4-inch-thick concrete pad we needed to chip away. It had a tile finish, so a long time ago someone must have thought they needed to pour a foundation to accommodate it! (For much of the 20th century, a heavy duty “mud job” was standard, and a reason so many prewar bathrooms have survived.) Beyond the extra weight, there were two beams beneath it that were compromised due to being hacked halfway through to allow plumbing. None of these solutions are recommended for a bathroom reno.

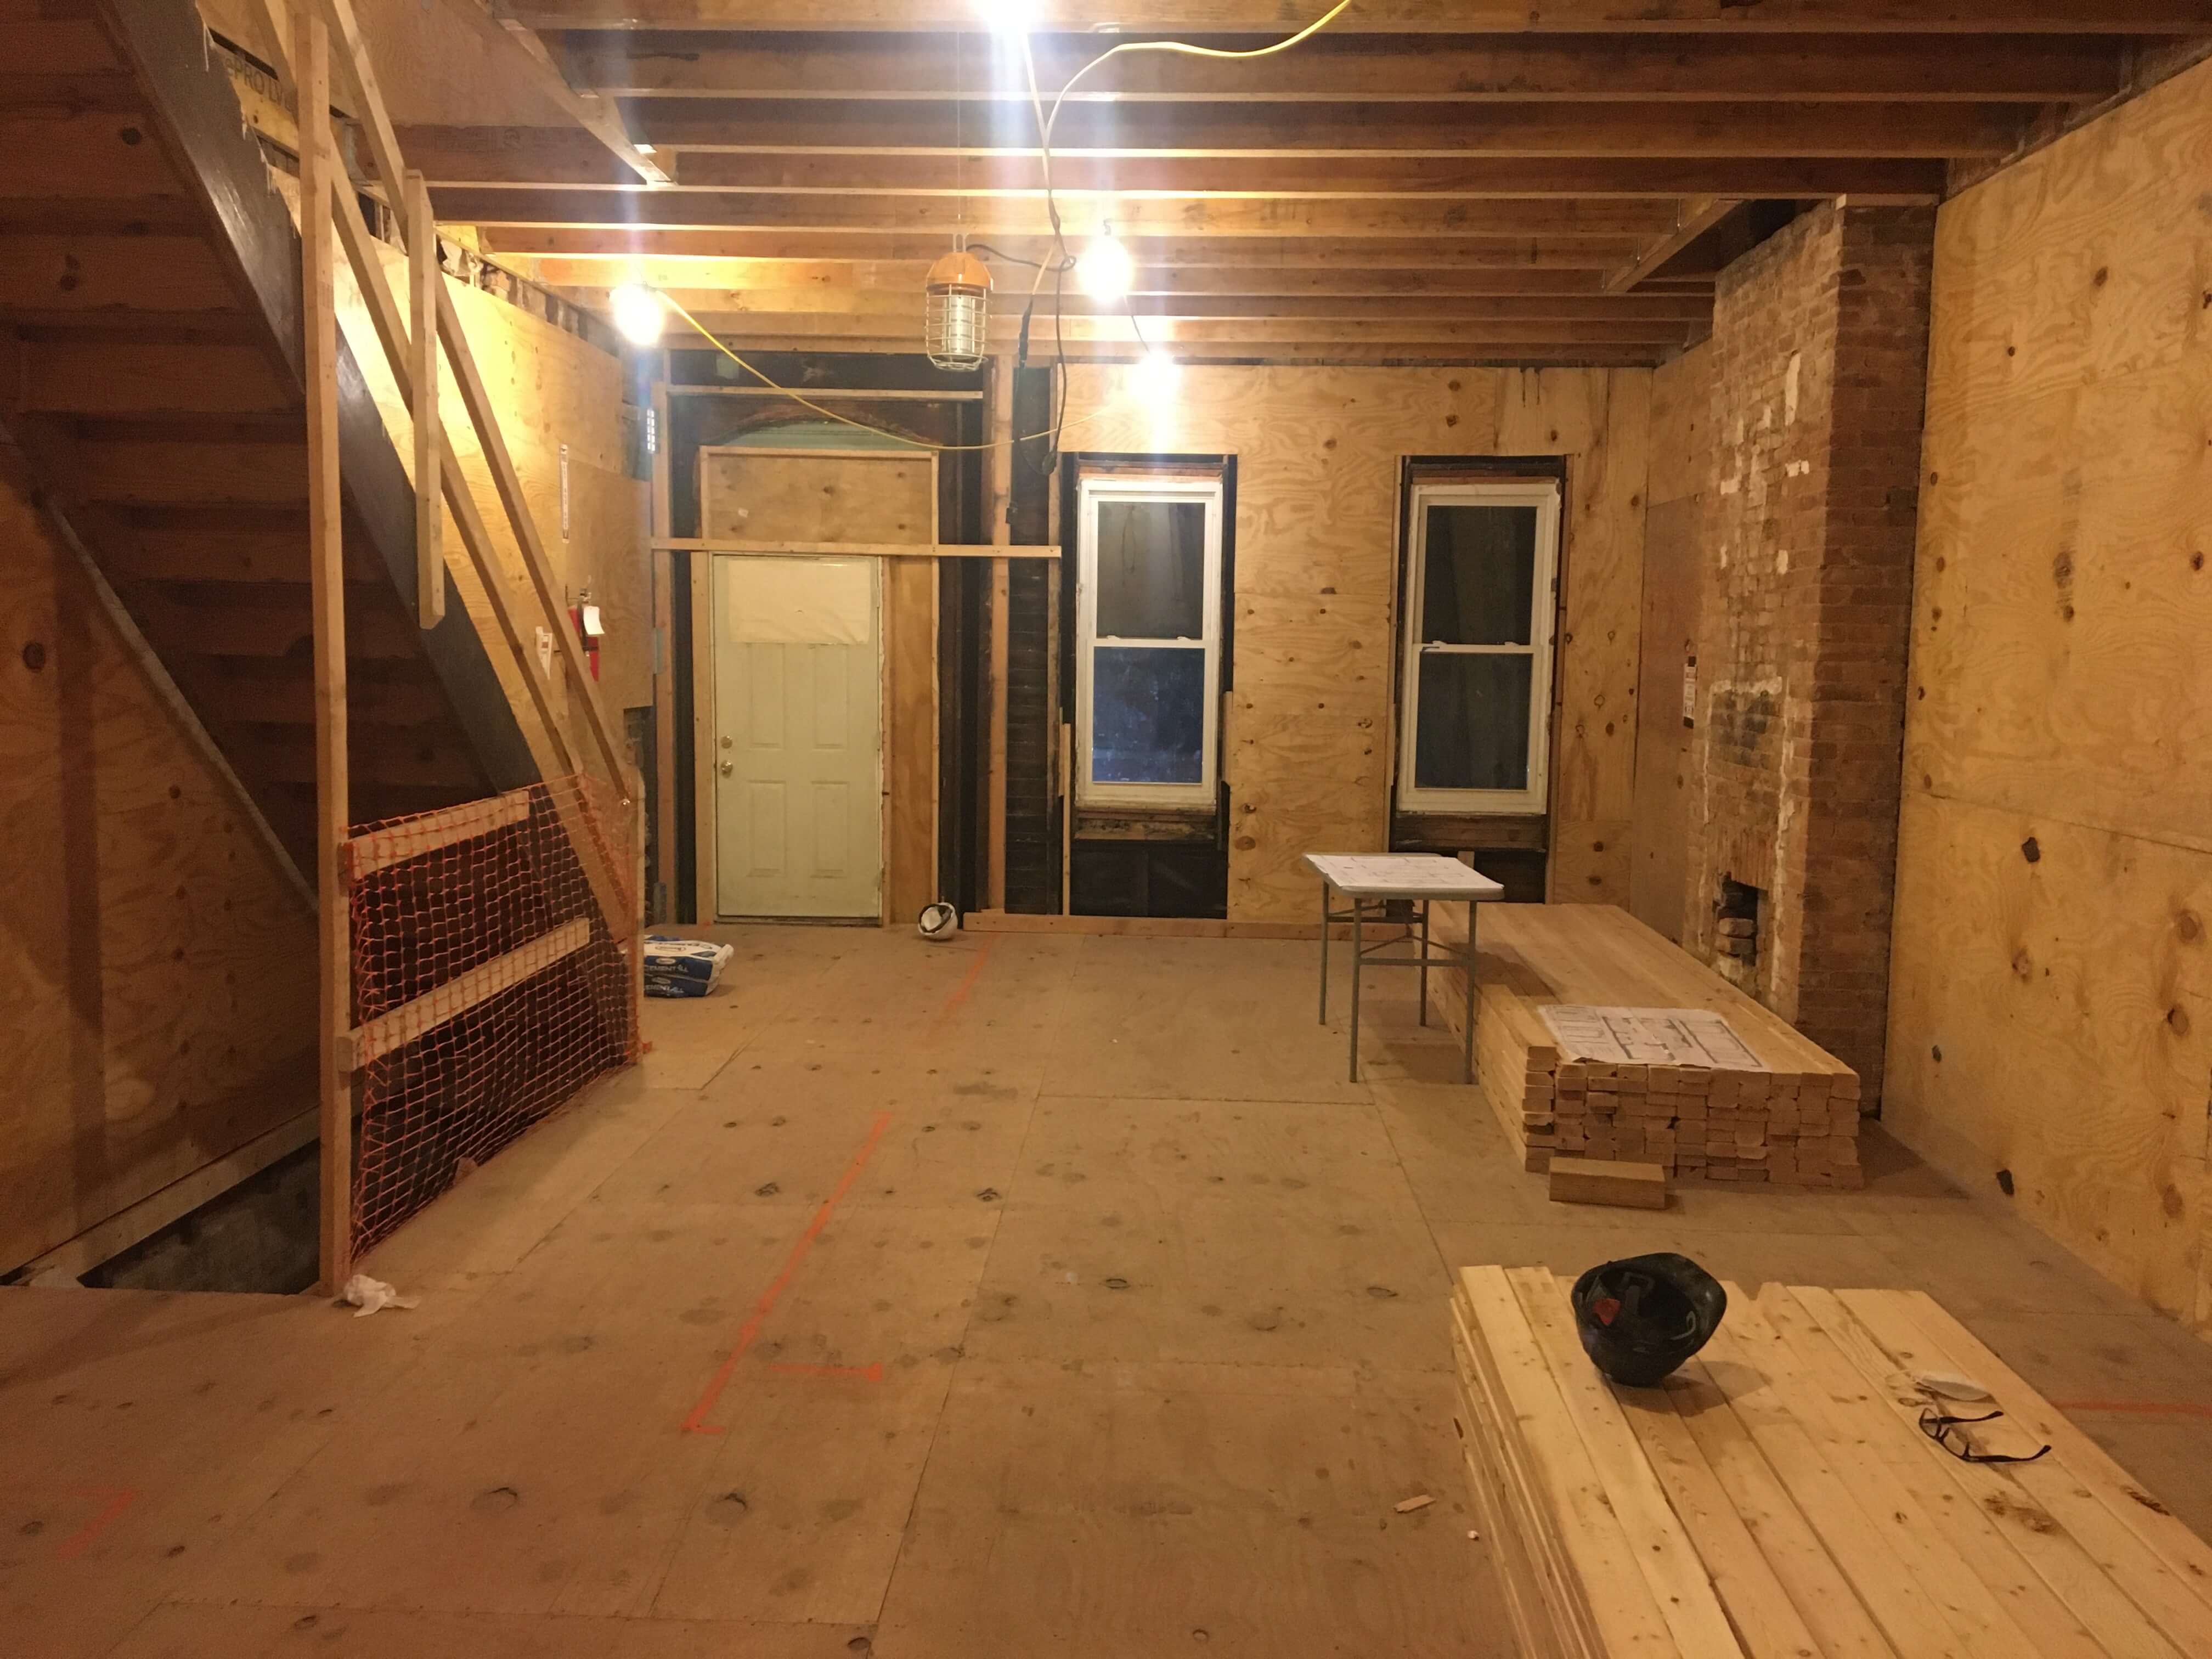
Upon further inspection of the rest of the floor beams, we discovered a lot of them were secured only half an inch into the wall pockets. There was one not reaching the wall at all anymore, and only hanging on by the floor planks attached to it. Another two were found charred from past fire damage. We came across similar problems all the way down to the basement level. My contractor and engineer said we needed to replace all the beams on the second floor and half the beams on the first, with which I agreed. At this point, our demo budget was through the roof. Change order after change order meant we needed to adjust our finishes spending later in the project. We were able to just sister the basement level but the end joists needed to be replaced. A lot of the wood had deteriorated over time due to slow leaks or dry rot. It’s amazing this house had not collapsed before we got a hold of it.


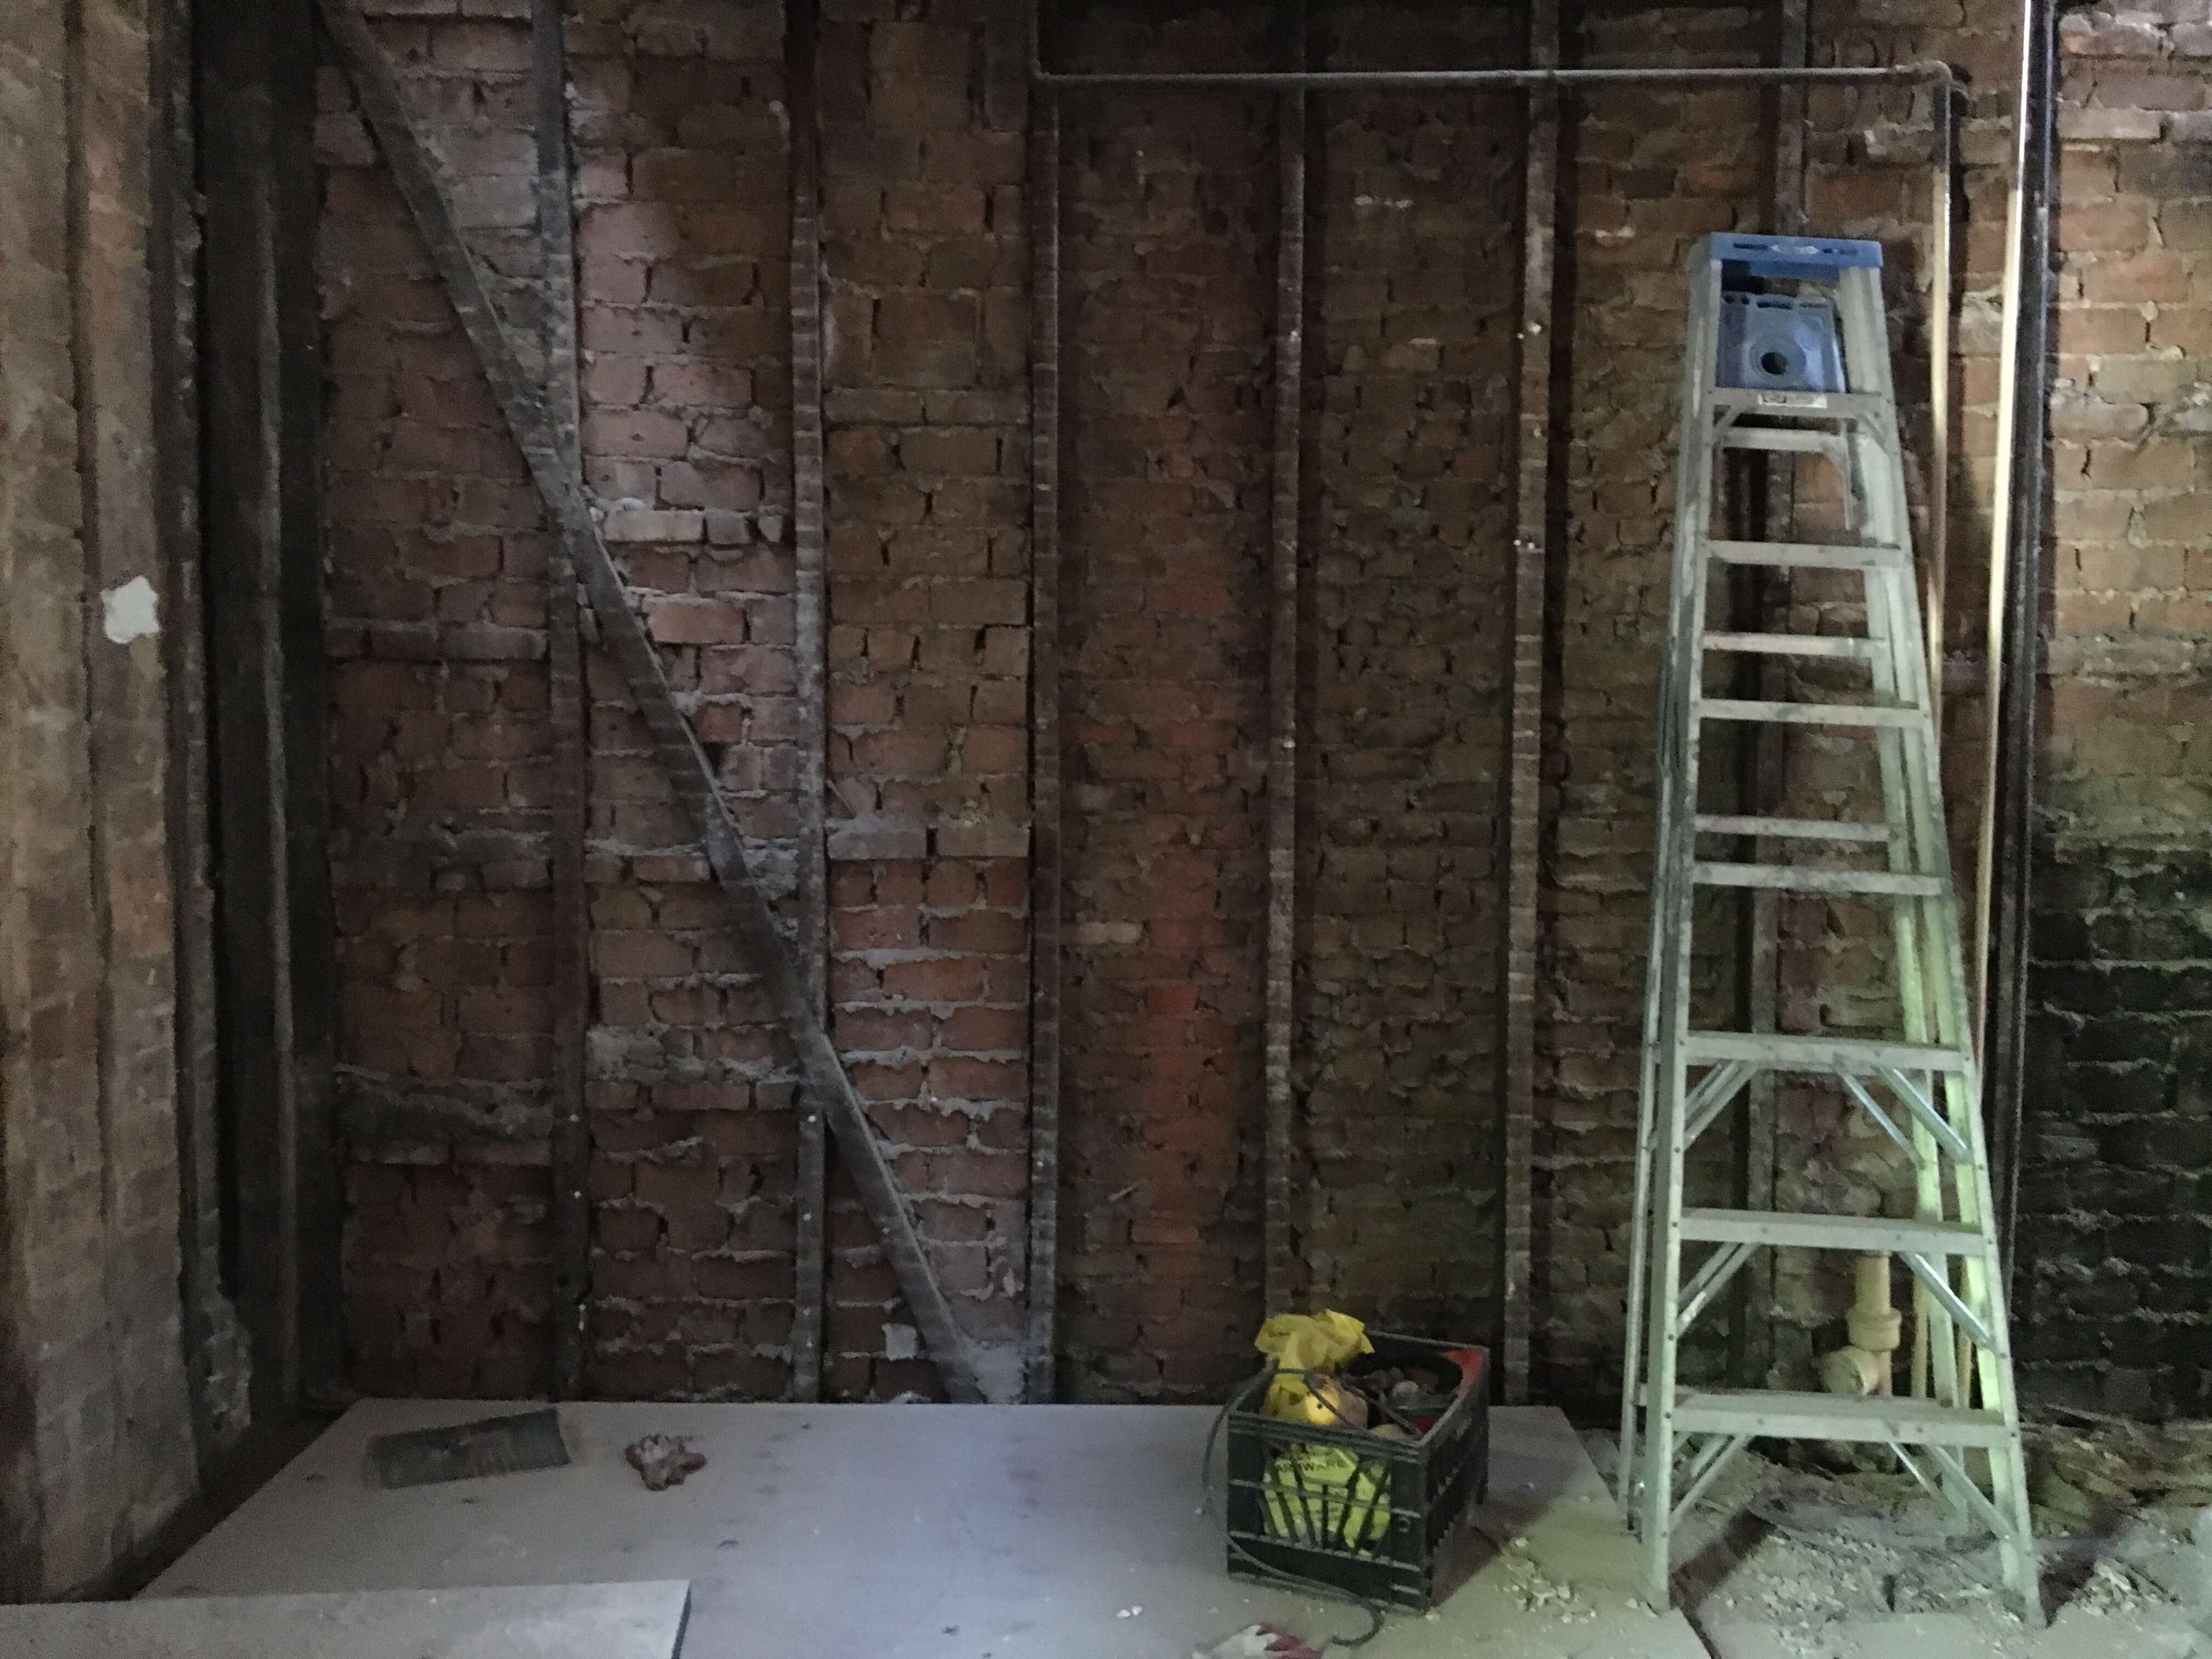
Once the walls were stripped down to the studs, we learned that the party and exterior walls were built with brick and mortar between wood timber posts. This method of construction is called “brick nogging.” I read that back in the day the only insulation available besides straw and plaster was brick. They would stack brick between the wood studs to help keep wind drafts down and, more importantly, to keep rodents out. By 1882 this practice was no longer common. Because of the fragility of the exposed brick, our contractor had the brilliant idea to line the perimeter walls with 1/2-inch plywood. This would tie all the studs together and act as a backing for the brick to create a stronger hold. We also had to repoint the brick in some places.
I mentioned earlier that the demo took a lot longer than expected. That’s because we had to replace beams and line the walls as we went, making our way all the way down to the cellar. The contractor was afraid that if we removed too much all at once, the walls would collapse. He needed to make sure the house stayed safe and secure as we worked. I highly recommend his team. We could not have done this project without them.
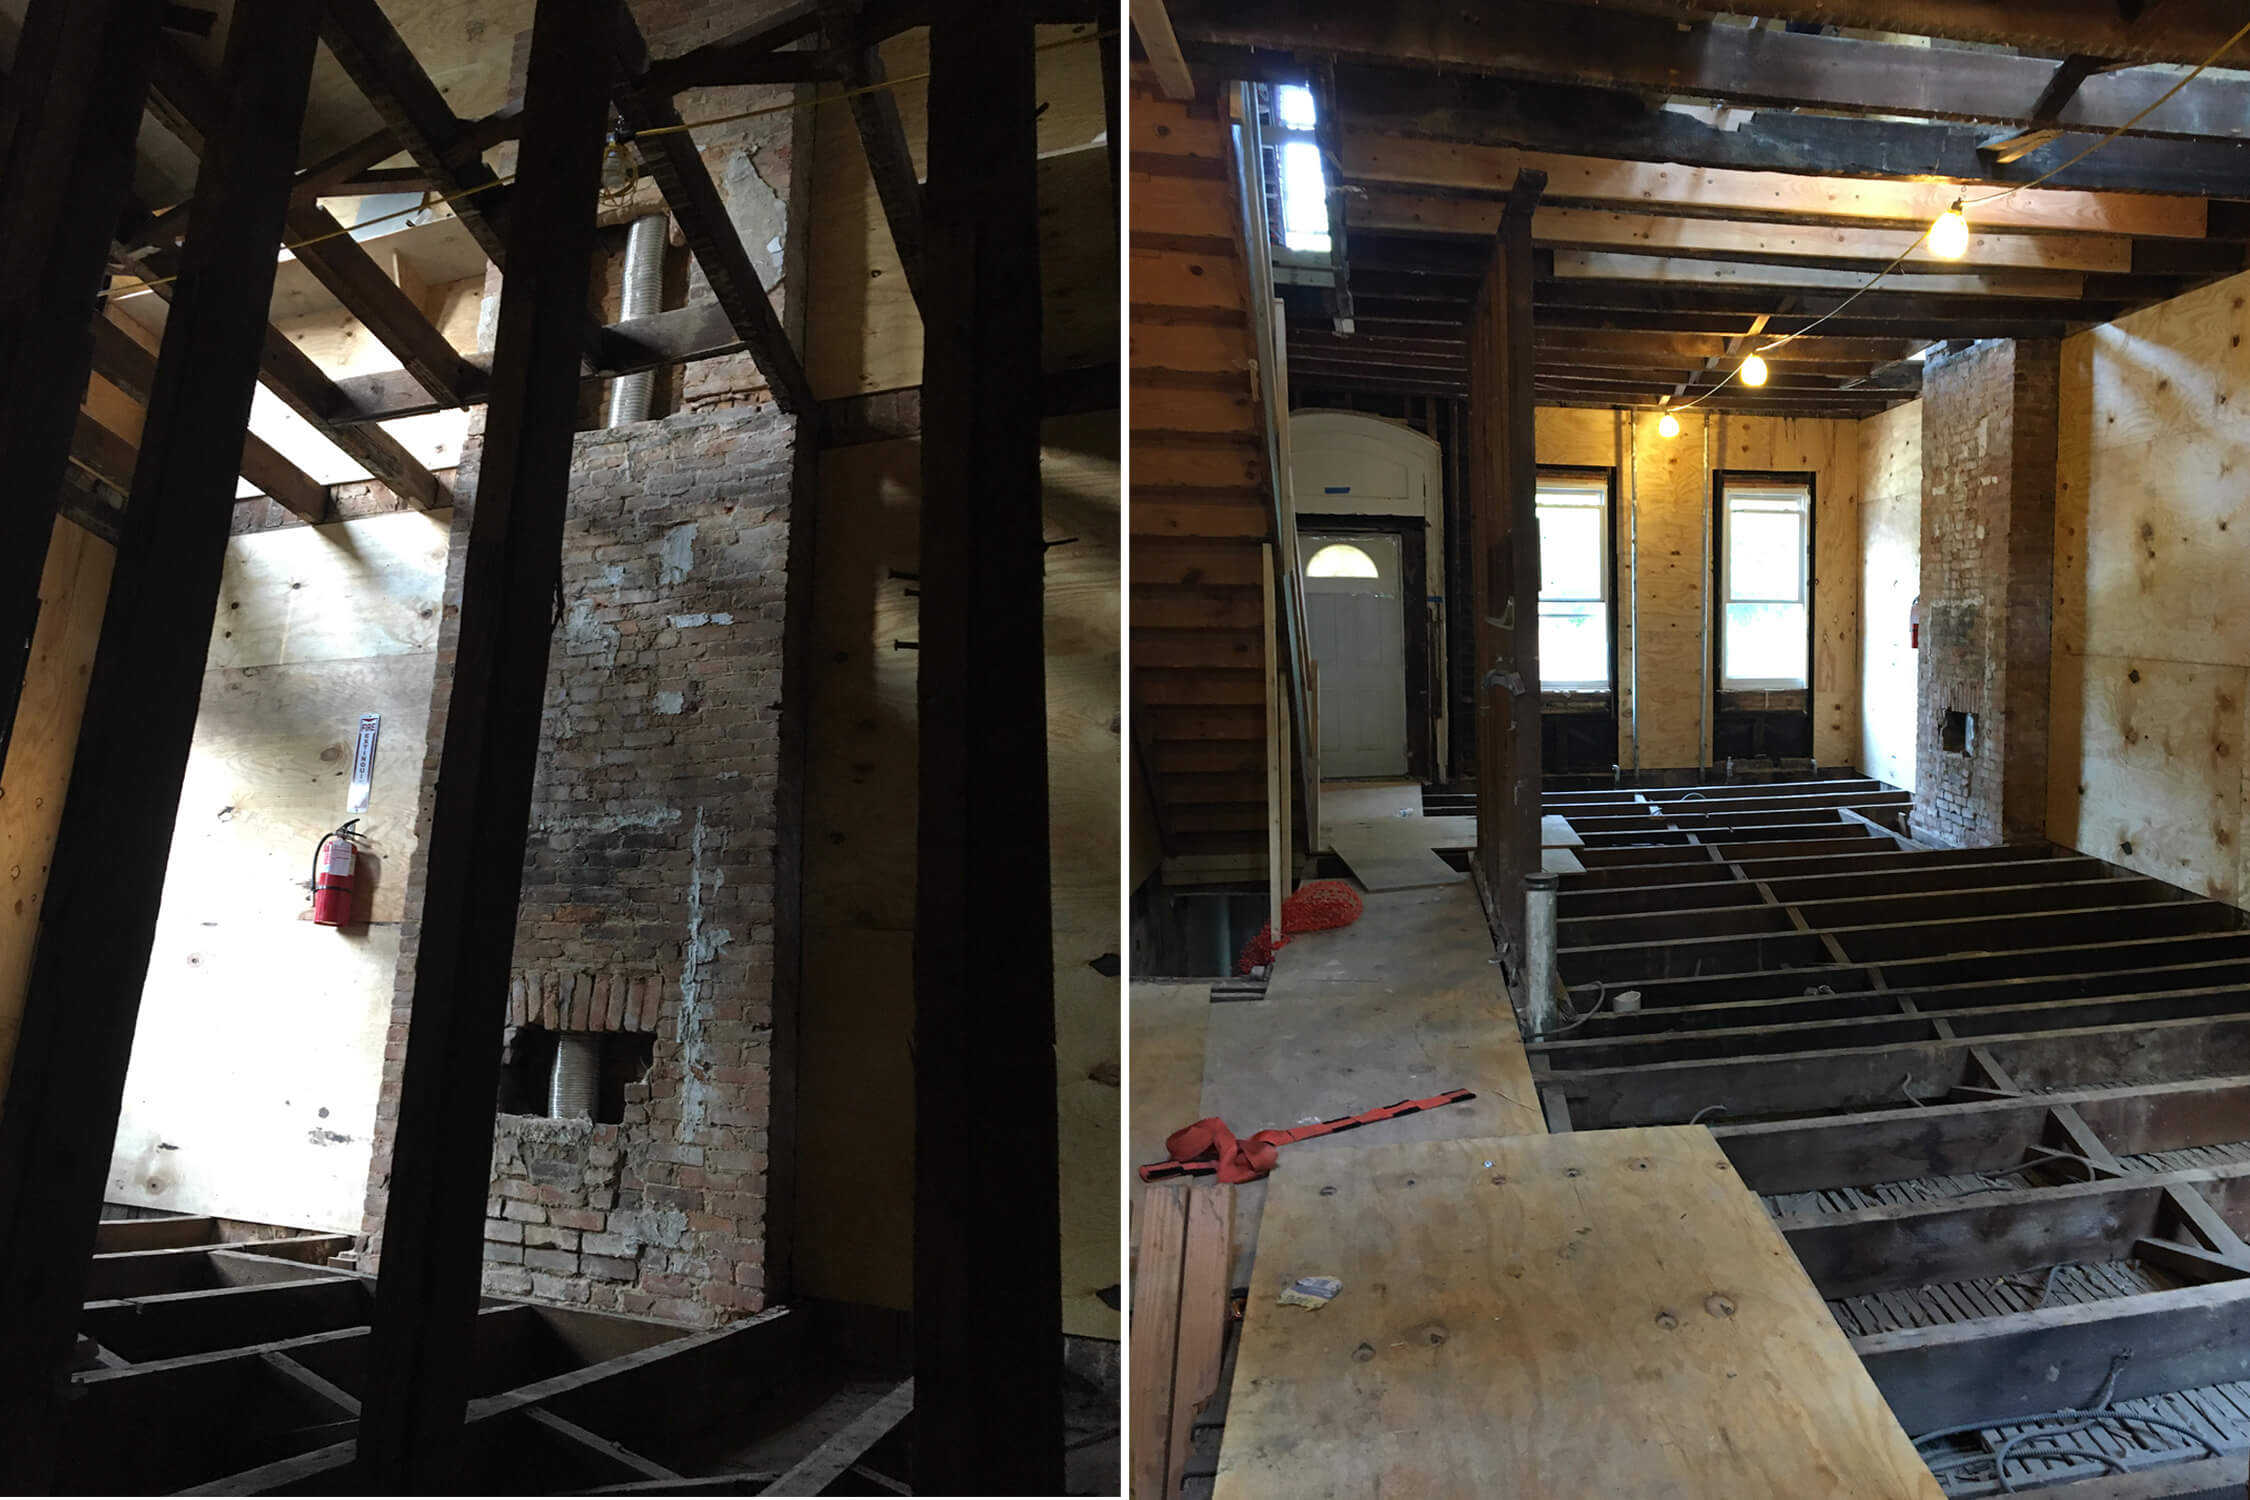
After a little research, the best beam replacement we found for this project was to use LVL laminated veneer lumber. The original wood beams were 3 inches by 8 inches, so we found an LVL that was comparable in size. They proved to be solid and straight enough to be the perfect structure we needed for the floor. Plus we could reuse the same wall pockets to hold them in place.
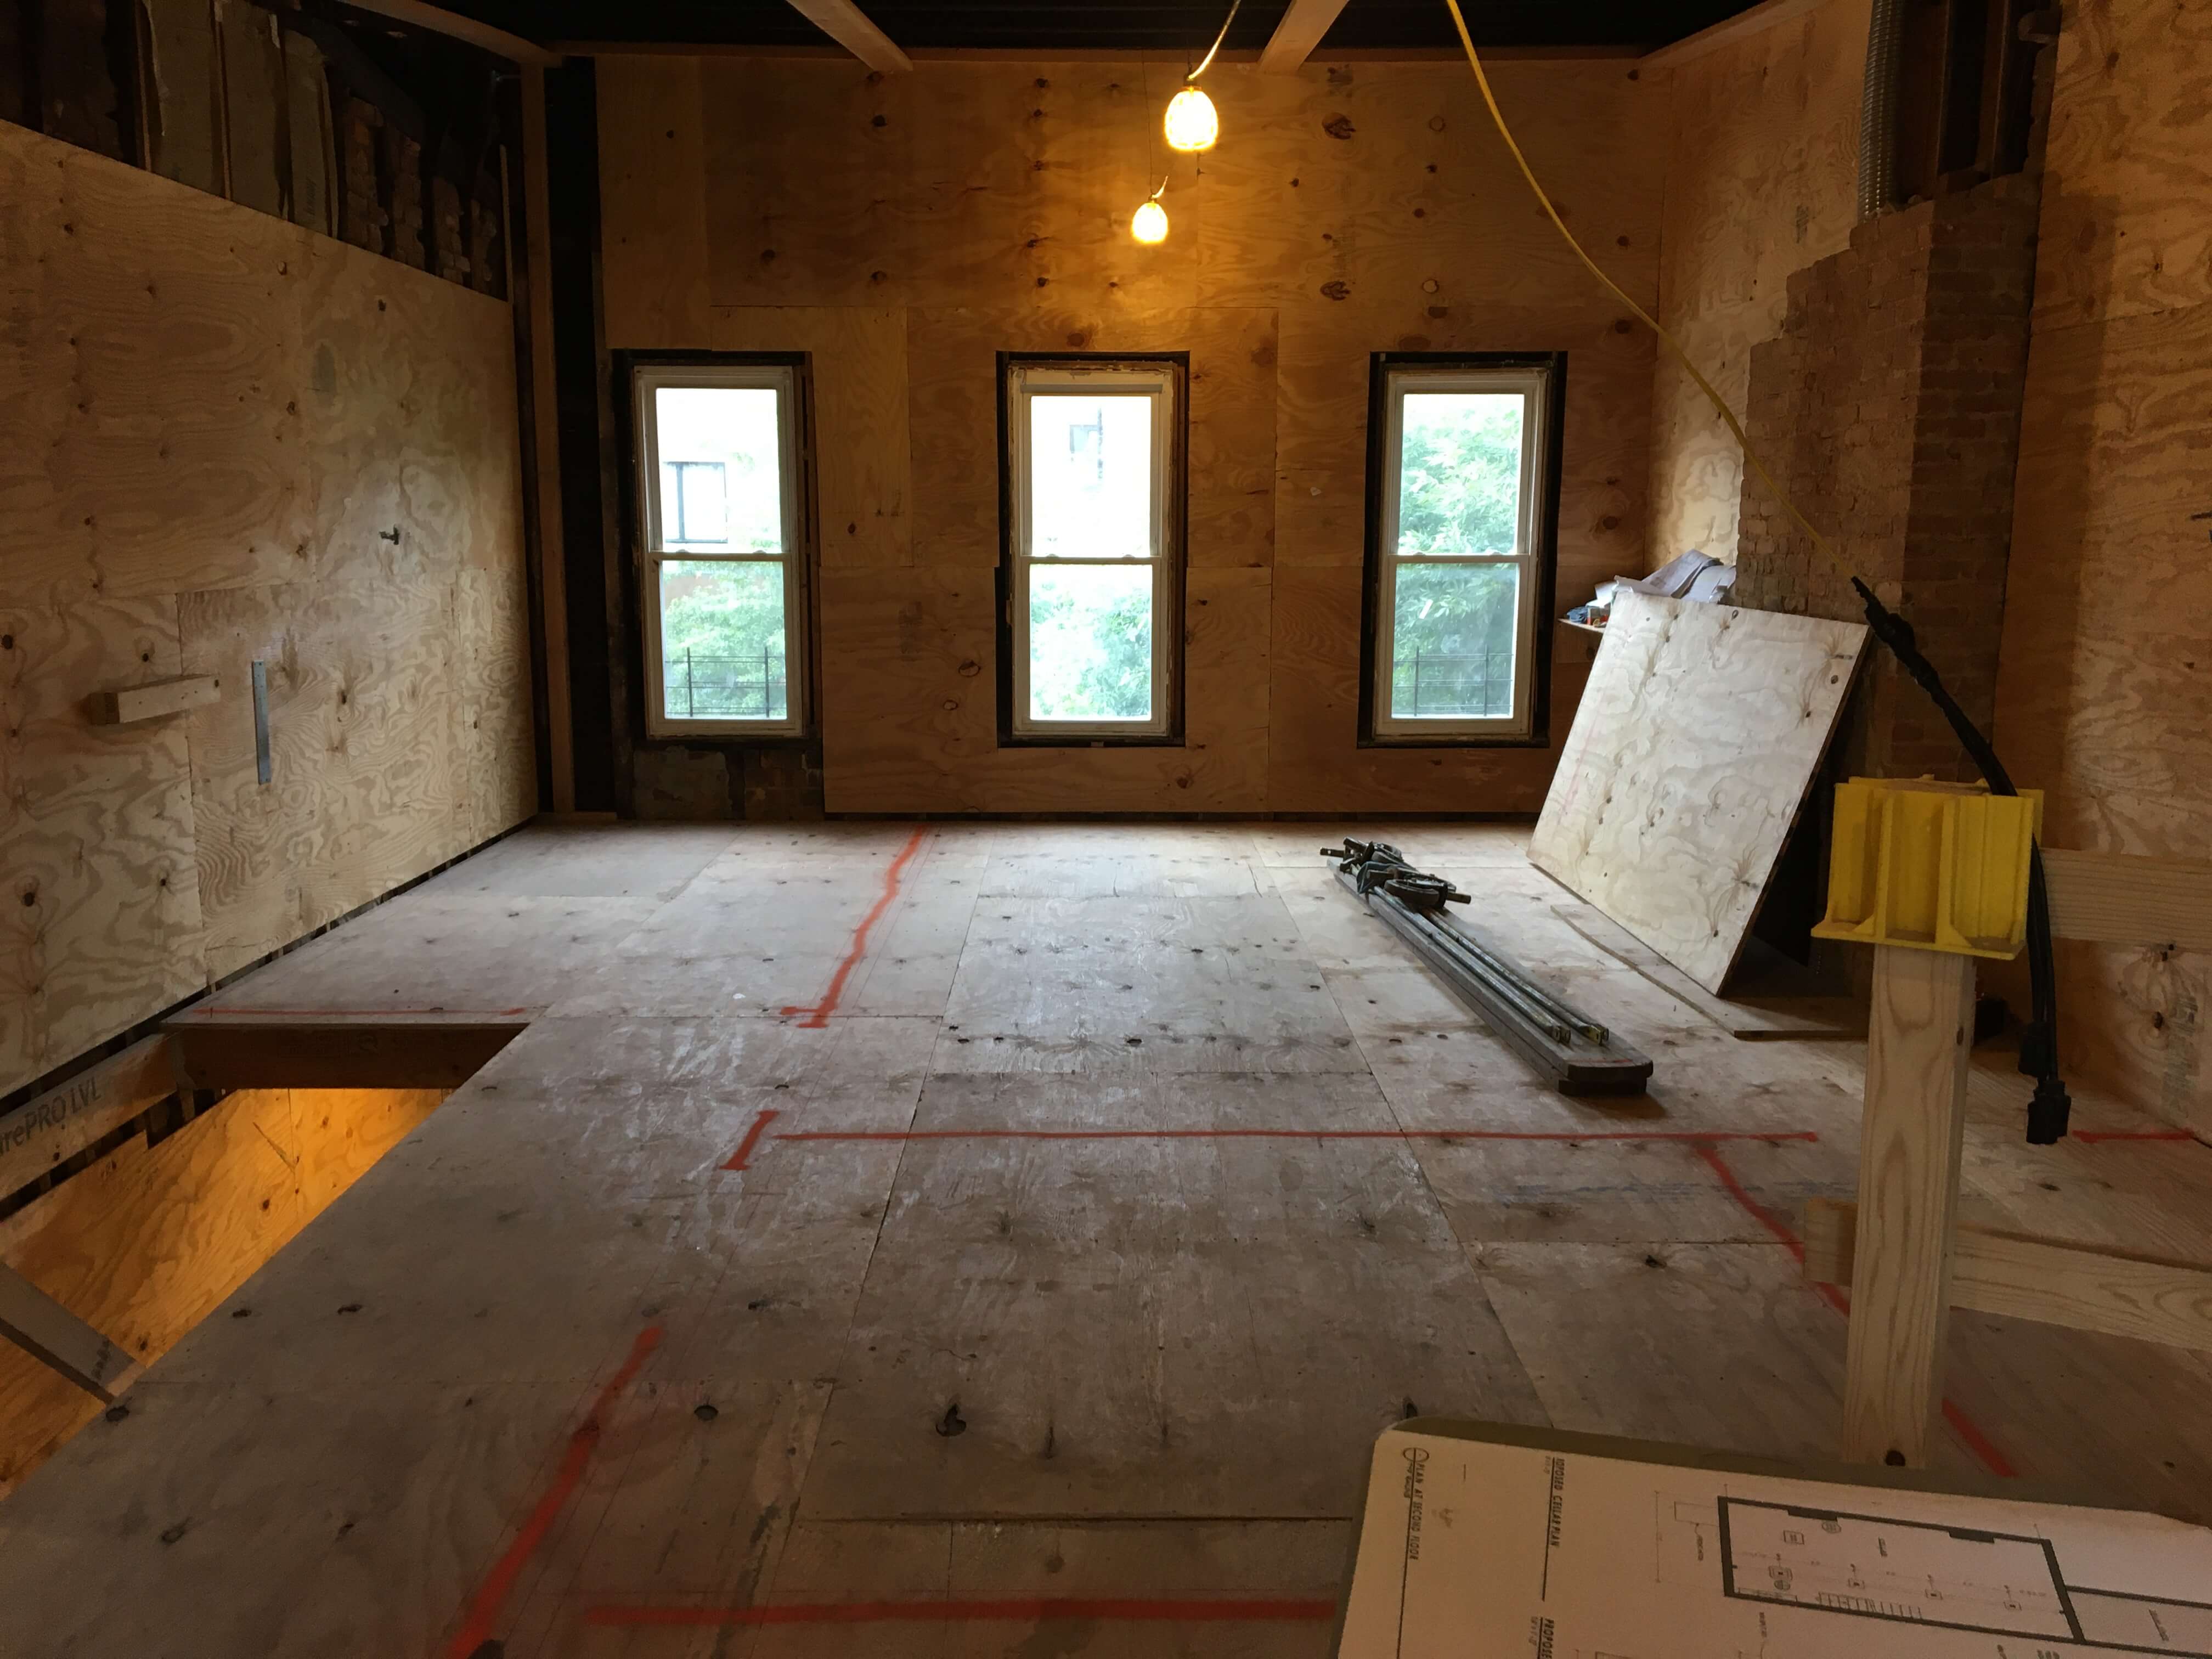
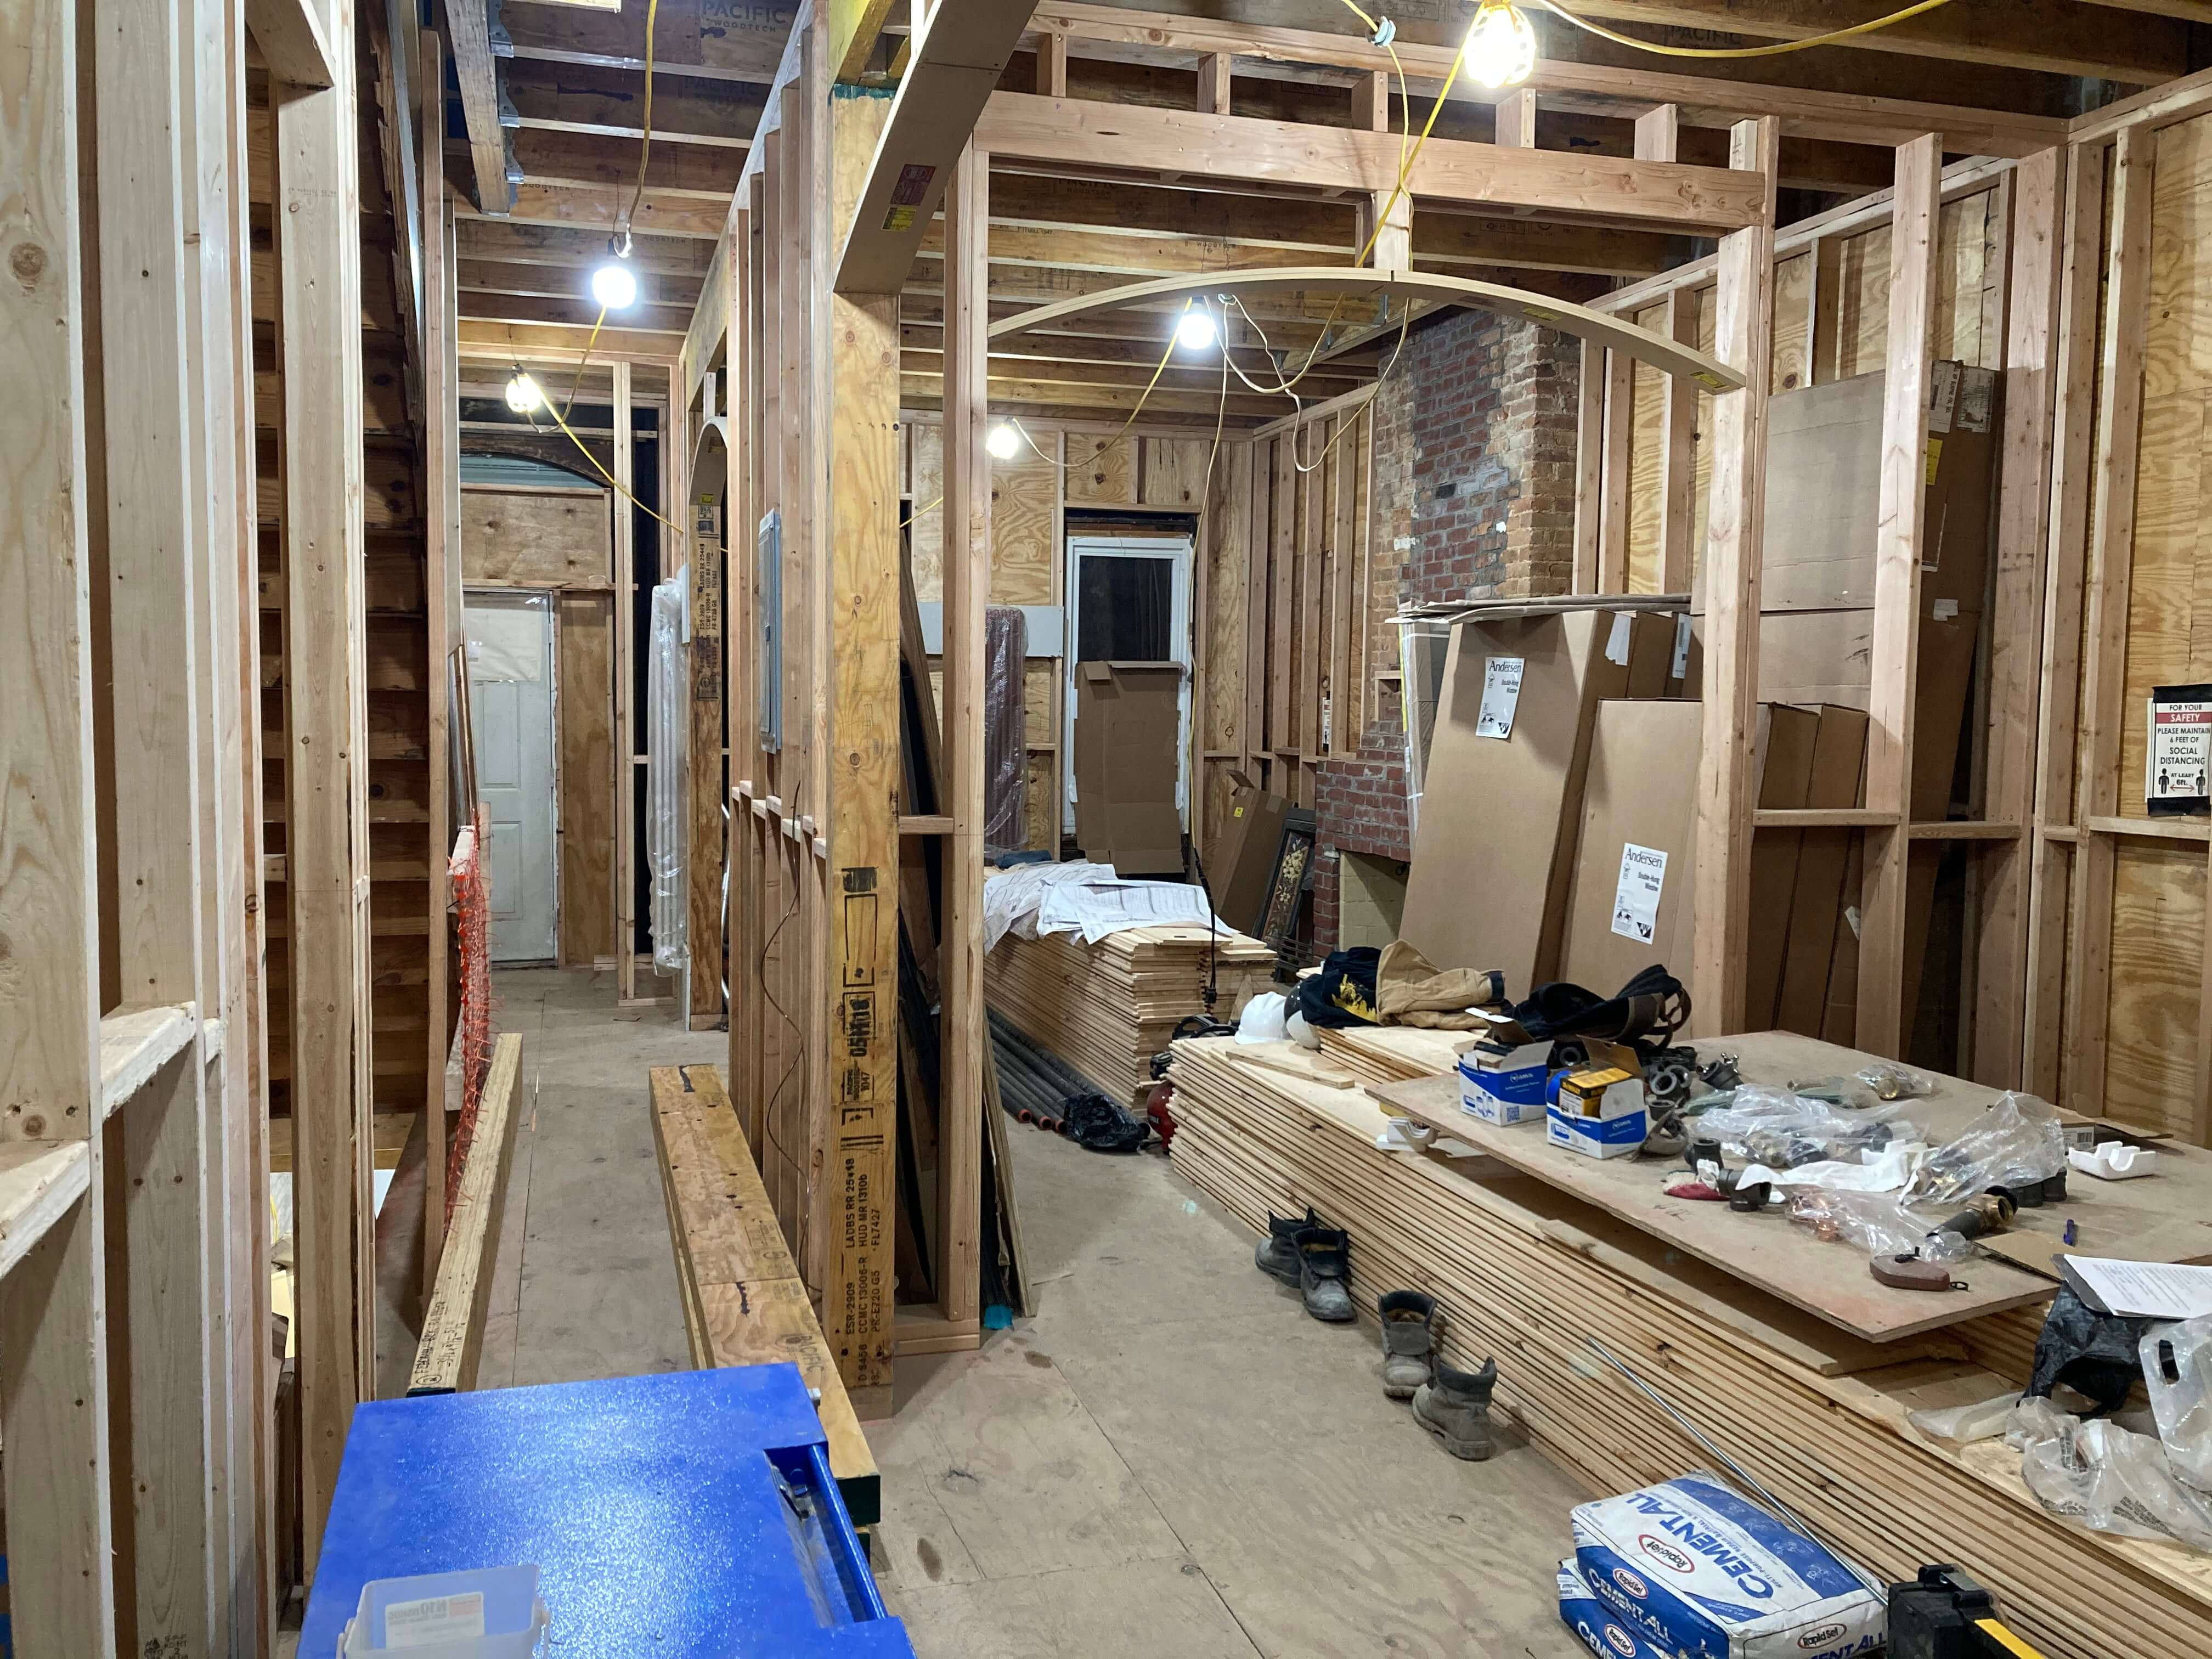
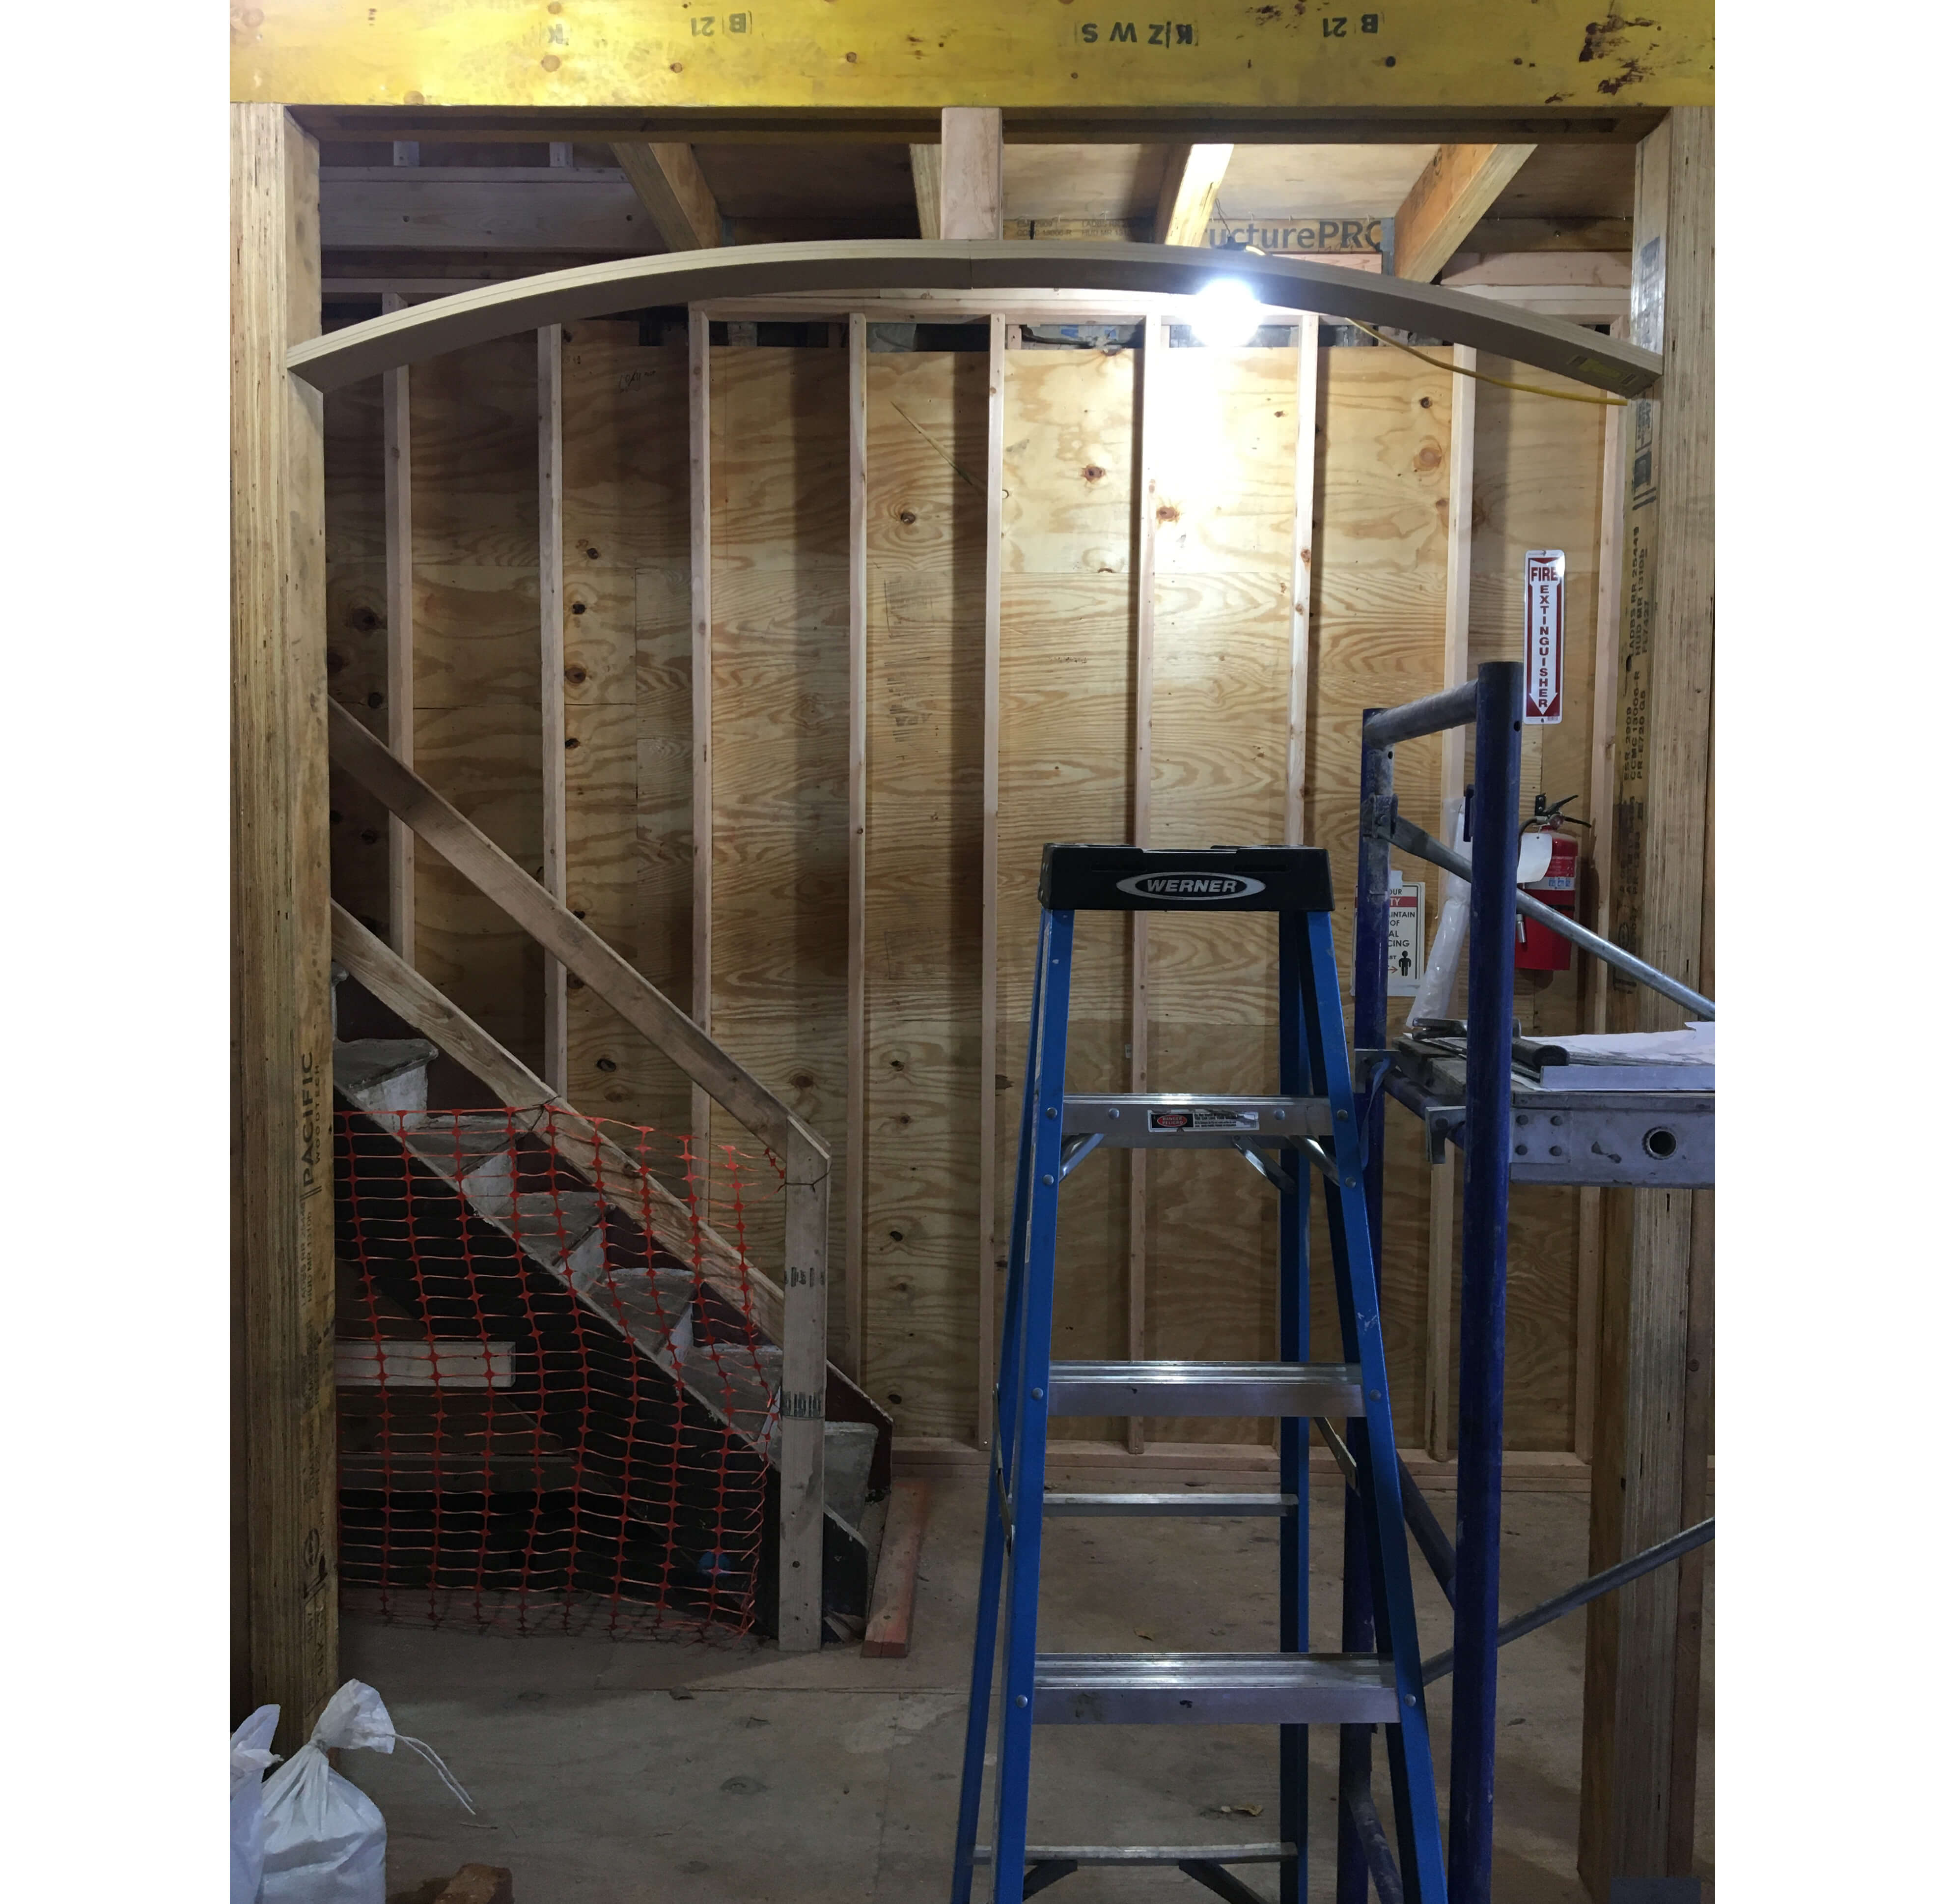
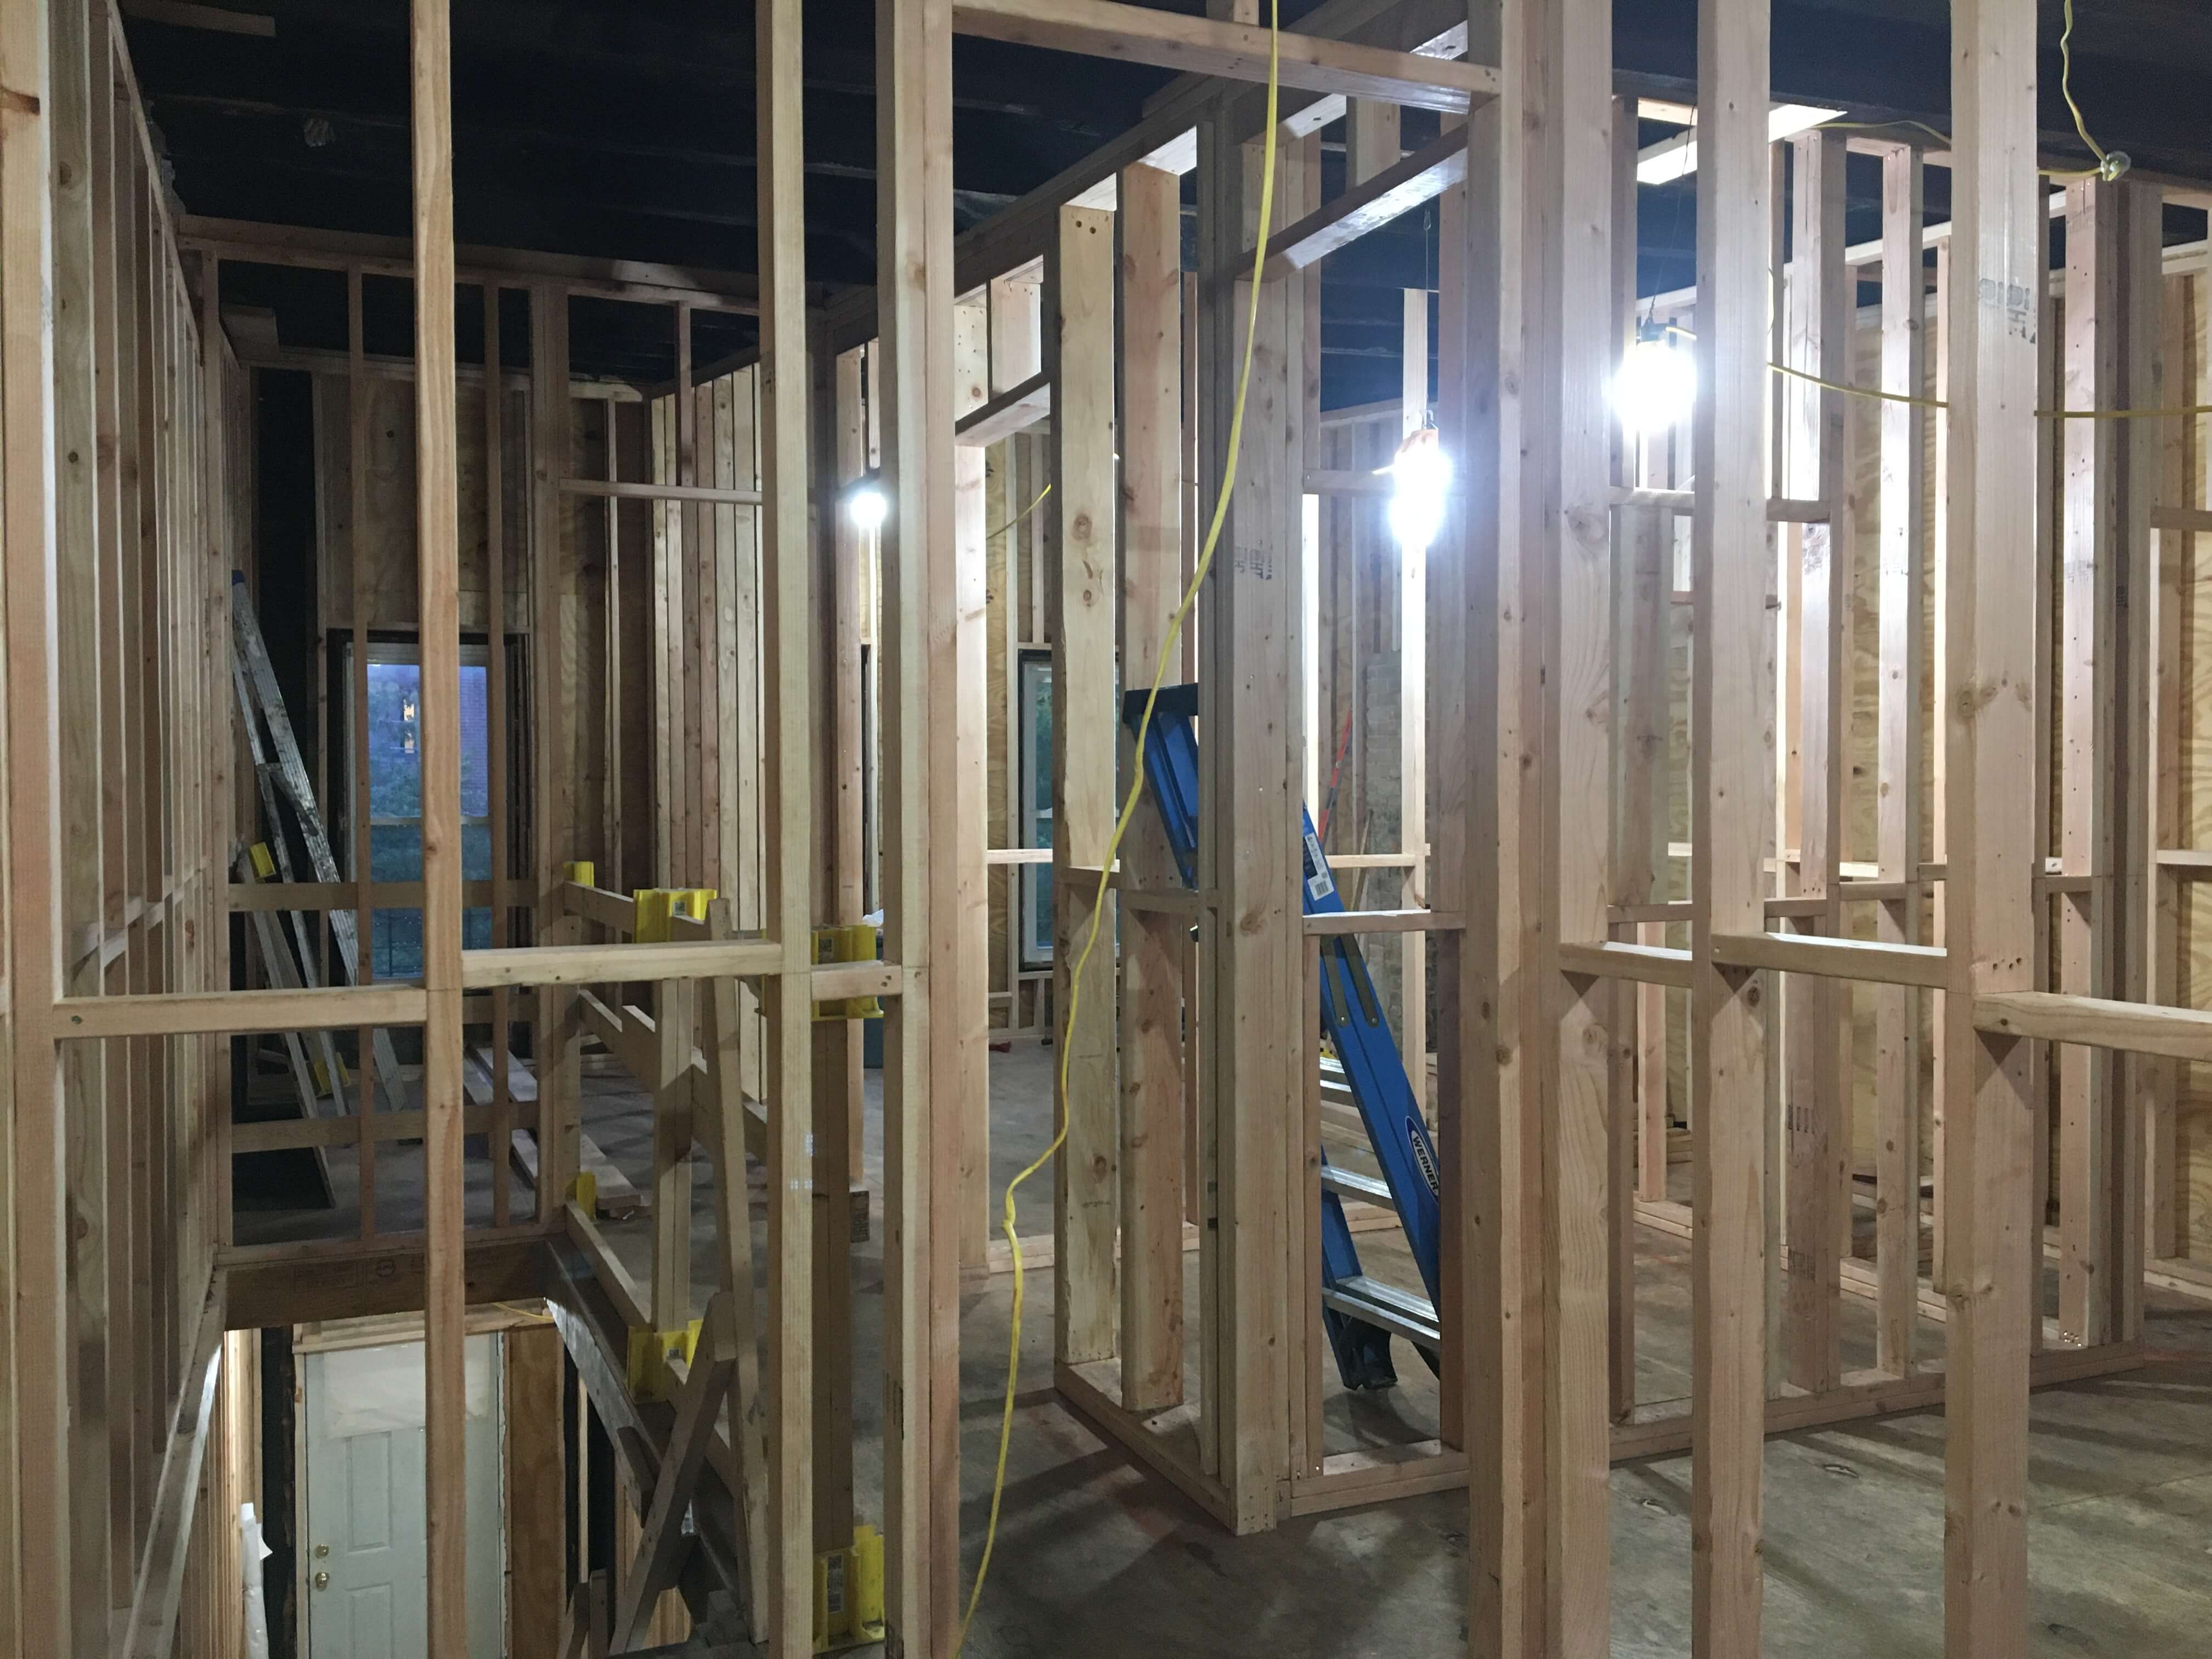
Now that the floors were level and outfitted with a fresh layer of 3/4-inch plywood, we were ready to place the walls. Part of me wanted to keep the whole house open because it looked so clean after the demo. It was refreshing to take so much weight off the house and start over. I saved all the original floor beams that were removed from each floor and plan to use them to build planter boxes in the backyard for a later project. Once the new subfloor was down, the contractor and I spent some time marking the wall placement and made adjustments as needed. Plans are a good starting point, but it’s important to keep in mind that once you’re standing in the space, it’s ok to make changes to avoid any strange construction mishaps down the road. Sometimes things don’t work out on paper. It’s hard to plan exactly how everything will go together ahead of time such as plumbing vents, waste lines, electrical feeds, ducting, etc. We were now four months into the project, and it was amazing to see how quickly the walls and ceilings were framed. Onto the electric and plumbing.
[Photos by This Ugly House]
Related Stories
- This Ugly House: Demo of Chopped-Up Bed Stuy Wreck Reveals Hidden Mantels, Asbestos
- It’s Just a Heights One-Bedroom Reader Renovation Diary: We Pull the Trigger
- Brownstone Boys: How to Waterproof a Cellar
Email tips@brownstoner.com with further comments, questions or tips. Follow Brownstoner on Twitter and Instagram, and like us on Facebook.


What's Your Take? Leave a Comment