
Inside Third & Bond: Week 99
Welcome back to part two of Hardwood Floors 101. Last week we reviewed our exacting specification for the flooring material, down to how it is cut. This week’s post is about installation. Next week’s post will have nothing whatsoever to do with flooring—it’ll be the reveal of a really cool collaboration we have going. Trying….

Welcome back to part two of Hardwood Floors 101. Last week we reviewed our exacting specification for the flooring material, down to how it is cut. This week’s post is about installation. Next week’s post will have nothing whatsoever to do with flooring—it’ll be the reveal of a really cool collaboration we have going. Trying. To. Hold. Back. From. Urge. To. Spill. Beans. Immediately. Aargh!
Okay, so you have a stack of wood flooring and a big concrete floor. Where do you start? What do you worry about?
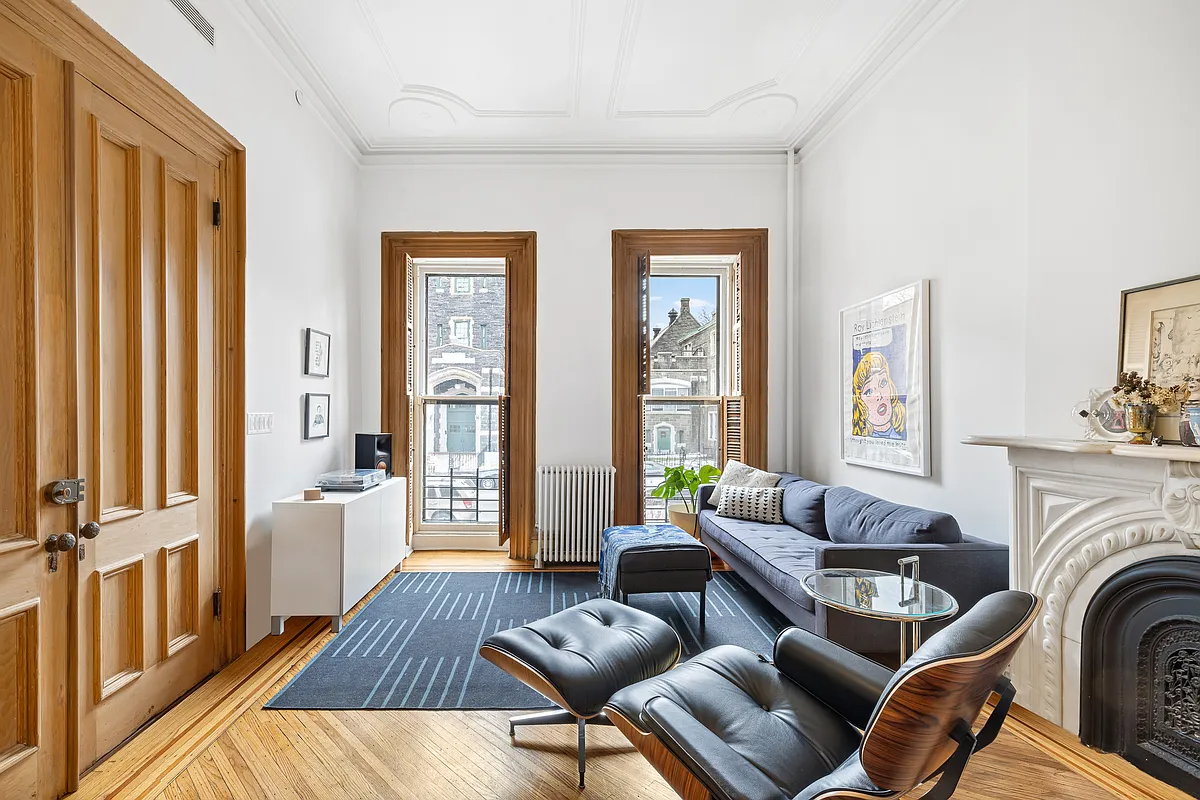
Leveling. The subfloor at Third + Bond is the poured concrete slab of the superstructure. We didn’t use a self-leveling product, which would have been expensive, but we did specify the performance we expected: no more slope than 1/4 inch per 10 feet. That’s mostly what we got. Where necessary, our wood floor subcontractor grinds (if area of floor is too high) and patches (if area of floor is too low). In preparation to patch-and-grind, the subcontractor marks with spray paint the areas needing attention, as shown by this week’s photo.
Layout. Ever written a postcard and found that without lines to guide you, the words seem to drift up as they cross the page? You might be writing in a straight line and the edge of the card is straight, but somehow they don’t stay respectively parallel? Same thing can happen with wood floors. We start with a laser to check plumbness and mark exacting lines. Using this as a guide, we figure the best place to lay the first strip. In a hallway, for example, we like to lay one long strip down the center, and work outward toward the walls. If you end up needing to trim a piece, it is one of the edge and partially hidden by baseboard.
Finishing. Originally the plan was to buy pre-finished wood. The strips would have arrived on-site shiny with polyurethane. Kiska asked that we change to finishing the wood on-site because protecting a perfect finish while the cabinetry and appliances are wheeled in is more challenging than protecting the unfinished wood and shining it up later. A sample of the finished wood sits in a corner of the construction office, far too pretty for its grubby surroundings. Although it’s a matte finish, Mr. Clean would look great in its soft, buffed glow. (In anticipation of Brooklyn Greene’s question, yes, we are specifying a low-VOC finish.)
Painting. Which is better: droplets of wall paint on a finished floor or bits of floor dust on a newly painted wall? Answer: Avoid both. First prime the walls, second install and finish the floors, third put down paint paper everywhere, fourth paint the walls with final coat. Fifth, make everyone who walks through wear shoe booties and wash their hands before entering.
Hey, you gotta be a stickler when it comes to hardwood floors. They are at once part of the architecture and a furnishing. The sheen of the finish, the coloring of the strips, the direction the floor is laid, the way the floor meets door saddles, the longevity in real weather conditions, it all matters.
Inside Third & Bond: Weeks 1-98 [Brownstoner]
The complete offering terms are in an Offering Plan available from Sponsor. File No. CD080490. Sponsor: Hudson Third LLC, 826 Broadway, New York, NY 10003.


Thanks, Petebklyn.
Dancingclown: The floors themselves come from Smith Flooring. Our installer procured them. His company is Ctender.
i looked at last weeks post as well, and couldnt find it, but what’s the company where you bought your wood from?
good choice finishing the floors on site. Prefinished I think are a mistake, look bit plastic, finish scratches to easily….and almost all I have seen seem to have this mini-bevel .