
We Lose a Mermaid But Gain a Tub and New Shower in the Master Bathroom
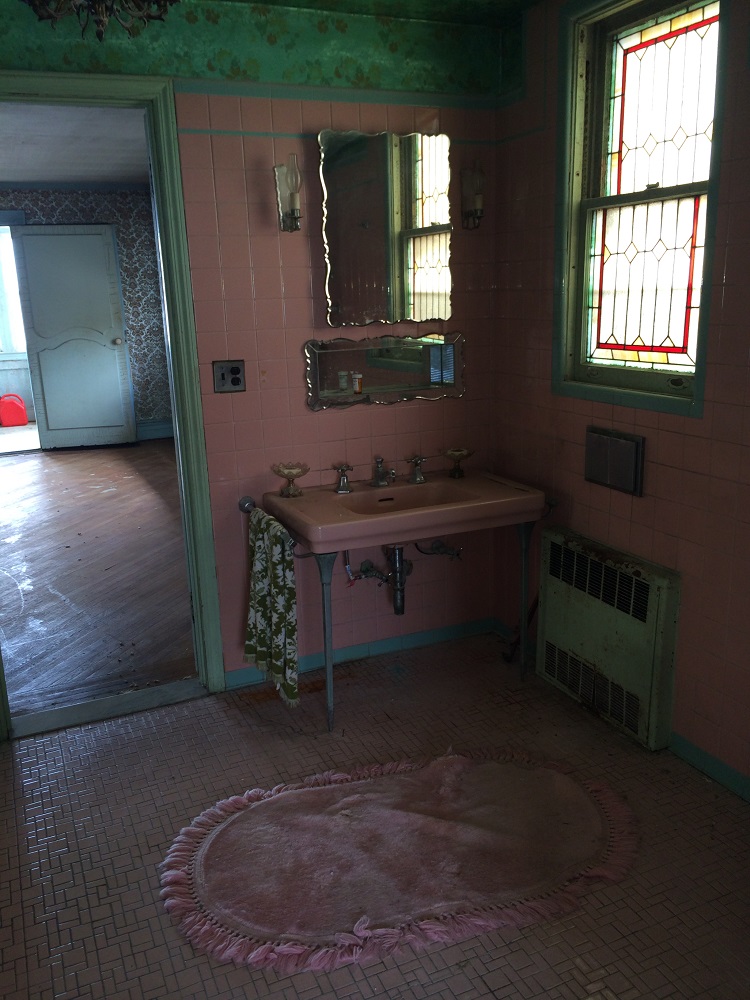
I ain’t gonna lie, I LOVED the master bathroom before. Sure, the built-in vanity nook had outdated mirrors with glass and metal shelving (oy, the clinking!), but the bathroom also had a spacious layout, pink tiles rising to the ceiling paired with turquoise trim pieces, a metallic blue floral wallpaper on the ceiling, and an all around…

I ain’t gonna lie, I LOVED the master bathroom before.
Sure, the built-in vanity nook had outdated mirrors with glass and metal shelving (oy, the clinking!), but the bathroom also had a spacious layout, pink tiles rising to the ceiling paired with turquoise trim pieces, a metallic blue floral wallpaper on the ceiling, and an all around old Hollywood glamour vibe.
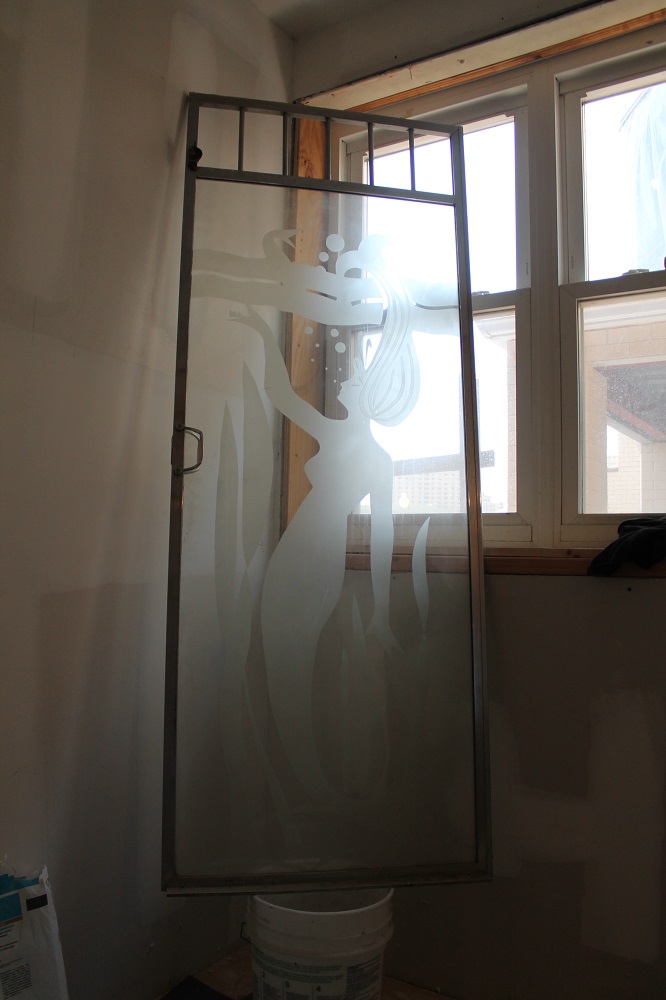
But it was the surprise siren in the shower that really had me at hello…
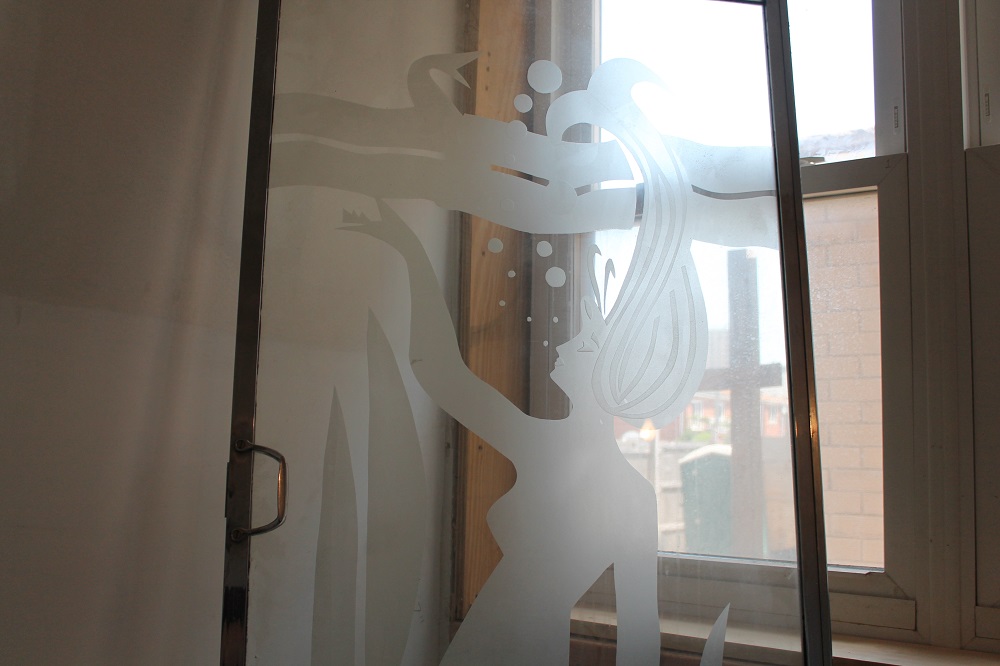
YES! A ridiculously phenomenal etched glass mermaid on the shower door, circa 1950.
The door is now safely stored in the basement, but if possible I will try to have it reframed and somehow incorporated into the blue wave shower in the attic bathroom. My girls will completely lose their minds if this works out (and so will their mom).
Initial word is that the glass is much thinner than modern-day glass for showers, and the piece is very short, so it might be a while before we find someone willing to tackle the task — but actually, I need to move in ASAP, so if it can’t be done now, she’ll stay safe in our bunker-as-basement until I figure out what to do with her.
Despite all the goodies, the bathroom also had badly outdated plumbing, all of which needed to be gutted like a pig. From the waste pipes to the radiator to the electric, it all had to go — much of it was original to the turn-of-the-20th-century house.
Contractor number one (before he dumped us) performed the total gut. But I insisted we keep everything that could be repurposed or sold — the mirrored medicine cabinet, the pink toilet, and about 150 carefully extracted 4-by-4-inch pink tiles.
It’s all propped up somewhere in the basement awaiting further instructions.
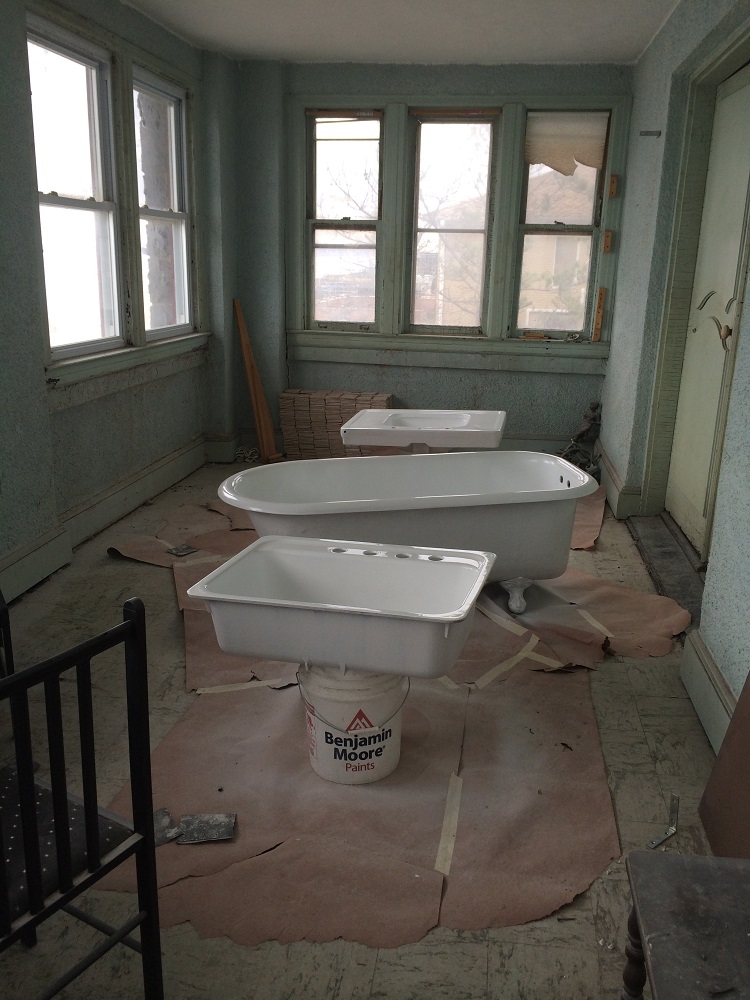
Actually, the pink sink has already undergone its reassignment surgery. We removed its, ahem, hardware and had it prepped for transition from a pink lady to a gender-fluid white. Then we took careful measurements to shop for new hardware to fit this atypical faucet-handle spread (13 inches from handle to handle).
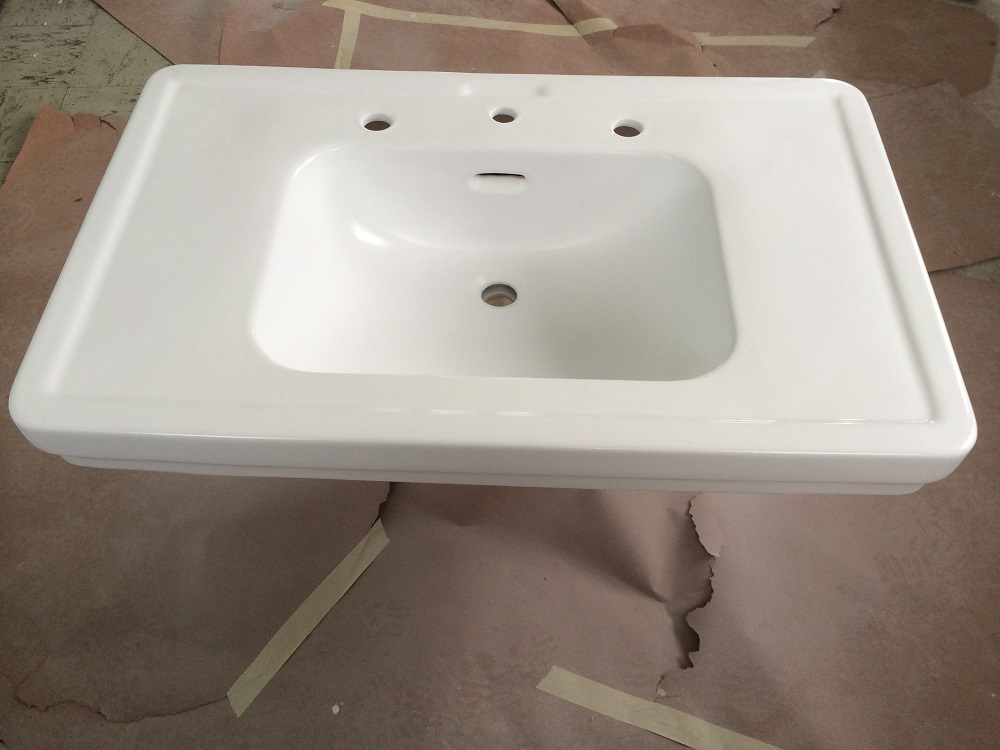
I am thrilled to keep this sink in the house. At 36 inches, it’s a nice size and will work perfectly in the newly remodeled attic bathroom.
This, coupled with the clawfoot tub moving from the attic down to the master bath, have satisfied my restoration standards and tickled my switcheroo fancy. Now, of course we hit a bump in the road when we couldn’t locate all of the metal legs the sink had been sitting on. Turned out we had only one good one.
Apparently the rest were tossed, so we brainstormed many ideas for how to fit this sink onto various bases: a pedestal, new metal legs (ha! good luck finding that one), a premade cabinet base, or make a custom cabinet base.
When I mentioned these ideas to the plumber, he basically said fuhgettaboutit and to go get something new. And I was all, “but we just had it glazed!”
And he was all, “nothing’s going to fit that.” Sigh.
So, my husband ran to Home Depot and found a pedestal base, but no steel legs. Then he got on the horn with our go-to plumbing store on Avenue J at Flatbush Avenue, to see if they might have legs.
He came back to the house with four EXACT replicas. BAM. Just like that, 1950s materials, brand new, and IN-STOCK. What? #husbandtotherescue #OldSinksStillInOperation #BrooklynPlumbingSupplyIsTheBest
Next, the demo began, revealing plaster and lathe walls and pyroblock terra cotta bricks on the exterior wall. Below, you can see what was behind the pink-tiled sink wall.
It’s clear where the medicine cabinet had been framed in, and I’m actually taking the mirror from it (a lovely scalloped edge) and having it mounted in the attic bath above its formerly pink friend.
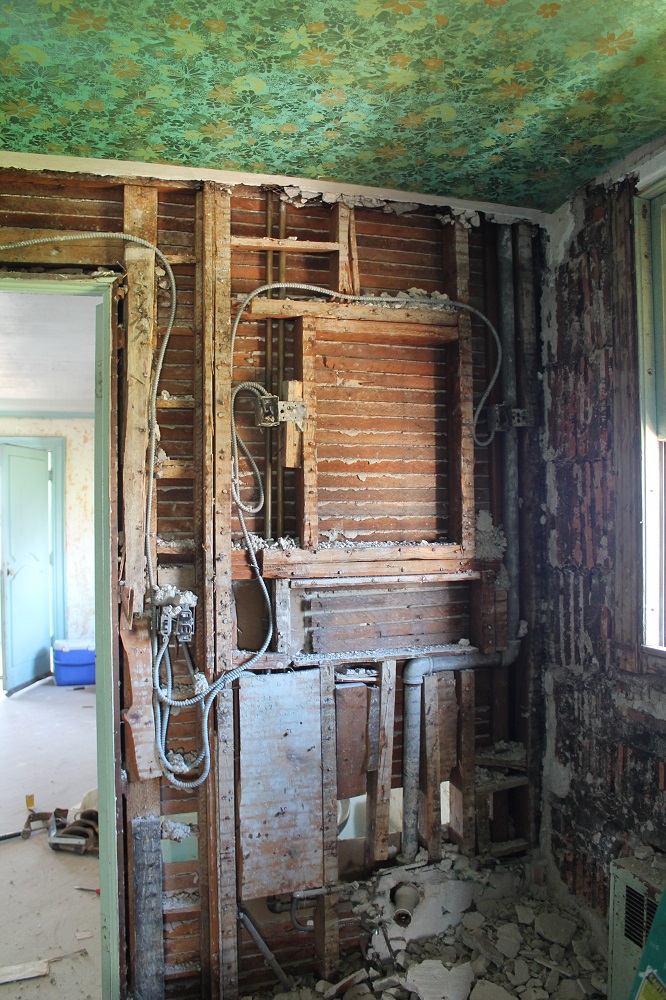
Below: The foreground of this image was the vanity nook, revealing the shower behind the built-in shelving. To the right you can see how each individual 4-by-4-inch pink tile had been “buttered” and applied directly to the plaster wall.

View of the old walk-in shower and vanity nook, mid-demo, above
There was just So. Much. Cement.
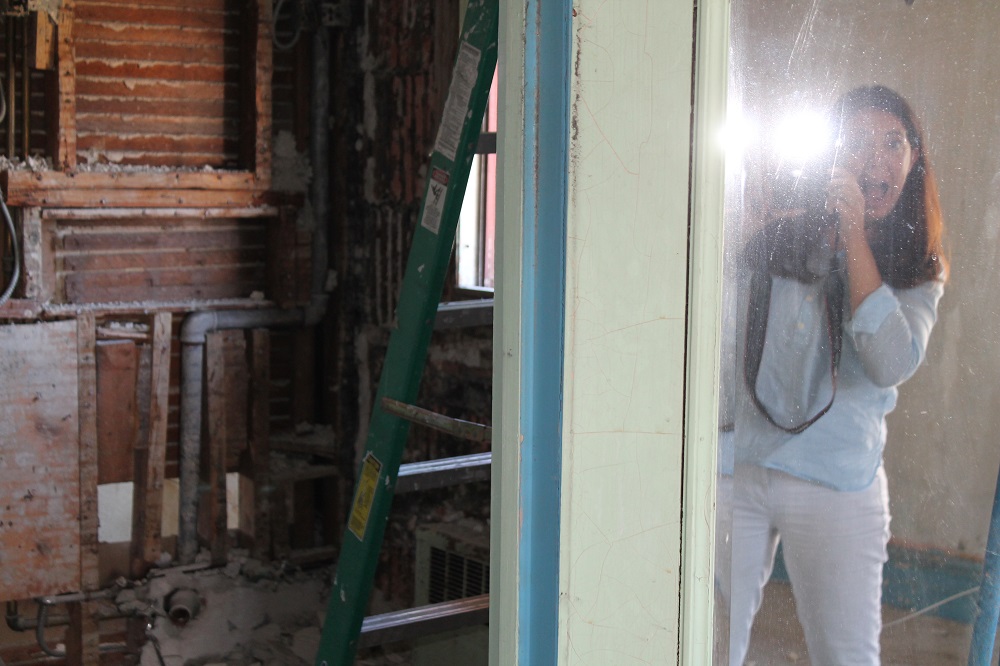
My expression each and every day of this project.
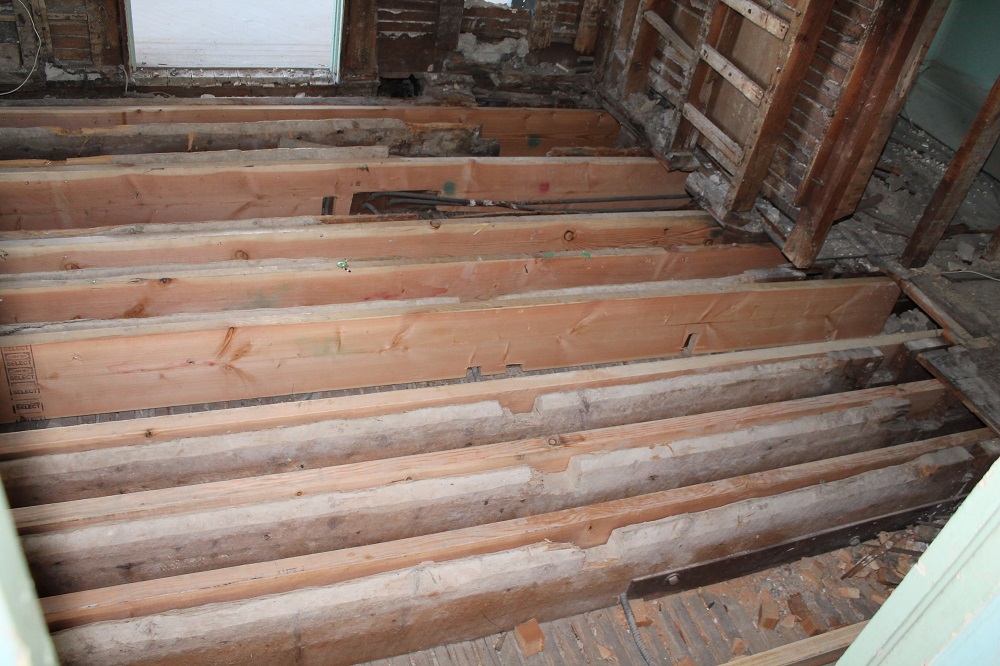
Eventually all the ceilings were pulled down, and the cement was chipped out and removed from between the floor joists, revealing some not-so-cool cuts for plumbing.

To add stability to the floor and reinforce the old (and cut) joists, the beams were sistered with new wood joists.
The great thing about ripping up all the floors and walls is that as long as you are installing brand new plumbing, you can just as easily install it anywhere, thereby completely relocating toilets, showers, etc. We took full advantage and played musical porcelain thrones, making space for the clawfoot tub from the attic.
We also discovered hardware in the wall that indicated a tub had originally been in the master bath, in the spot where the vanity sat (foreground, below), which also just so happens to be the spot that we are installing the tub!
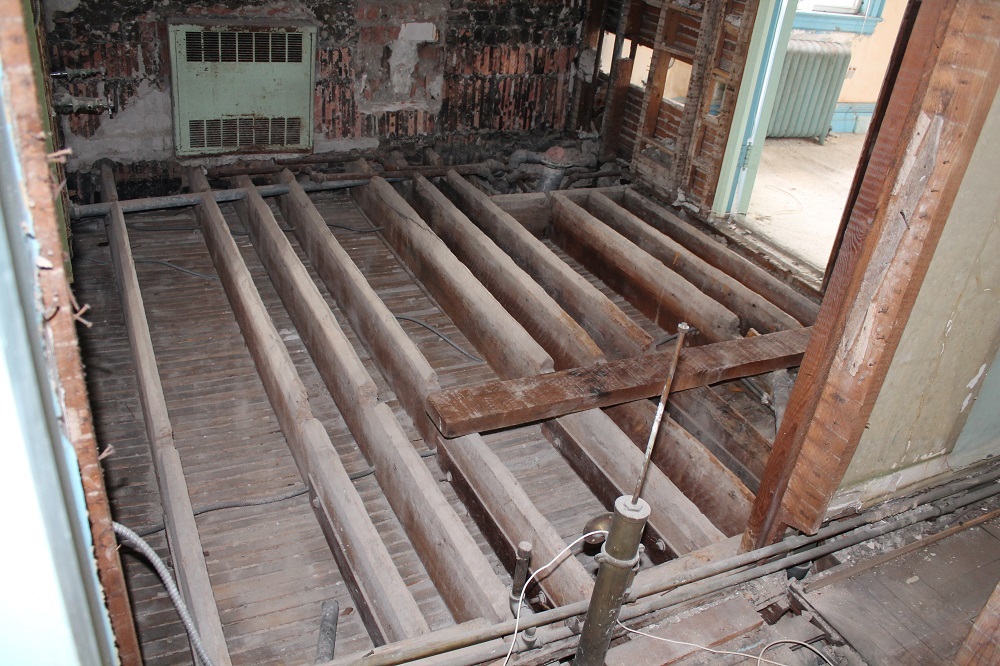
This view is from a gutted closet wall looking into the bathroom where the vanity was. In the foreground is original plumbing for a tub that was removed during the 1950s remodel
As a designer, it is easy for me to love everything about the the decorative end of renovation work. I salivated my way through honestly hundreds of beautifully crafted tile designs. Shopping is easy, eliminating 99 percent of what you love is the hard part!

One guiding design force for the master bath was the simple fact that I already had designed two contemporary bathrooms with whimsical elements for this house. I wanted the master bathroom to have a more classic feel, with a material that could ground the space with its timeless look.
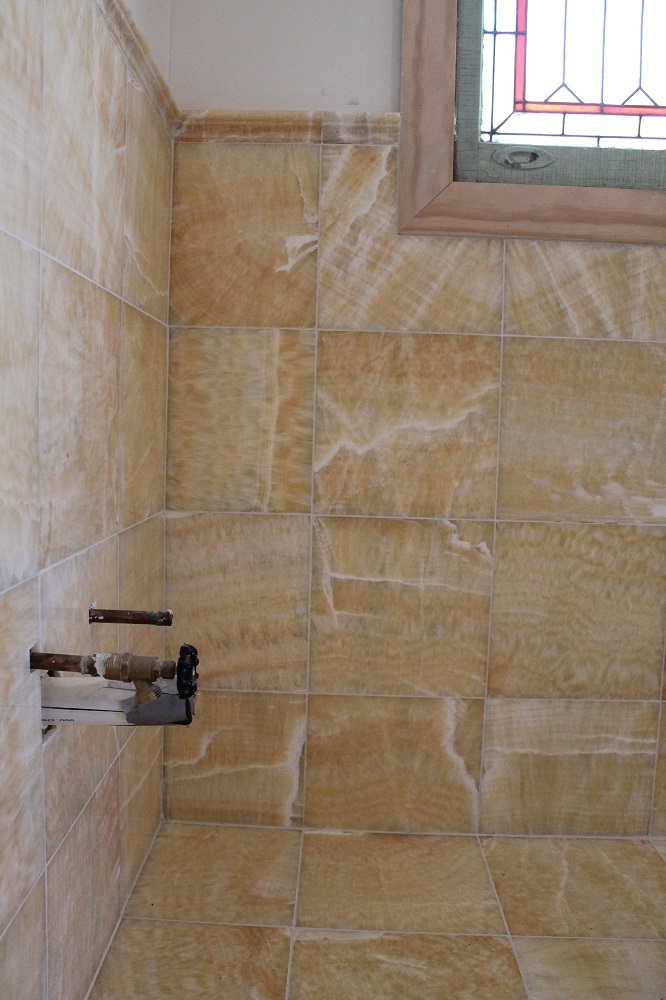
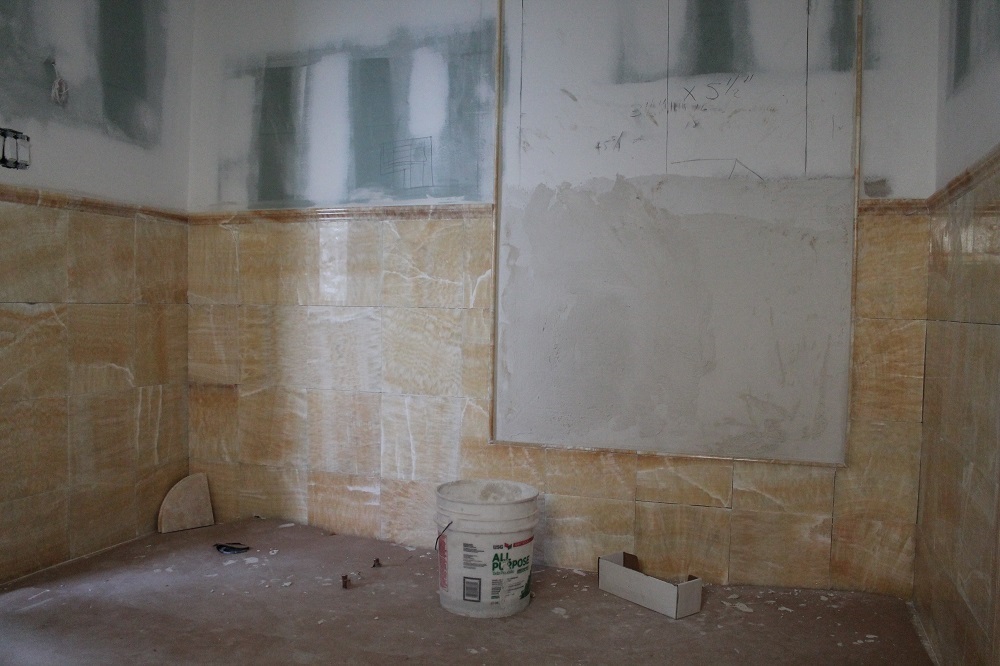
After scouring every marble in Decor Planet, I began to gravitate toward Honey Onyx and the many diverse and beautiful mosaic designs — often paired with classic white marble — that were available.
I chose sumptuous 12-inch squares of honey onyx to serve as flooring and to cover the walls up to four feet high.
In the center of the floor where wet feet will exit the shower and tub, I wanted to install a specialty mosaic as a “rug” to provide both slip resistance and a complimentary focal point.

It was so hard to select all the final looks for the room, but once the little “flower rug” was slected (above), I realized a feature panel behind the tub could be a nice balance. I found an amazing bubble mosaic with laser-cut circles of glass and marble. Bubbles… bathtubs… Perfect.

Design for the shower included repeating the same honey onyx tiles but in a smaller 6-by-6 size, adding a subtle border, and then turning the 6-by-6 tiles on a diagonal above the border.

For the shower floor, I tried to order a very small tumbled onyx in a brick shape, but they weren’t in stock. I meant to try again later, but then it just never happened.
But as it turned out, I had over ordered the bubbles. A quick check revealed that it is acceptable for shower floor application, and voila — we have the busiest shower floor known to mankind! It kinda looks like pebbles so maybe I can learn to live with it. I know my husband is very OK with not having to buy more stone!
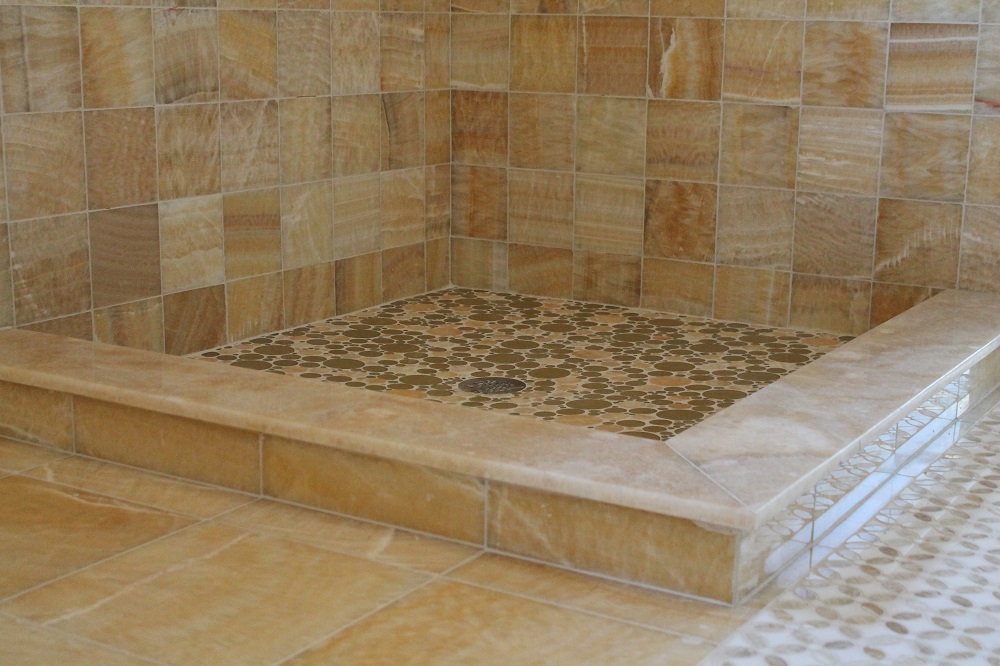
The saddle atop the curb of the shower was custom-made in honey onyx
Sea Gate Reno Coverage [Brownstoner]
Our Sea Gate reno series documents the renovation of a 100-year-old oceanfront home on the edge of Coney Island. Our intrepid blogger can also be found at Brooklyn Beach House.


YIKES. should have kept the pink tile; sheeeesh
Mezzogrl, if you’re trying to salvage the tile, by any chance, I did the following in my bathroom: Pry off the radius bullnose at the top of each wall. Many times these are black (so replacements can easily be found today) so you might not have to be too careful with those. I then covered the floor with some bunched up canvas dropcloths and crumpled up plastic contractor bags. These serve as a “cushion” to catch the tiles as they fall off the wall. Once that’s in place, I used a large flathead screwdriver together with a hammer; I struck above each tile as though trying to drive a wedge between the tile and the wall. They actually came off rather easily and most of them remained intact! Good luck, whatever you do!
We’ve been struggling to remove a similarly installed concrete back buttered tile in our bathroom renovations. Do you have any tips or is our chisel and hammer truly our best friend?
use the claw end of a clawhammer. Use the face of the hammer to break up spots on the wall, then starting at the top of the area use the claw and swing in a downward fashion. You can clear an entire wall in about 30 minutes give or take. It will take you longer to clean up the mess than to get it off the wall.
This guys doing it right: https://www.youtube.com/watch?v=2n7VsVR7b1Y
All its missing is the part where you smack the surface with the front on the hammer first. That’s important to help soften the wall you’re trying to break up.